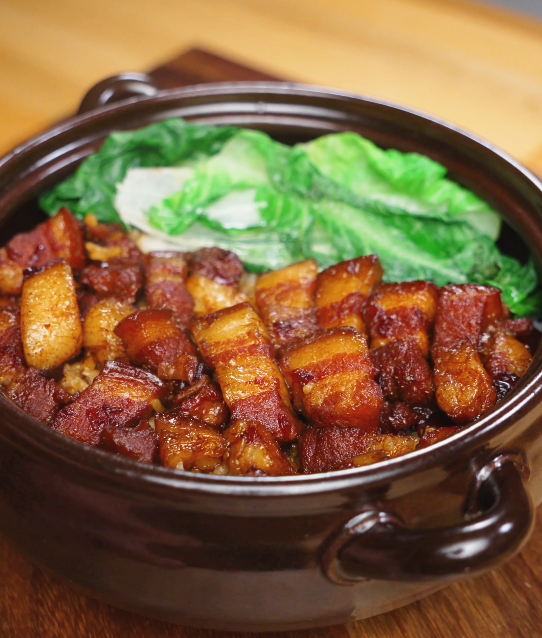
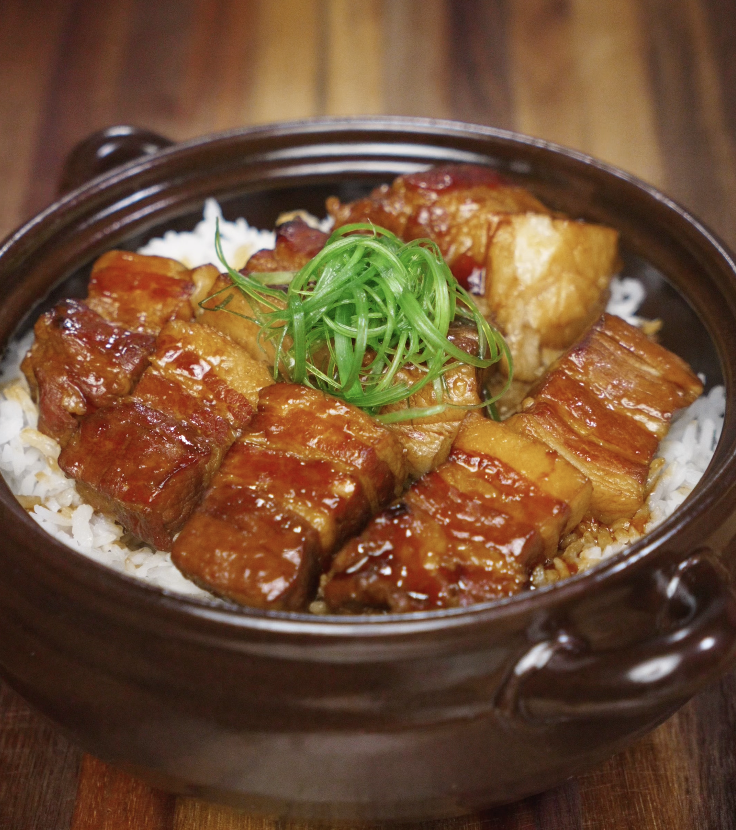
Braised Pork Belly
Equipment
Ingredients
Braised Pork Belly
- 1 lb thick-cut pork belly, cut into 1-inch pieces
- 2 tbsp sugar, rock or granulated
- 1 tbsp dark soy sauce
- 2 tbsp light soy sauce
- 2 tbsp shaoxing wine
- 1 cup water
Optional Garnishes
- Scallions
Instructions
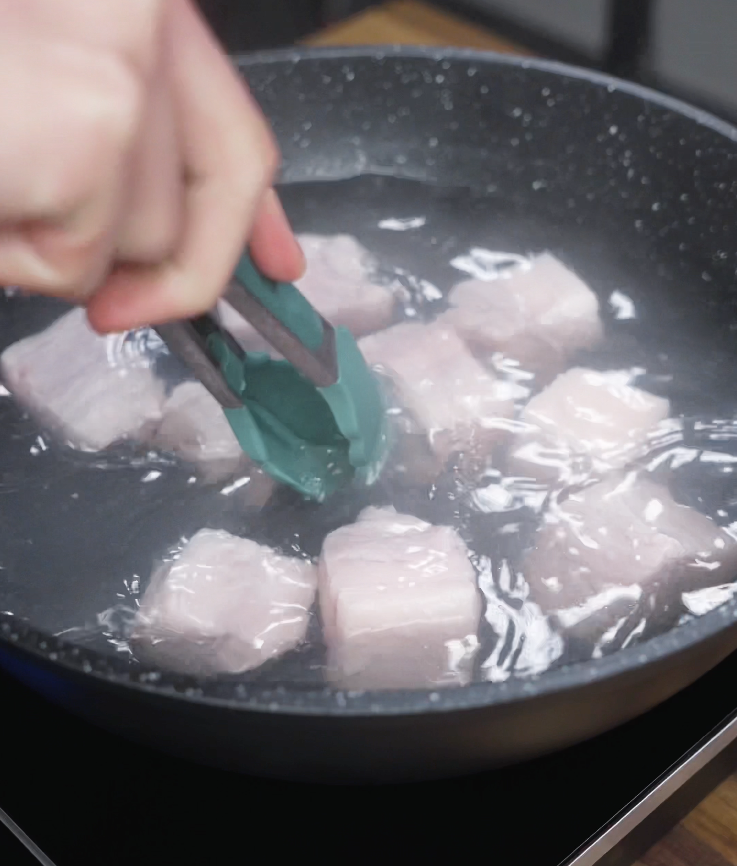
- Cut your pork belly into 1-inch pieces. Place them in a pot of boiling water and blanch for 2 minutes. Remove and set aside.
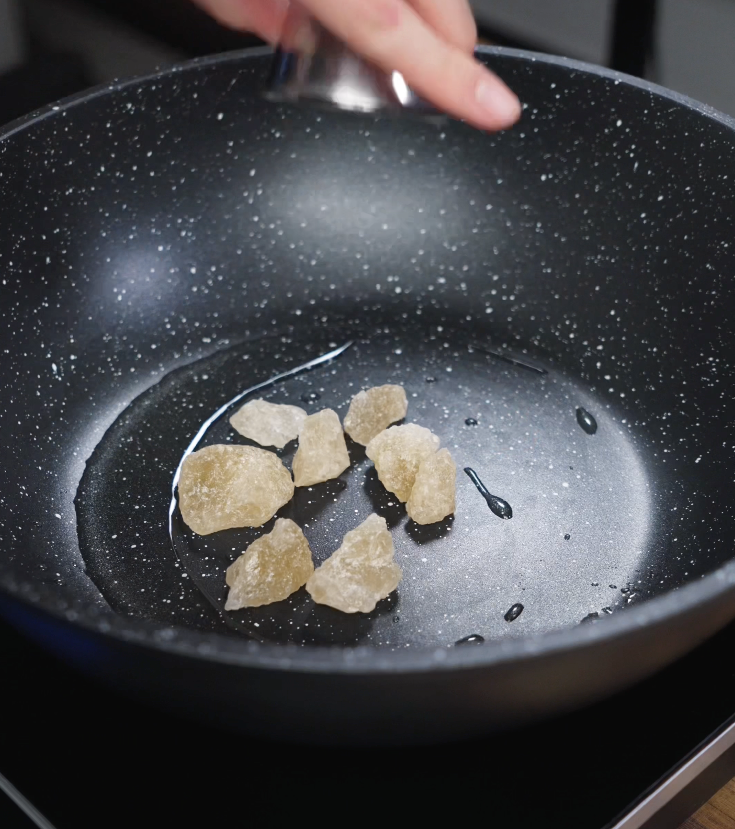
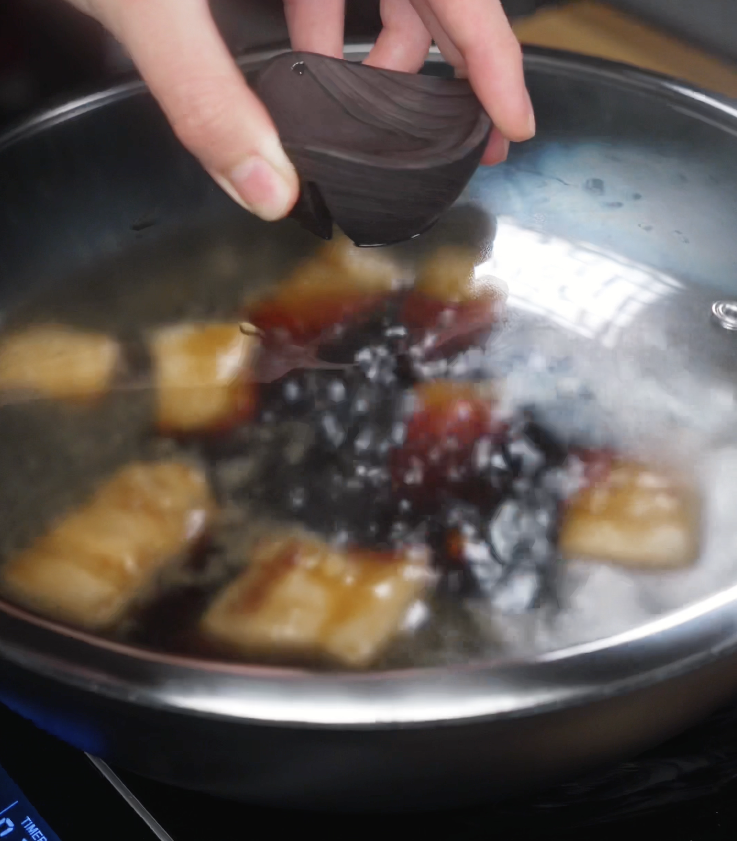
- In a pan, heat a bit of oil and add sugar. Stir until the sugar melts and turns a deep caramel color.
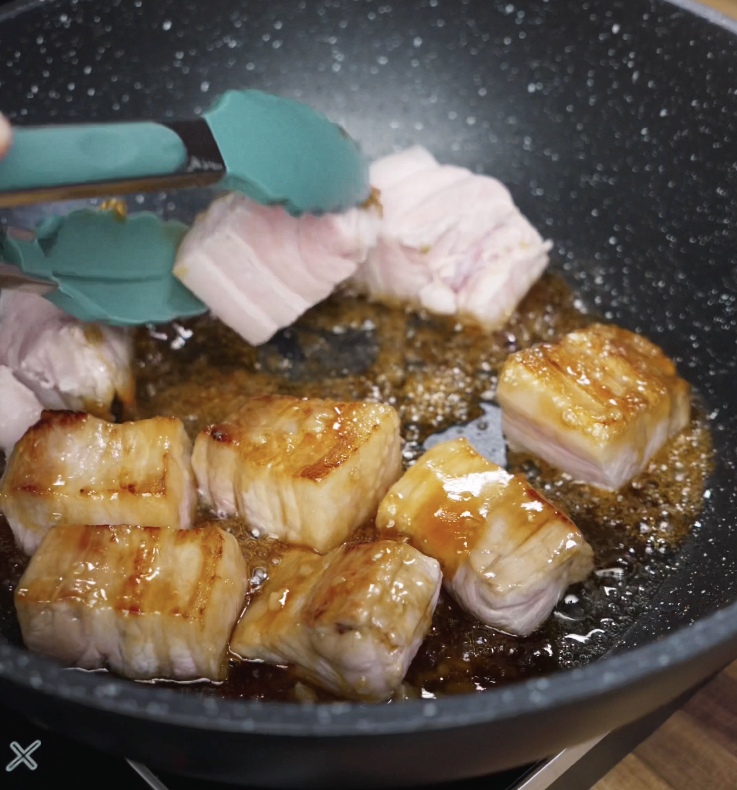
- Add the pork belly to the caramelized sugar and sear on all sides for a few minutes until lightly browned and coated.
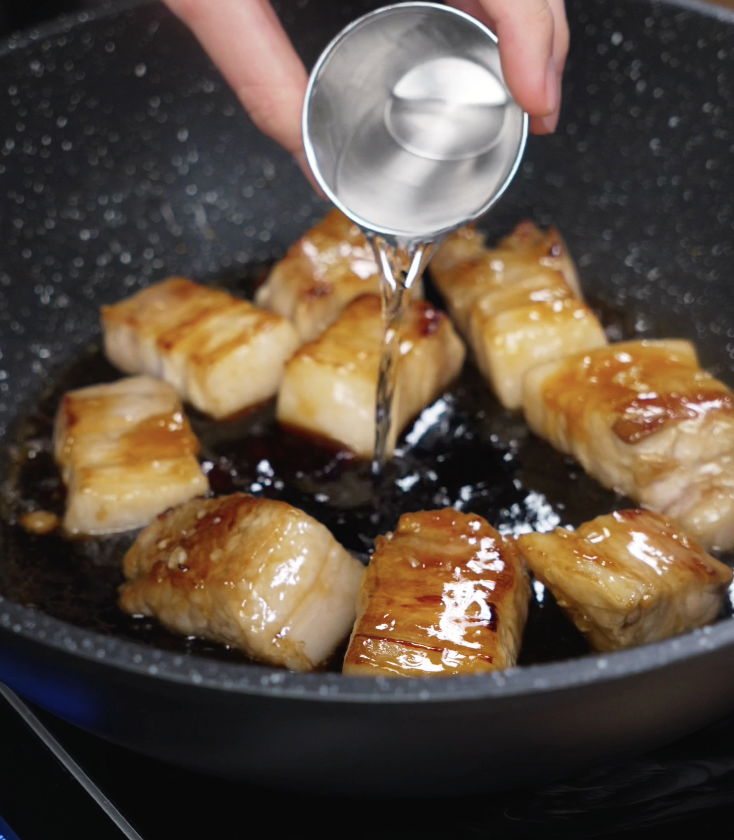
- Pour in dark soy sauce, light soy sauce, shaoxing wine, and water. Stir, then cover and simmer for 2 hours, stirring every 15–20 minutes to ensure even cooking.
- After 2 hours, remove the lid, turn the heat to high, and cook until the sauce thickens.
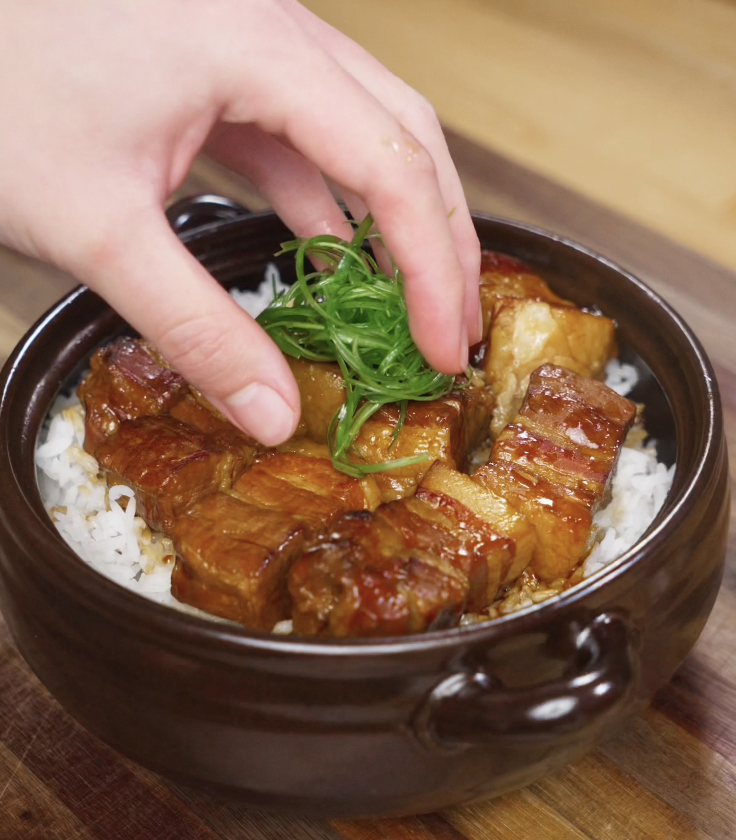
- Serve the pork belly over a fresh bowl of rice and optionally garnish with scallions.
Video
Nutrition
Nutrition information is automatically calculated, so should only be used as an approximation.
Why This Braised Pork Belly Always Steals the Show
Every time I bring this to a potluck or holiday dinner, someone always asks for the recipe for this Braised Pork Belly. I think it’s because the pork belly is so soft and melts in your mouth along with the sauce, which is sweet, salty, and super aromatic. I think dishes cooked low and slow are one of the best dishes because your patience is rewarded without a ton of effort! All you need to do is stir every 20 minutes, and you’ll have a dish that will impress everyone at the table, including yourself!

What Makes This Braised Pork Belly So Addicting
One of the first steps is caramelizing your sugar, which adds another layer of flavor to your braising liquid. Once you let it melt and get that extra layer of nuttiness, you sear your pork belly in it to not only get it glossy, but also to make sure the sugars stick to your meat. Once you add your soy sauces and shaoxing wine, you’ll simmer it all down slowly until the fat is tender and the sauce is thickened to your liking. As the sauce reduces, the braising liquid will get richer from the pork belly fat, and as a result, shinier. It’s the kind of thing you want to pour on top of just rice, you won’t even need the pork belly!
Ingredients You’ll Need To Make Braised Pork Belly
Pork Belly & Braising Liquid
- 1 lb thick-cut pork belly, cut into 1-inch pieces
- 2 tbsp sugar (rock sugar or granulated)
- 1 tbsp dark soy sauce
- 2 tbsp light soy sauce
- 2 tbsp Shaoxing wine
- 1 cup water
Optional Garnish
- Scallions
How to Make Braised Pork Belly
Cut pork belly into 1-inch cubes. Blanch in boiling water for 2 minutes, then remove and set aside.
In a pan, heat a little neutral oil. Add the sugar and stir until it melts into a deep caramel color.
Add the pork belly and sear it on all sides, letting it soak up the sugar.
Pour in the dark soy sauce, light soy sauce, Shaoxing wine, and water. Stir everything together.
Cover and simmer on low heat for 2 hours, stirring every 15–20 minutes.
After 2 hours, uncover and turn up the heat to reduce the sauce into a sticky glaze. Immediately serve hot over rice, garnished with scallions if you like.
Tips & Variations
No Shaoxing wine?
Dry sherry or mirin works in a pinch, though the flavor will be slightly different. I like to use Shaoxing wine because it gives the pork that traditional flavor you’ll get at restaurants.
Don’t skip the blanching step (I know it’s tempting though)
It helps clean the impurities from the pork and gives you a clearer, better-tasting sauce.
Add heat!
Adding some dried chilies or some sliced ginger adds warmth and extra depth to the braise.
Want a thicker glaze?
Stir in an extra teaspoon of sugar at the end and reduce a bit longer.
Frequently Asked Questions
Can I use a different cut of pork?
You can use pork shoulder or butt, but the texture won’t be the same. Pork belly gives you that signature fatty, tender bite that makes this dish so good! You’ll end up with more of a pulled pork if you use a different cut.
What’s the difference between dark and light soy sauce?
Dark soy adds color and a touch of sweetness, while light soy is saltier and more acidic. You need both for depth and balance.
Can I make this ahead of time?
Absolutely! In fact, it tastes even better the next day. Store in the fridge and gently reheat with a splash of water to loosen the sauce.
How do I store leftovers?
Keep in an airtight container in the fridge for up to 4 days.
Can I freeze it?
Yes, just let it cool fully before freezing. Thaw in the fridge and reheat gently on the stove. I actually do this with my parents if I ever visit my childhood home!
Try These Next
- Want a creamy dish? Try my Creamy Gochujang Pasta!
- Looking for something crispy to balance this? Don’t miss my Garlic Parmesan Chicken Tenders!
- Craving another dish to eat after eating this? My Matcha Tiramisu will do the job!