Honey Garlic Chicken
Equipment
Ingredients
Honey Garlic Chicken
- 16 oz boneless skinless chicken thighs, cut into bite-sized cubes
- 1 tbsp dark soy sauce
- 2 tbsp light soy sauce
- 3 cloves garlic, minced
- 2 tbsp honey
- 1 tbsp vinegar
Optional Garnishes
- Rice, for serving
- Sesame seeds
- Scallions
- Cucumbers
Instructions
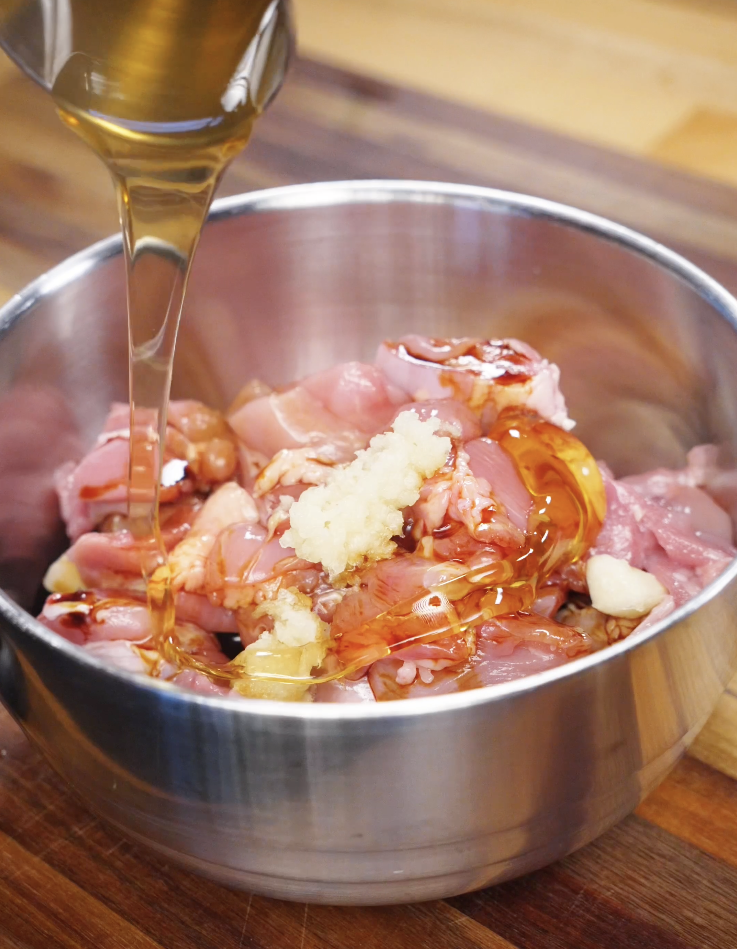
- Place your cubed chicken thighs in a bowl and combine with dark soy sauce, light soy sauce, garlic, honey, and vinegar. Mix well and marinate for at least 15 minutes.
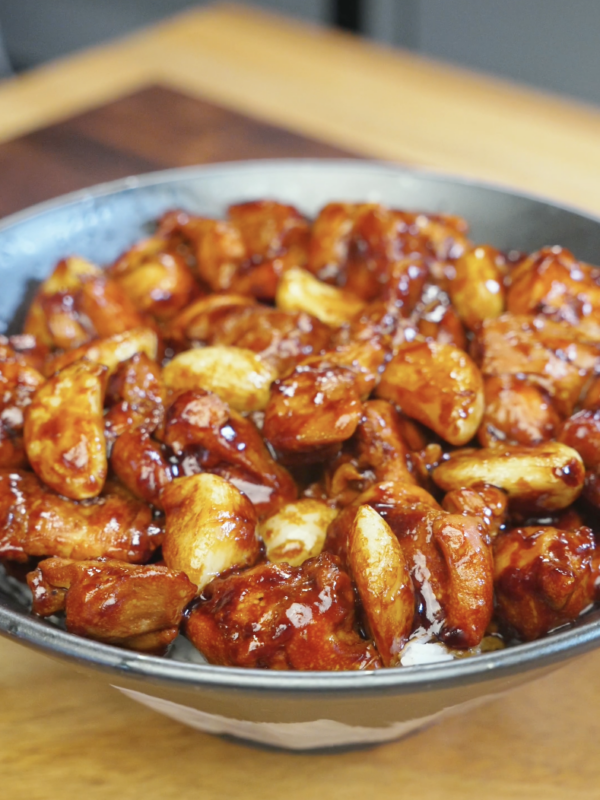
- Add oil to a pan over medium-high heat and add your marinated chicken. Let it sit undisturbed for about 2 minutes to build some caramelization.
- Stir the chicken around and continue cooking for another 5 minutes, or until fully cooked through and the sauce has thickened and coats the chicken.
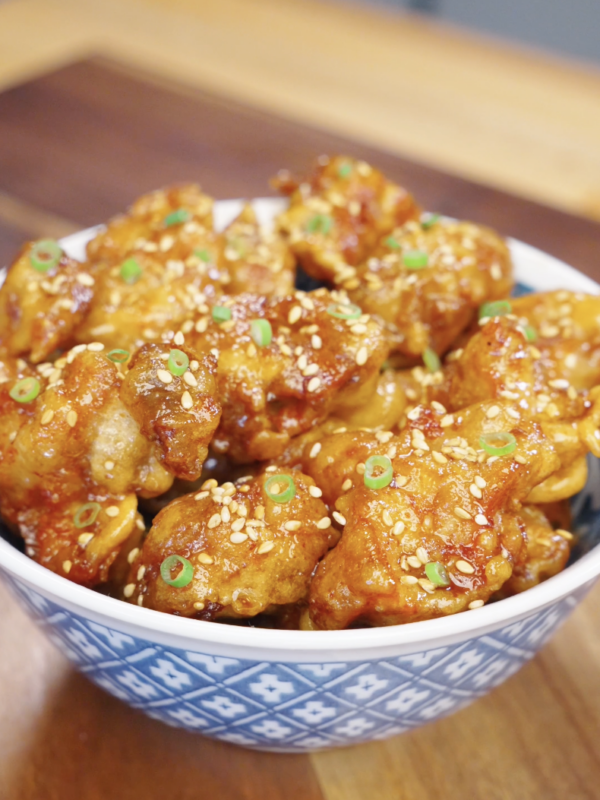
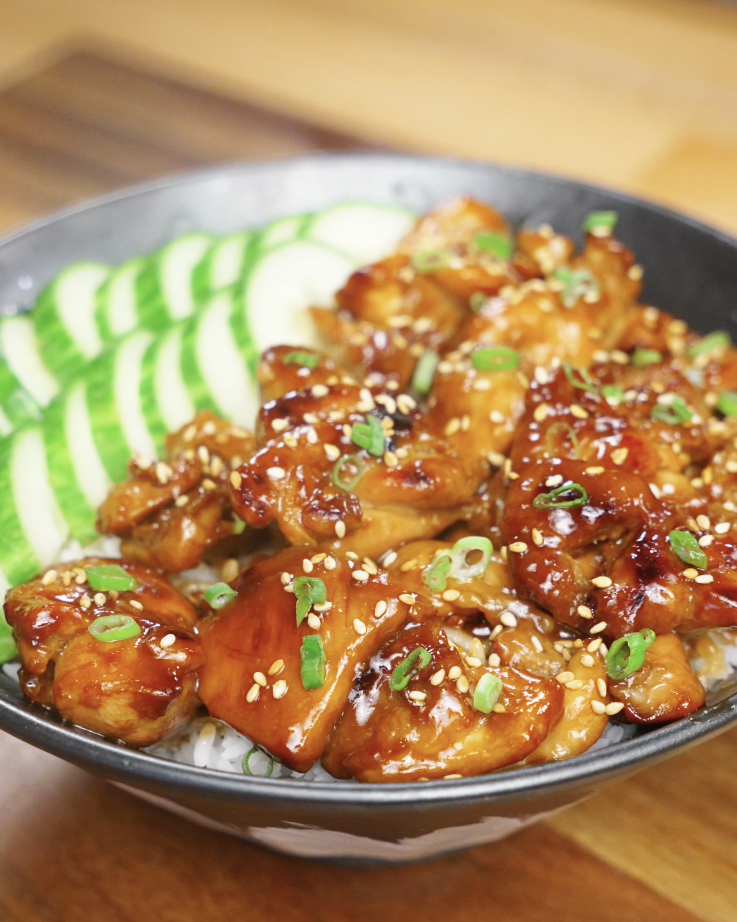
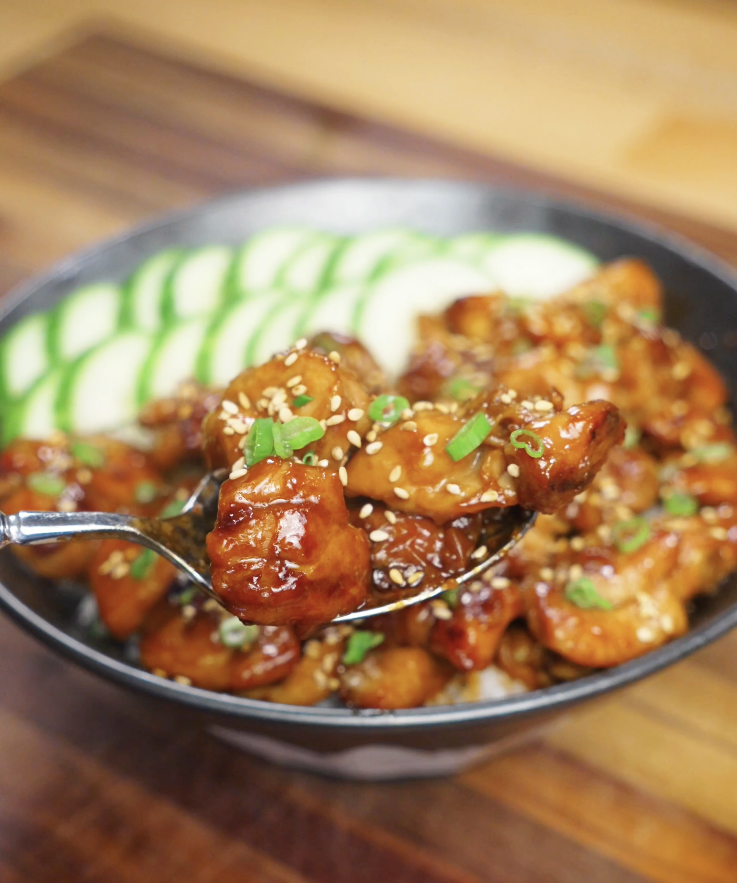
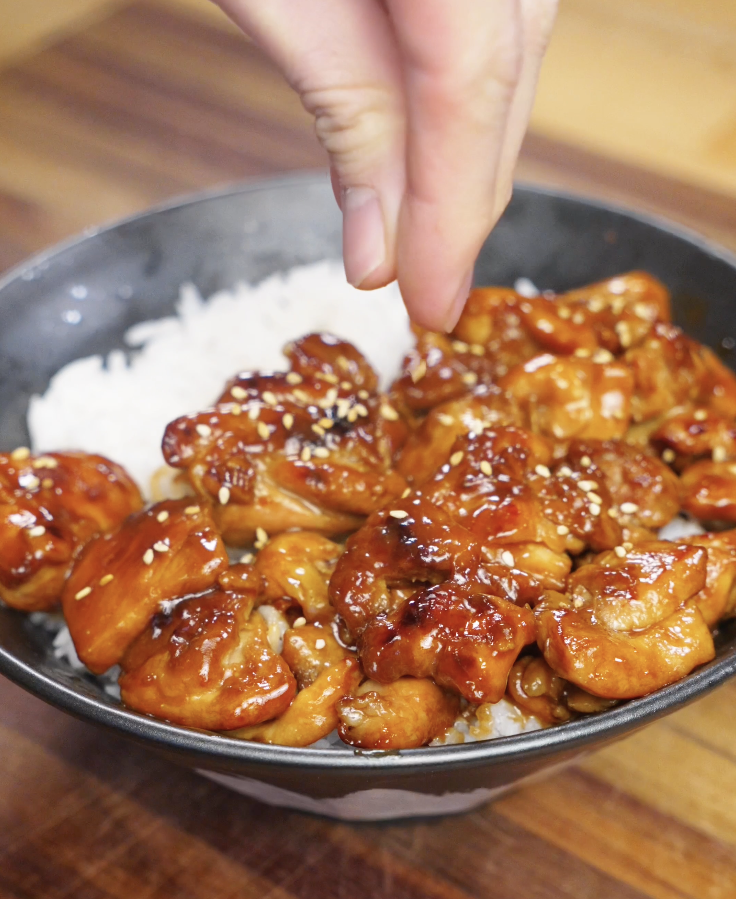
- Serve the honey garlic chicken over a fresh bowl of rice and optionally garnish with sesame seeds, scallions, and cucumbers.
Video
Nutrition
Nutrition information is automatically calculated, so should only be used as an approximation.
Why Honey Garlic Chicken Is The Best Answer For Chicken Night
I really love this Honey Garlic Chicken because it’s the best answer to “what do I do with all this chicken in the fridge?” It’s not only delicious, but you don’t have to go shopping because the marinade / sauce is made with pantry staples that you probably already have! This Honey Garlic Chicken is one of those fast meals that’s absolutely delicious, fast, and still has that OMG flavor!
Why This Flavor Profile Is So Unique
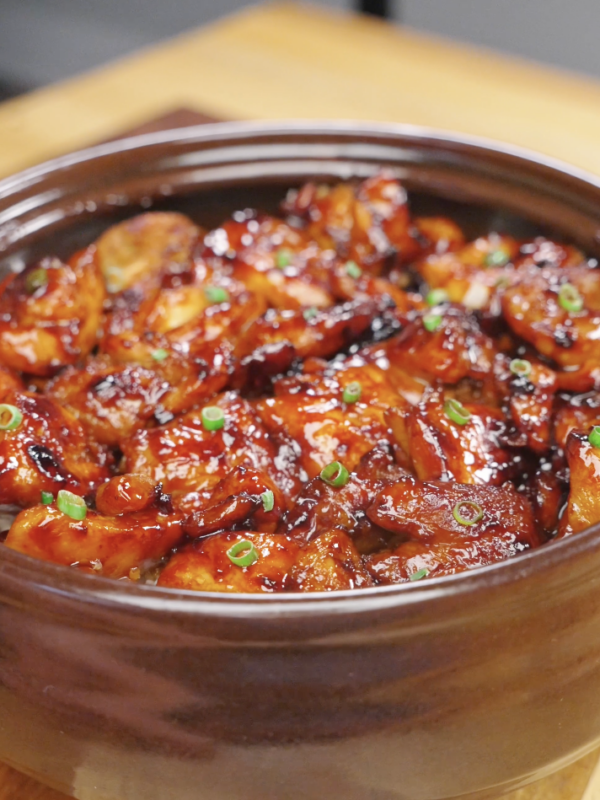
I love this Honey Garlic sauce because you hit every flavor profile with the few ingredients that you use to make it. It’s sweet from the honey, salty from the soy sauce, and balanced by both the acidity from the vinegar and garlic. As the chicken cooks, the sauce, which doubles as the marinade, reduces into a sticky glaze that clings and caramelizes to every piece of chicken and tastes even better over rice!
What You’ll Need To Make Honey Garlic Chicken
Honey Garlic Chicken
- 16 oz boneless skinless chicken thighs, cut into bite-sized cubes
- 1 tbsp dark soy sauce
- 2 tbsp light soy sauce
- 3 cloves garlic, minced
- 2 tbsp honey
- 1 tbsp vinegar
Optional Garnishes
- Rice, for serving
- Sesame seeds
- Scallions
- Cucumbers
What You’ll Need To Make Honey Garlic Chicken
Place your cubed chicken thighs in a bowl and combine with dark soy sauce, light soy sauce, garlic, honey, and vinegar. Mix well and marinate for at least 15 minutes.
Add oil to a pan over medium-high heat and add your marinated chicken. Let it sit undisturbed for about 2 minutes to build some caramelization.

Stir the chicken and continue cooking for another 5 minutes, or until fully cooked through before serving over a fresh bowl of rice and optionally garnish with sesame seeds, scallions, and cucumbers.
Tips & Variations
If you want a crispier piece of chicken, add some cornstarch to the marinade and chicken right before searing.
I highly recommend using vinegar and not substituting it because it balances the sweetness and savoriness of the sauce and keeps it from tasting too heavy.
If you want to add some spice to the chicken, add some chili flakes into the marinade.
Frequently Asked Questions
Can I use pre-minced garlic or garlic paste?
In my opinion fresh garlic gives the sauce the best flavor, but garlic paste or prepared garlic will work as well! I would use about 1½ teaspoons.
Can I make this ahead of time?
Yes! This dish is great for meal prep. Store it in an airtight container for up to 3 days and microwave for 2 minutes to reheat.
What kind of vinegar should I use?
I like to use rice wine vinegar, but white vinegar or apple cider vinegar will also work (I’ve used both and they both taste delicious).
Can I air-fry the chicken instead?
Totally! Air fry the chicken until cooked and crispy which is about 12 minutes at 400°F (205°C).
What to Make Next
Love sweet and savory combos like this one? Check these out:
For a similar flavor profile, try my Char Siu Chicken!
Love sweet and savory dishes? Try my Soy Garlic Glazed Chicken!
Craving a cheat meal instead? I highly recommend my Korean Fried Chicken!