Garlic Butter Shrimp Recipe
Ingredients
- 16 oz raw shrimp, peeled and deveined
- Neutral oil, for cooking
- 3 tbsp unsalted butter
- 4 cloves garlic, minced
For the Sauce
- 2 tbsp light soy sauce
- 1 tbsp sugar
Optional Garnish
- Scallions
- Steamed rice
Instructions
- Heat a pan over medium heat with a bit of oil. Add the raw shrimp and cook until mostly pink, then remove them from the pan.
- In the same pan, add the butter and let it melt. Add the minced garlic and cook until fragrant.
- Add the light soy sauce and sugar and mix until the sugar is fully dissolved. Add the shrimp back in and continue mixing until the shrimp are fully pink and finished cooking.
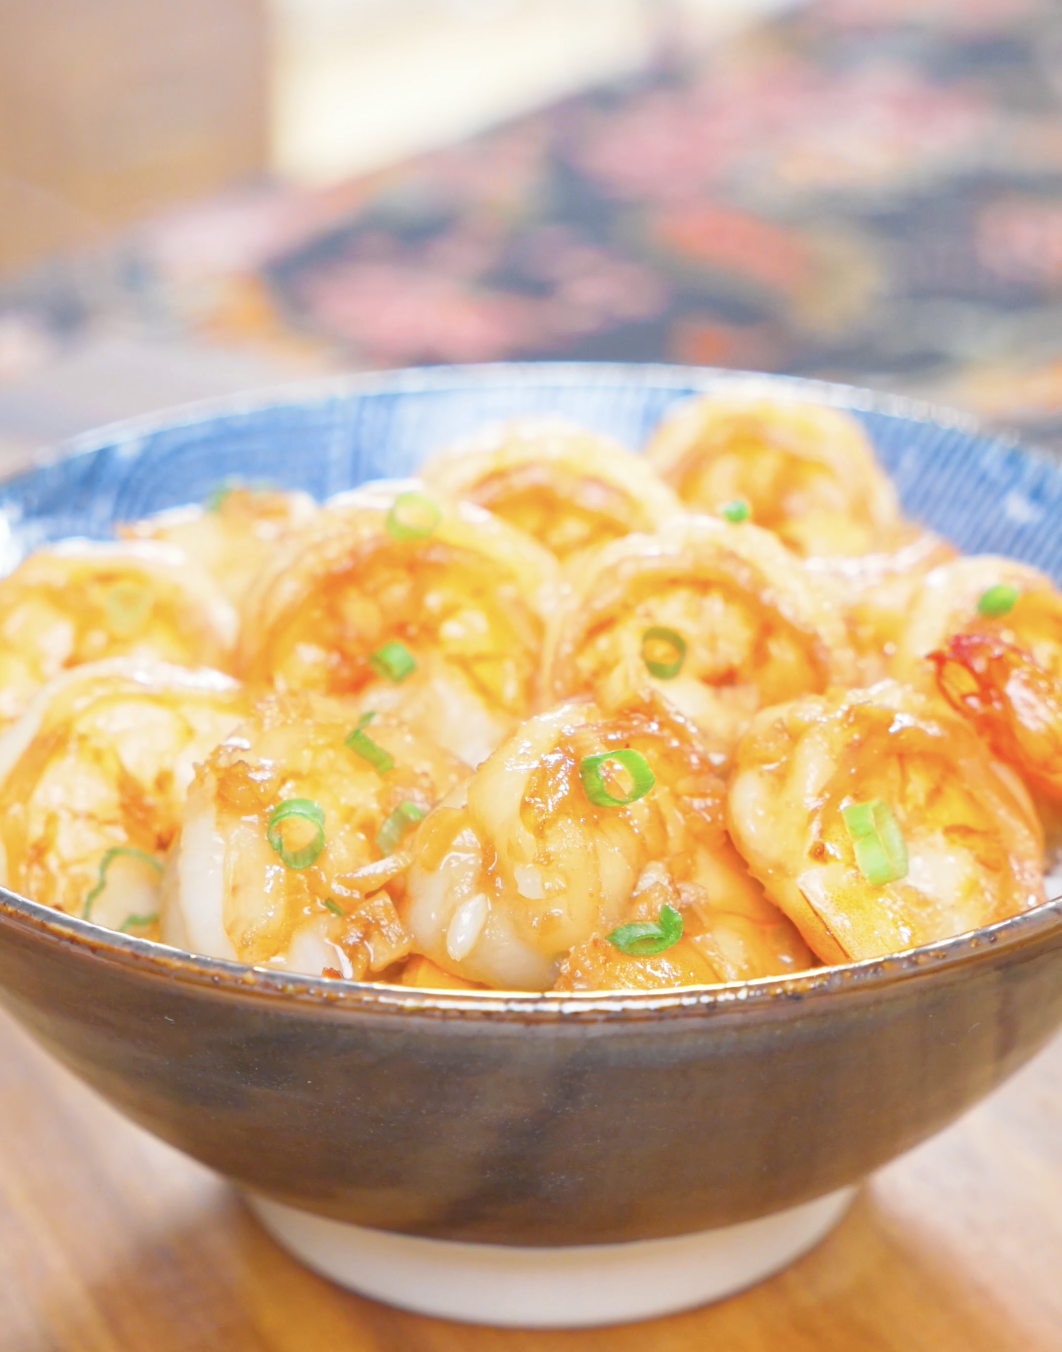
- Serve over a fresh bowl of rice and top with even more of that garlic butter sauce. Optionally garnish with scallions. But it’s your food, you eat it how you like.
Video
Notes
- Pat the shrimp dry and give them room in the pan so they sear instead of steaming.
- Cook the shrimp in two stages so they don’t overcook while the sauce comes together.
- Watch the garlic closely — it can burn in seconds in hot butter.
- Let the sauce bubble a few extra seconds before the shrimp go back in so it clings instead of pooling.
When you’re short on time and long on hunger, my easy Garlic Butter Shrimp recipe is the way to go. With just 1 pan, 6 ingredients, and 15 minutes, you can have a restaurant-quality meal ready for munching. The shrimp turn out juicy and perfectly tender, soaking up the rich, buttery garlic sauce. There’s something so satisfying about watching plump shrimp sizzle away in a pool of melted butter and golden, fragrant garlic—it’s the kind of simple, sensory cooking that makes a weeknight dinner feel a little more special. ASMR fans, this one’s for you. Best of all, this recipe doesn’t ask much: no fancy techniques, no long ingredient lists, and definitely no need to dirty multiple pots and pans. Just toss everything into one skillet, let the butter and garlic work their magic, and in a matter of minutes you’ll have a dish that tastes like it came straight from your favorite seafood restaurant. Serve it up with a freshly steamed bowl of rice and a scatter of scallions, and you’ve got a meal that’s as impressive as it is effortless. Perfect for busy weeknights, last-minute guests, or those nights when you just don’t feel like cooking but still want something delicious!
Why You’ll Crave Butter and Garlic Shrimp
There’s a reason this dish disappears from the pan the moment it’s plated. It all comes down to a glossy blend of melted butter, minced garlic, light soy sauce, and just a touch of sugar. The magic happens right in the pan: as the butter melts and the garlic turns fragrant, the soy sauce and sugar mix in to create a sauce that’s savory, slightly sweet, and deeply aromatic, clinging to every piece of shrimp as it finishes cooking. It’s a flavor combination that hits all the right notes without relying on a long ingredient list or complicated techniques. Spoon it generously over a fresh bowl of steamed rice, letting the extra sauce soak in and flavor every grain, and you’ve got a meal that feels indulgent despite being ridiculously simple to make. A scattering of scallions adds a fresh, sharp bite if you’re into that, though honestly, this shrimp is delicious enough to eat straight out of the pan. Once you taste how the butter and garlic sauce transforms humble shrimp into something crave-worthy, it’s easy to see why this recipe earns a permanent spot in the weeknight dinner rotation.
Ingredients & Substitutions
- Peeled & Deveined Raw Shrimp – Grabbing shrimp that’s already peeled and deveined is the easiest way to save yourself some prep time. Fresh or frozen both work great here. Just make sure to thaw and pat frozen shrimp dry before cooking so they sear nicely instead of steaming. Any size works, though medium to large shrimp tend to give you that perfect juicy bite.
- Neutral Oil – You just need something with a high smoke point to get that initial sear going. Vegetable, canola, or avocado oil are all great choices. Avoid olive oil here since it can burn at higher heat and bring a flavor that doesn’t quite match the dish.
- Unsalted Butter – This is where a lot of rich, luxurious flavor comes from, so don’t skimp! Using unsalted butter lets you stay in control of the saltiness once the soy sauce comes into play. If all you have is salted butter, no worries—just go easy on any additional salt (including soy sauce).
- Garlic – Fresh minced garlic is the way to go for the punchy, fragrant flavor that makes this dish so craveable. In a pinch, jarred minced garlic works fine too. Just keep an eye on it while it cooks, since garlic can go from fragrant to burnt in the blink of an eye.
For the Sauce
- Light Soy Sauce – This brings the salty, savory backbone to the sauce. Tamari is a great gluten-free alternative if that’s what you need.
- Granulated Sugar – Just a touch to balance out the saltiness of the soy sauce and give the sauce an irresistibly glossy finish. Brown sugar or honey can work as substitutes if that’s what’s on hand, though they’ll add a slightly different depth of flavor.
Optional Garnish
- Scallions – These add a fresh, mild bite and a pop of color, but feel free to skip them if they’re not your thing, or swap in some chopped chives or a sprinkle of sesame seeds instead.
- Steamed Rice – The perfect vehicle for soaking up all that garlicky, buttery sauce. Short grain white rice is classic, but feel free to swap in brown rice, jasmine rice, or even cauliflower rice if you’re looking to keep things lighter.
This is just a short review of the ingredients; for the complete recipe, including quantities, scroll down to the recipe card 👇
How to Devein Shrimp
If your shrimp aren’t already deveined, don’t worry—it’s a quick process once you get the hang of it!
- Peel the shrimp first. Starting at the head end (or the legs, if they’re already removed), gently pull off the shell, working your way down to the tail. You can leave the tail on or off depending on your preference.
- Locate the vein. Using a small paring knife, make a shallow cut along the back (the curved outer edge) of the shrimp, running from the head end to the tail. You’re just cutting deep enough to expose the dark vein underneath—no need to go too deep.
- Remove the vein. Once exposed, use the tip of your knife or your fingers to gently lift out the thin, dark vein and discard it. It should come out pretty easily in one piece.
- Rinse and pat dry. Give the shrimp a quick rinse under cold water to wash away any remaining bits, then pat them dry with a paper towel before cooking. This helps them sear nicely instead of steaming in the pan.
And that’s it! While that “vein” is really just the shrimp’s digestive tract and technically safe to eat, removing it gives you a cleaner bite and gets rid of any grit, so it’s well worth the extra minute of prep.
How to Make Garlic Butter Shrimp
Heat a pan over medium heat with a bit of oil. Add the raw shrimp and cook until mostly pink, then remove them from the pan.
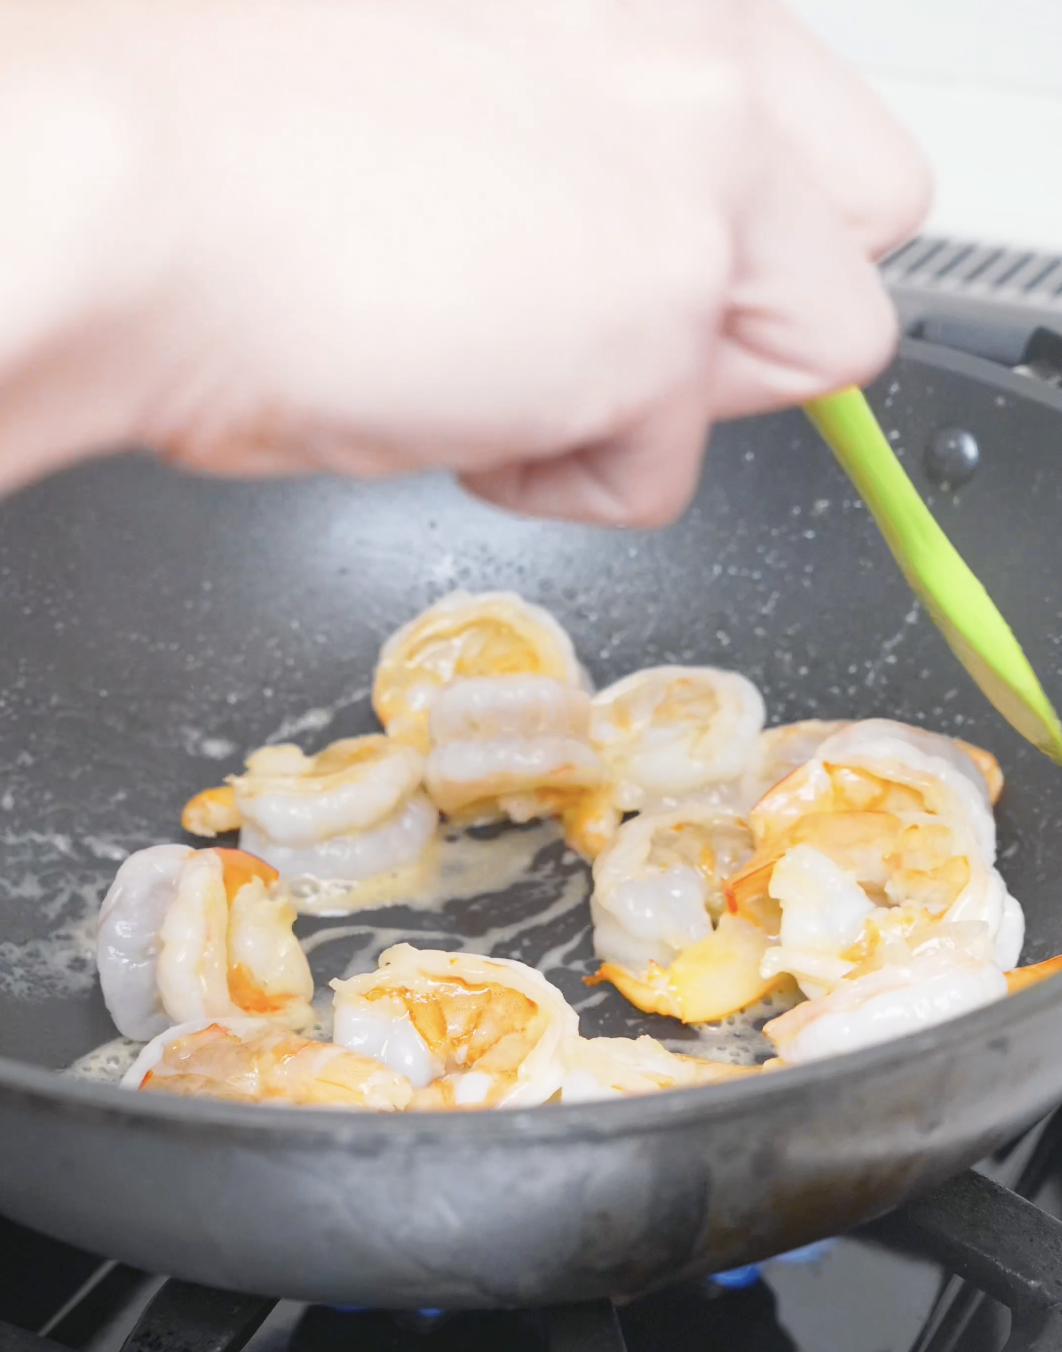
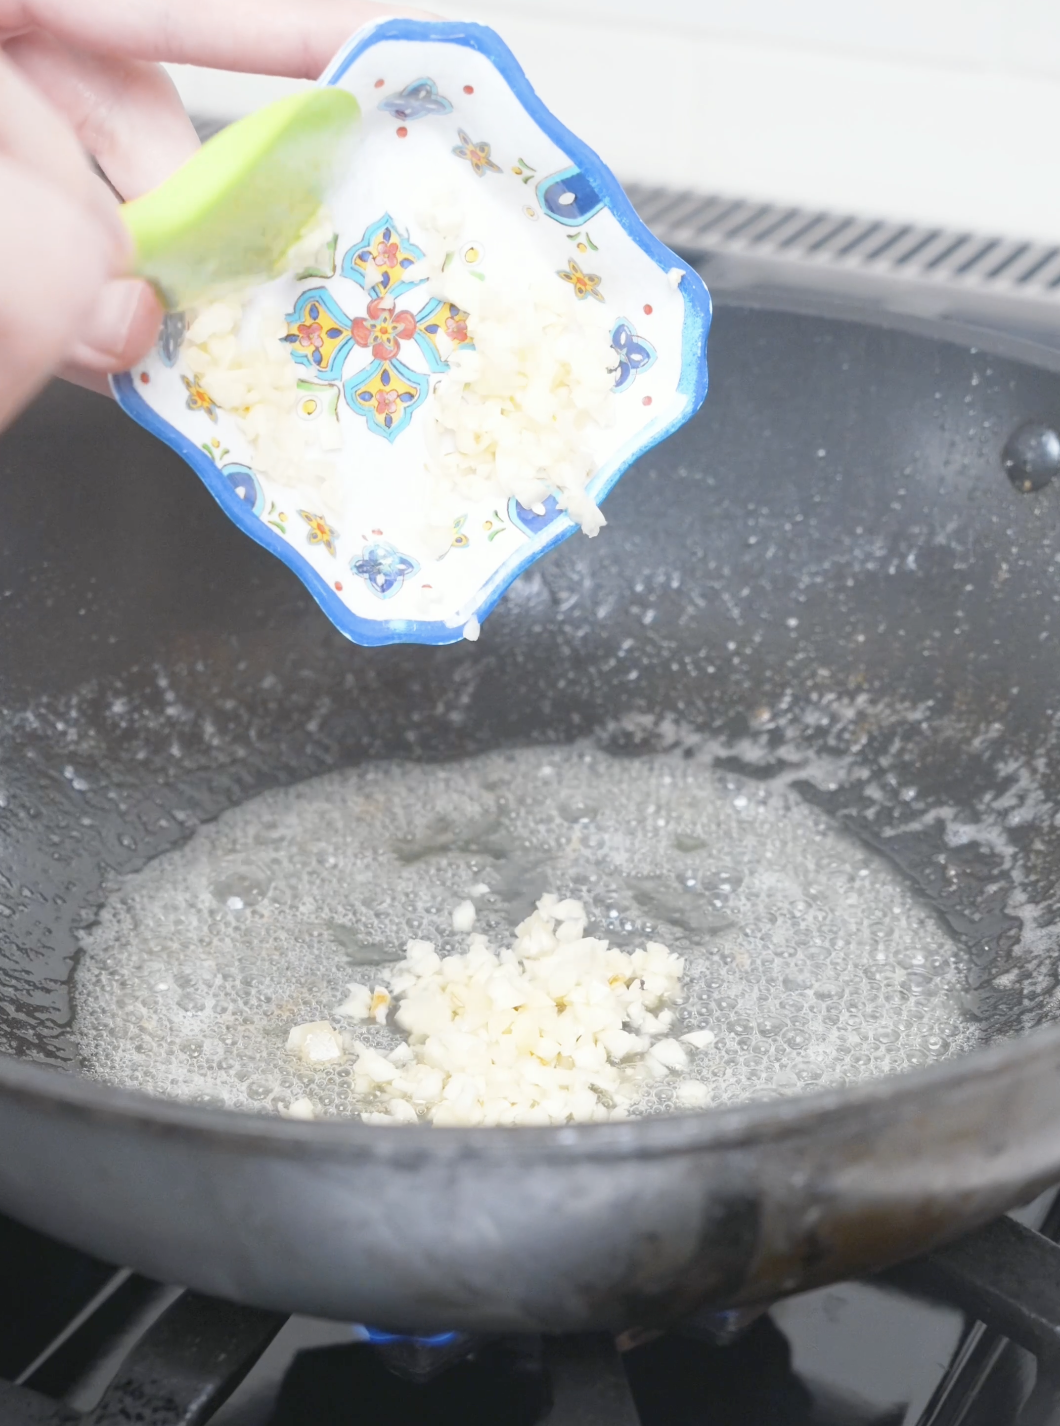
In the same pan, add the butter and let it melt. Add the minced garlic and cook until fragrant.
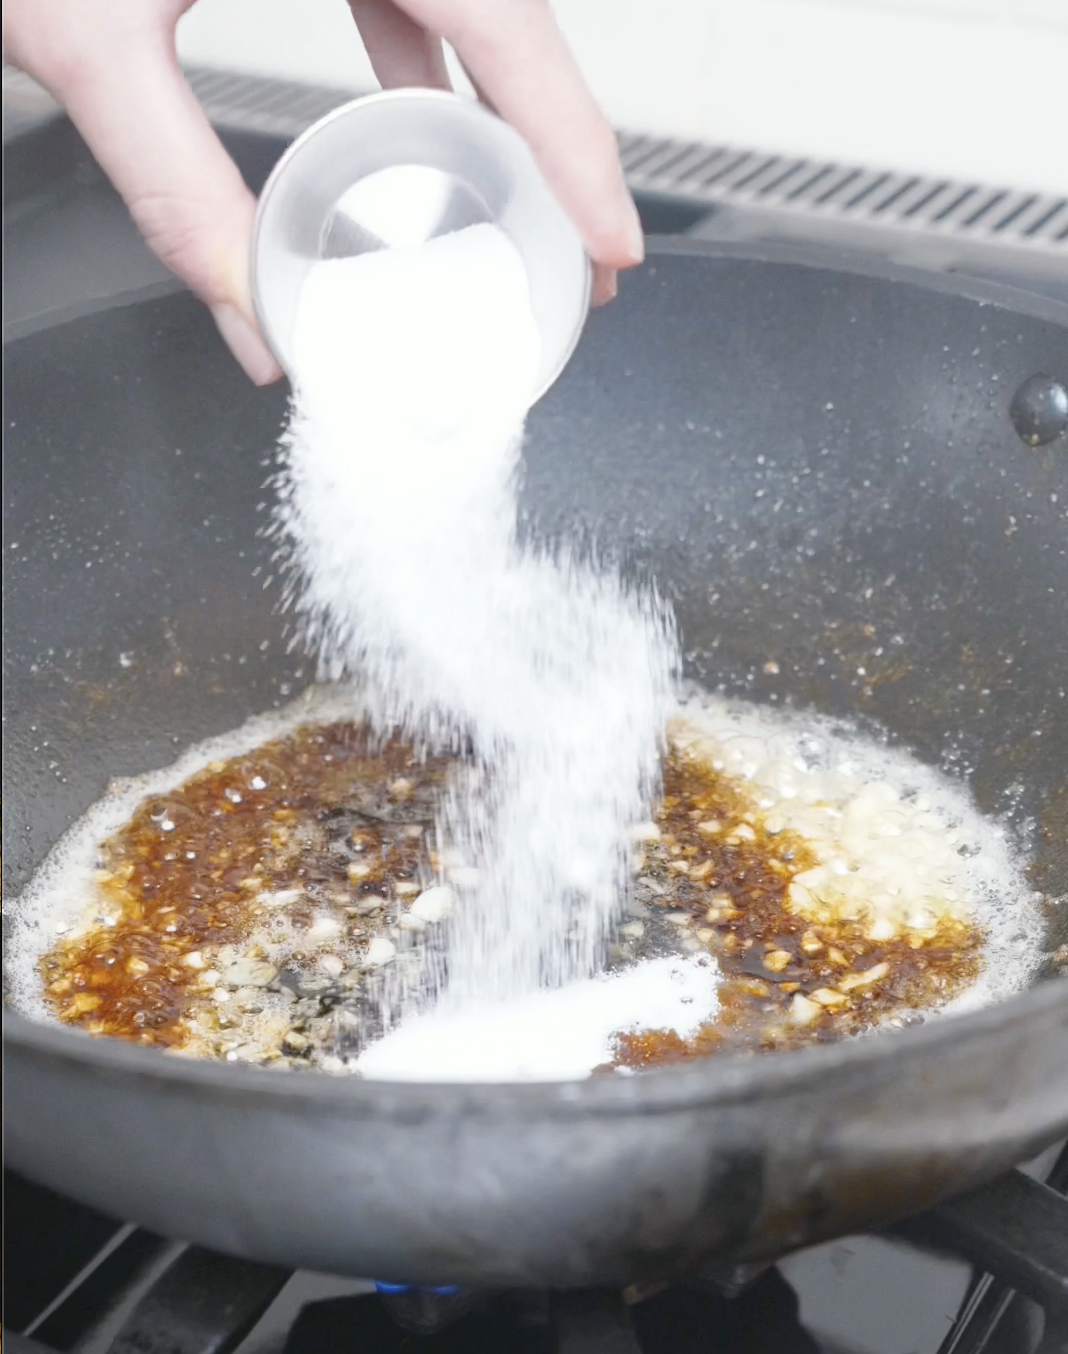
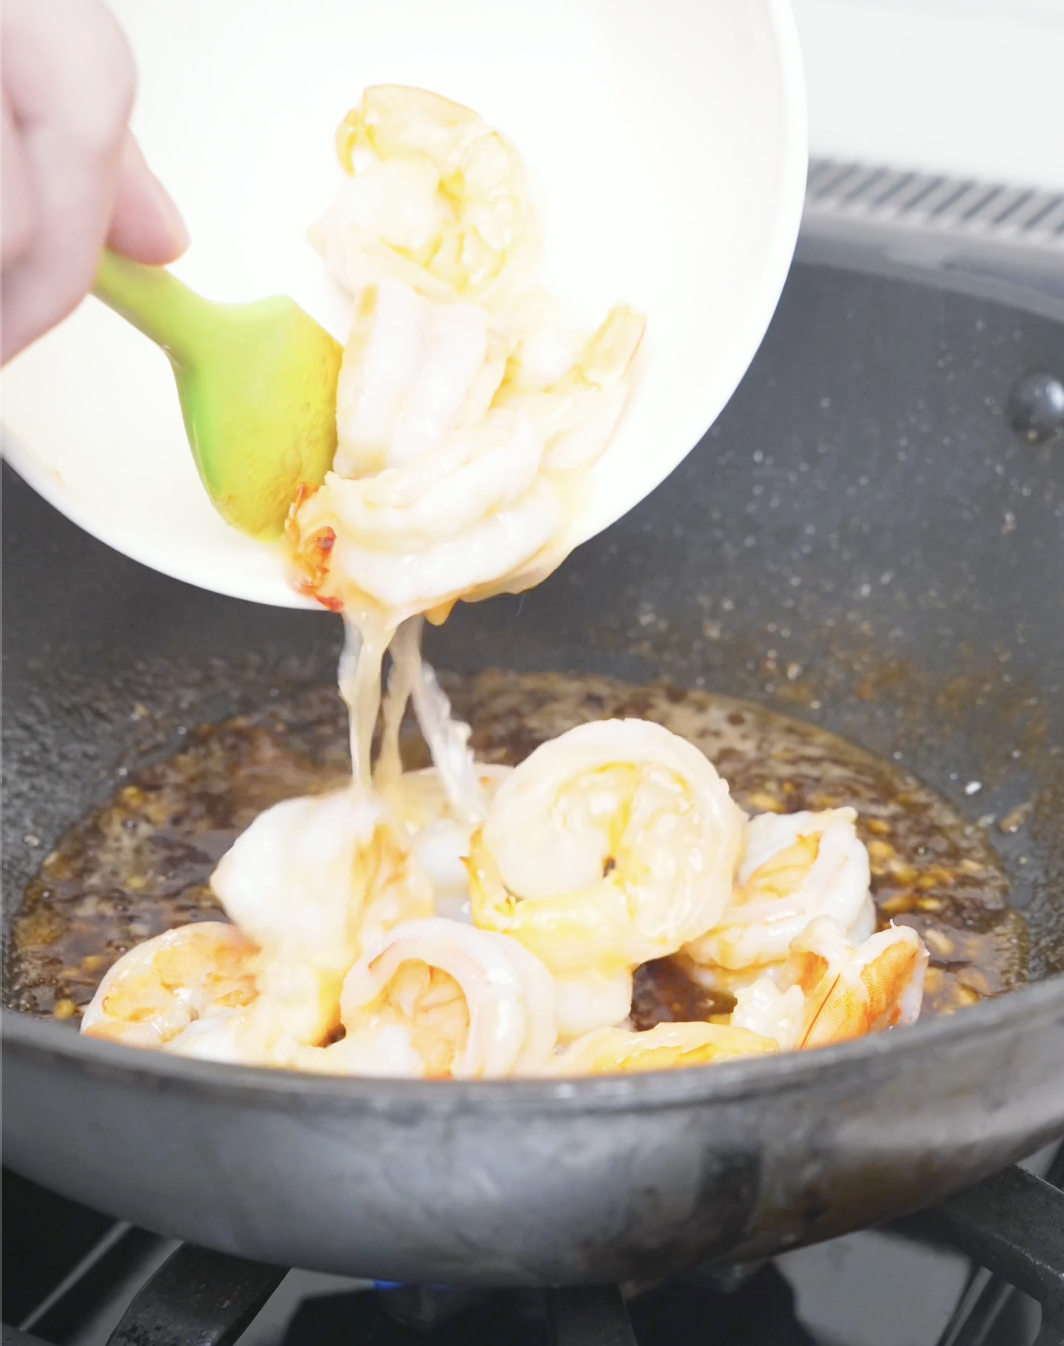
Add the light soy sauce and sugar and mix until the sugar is fully dissolved. Add the shrimp back in and continue mixing until the shrimp are fully pink and finished cooking.
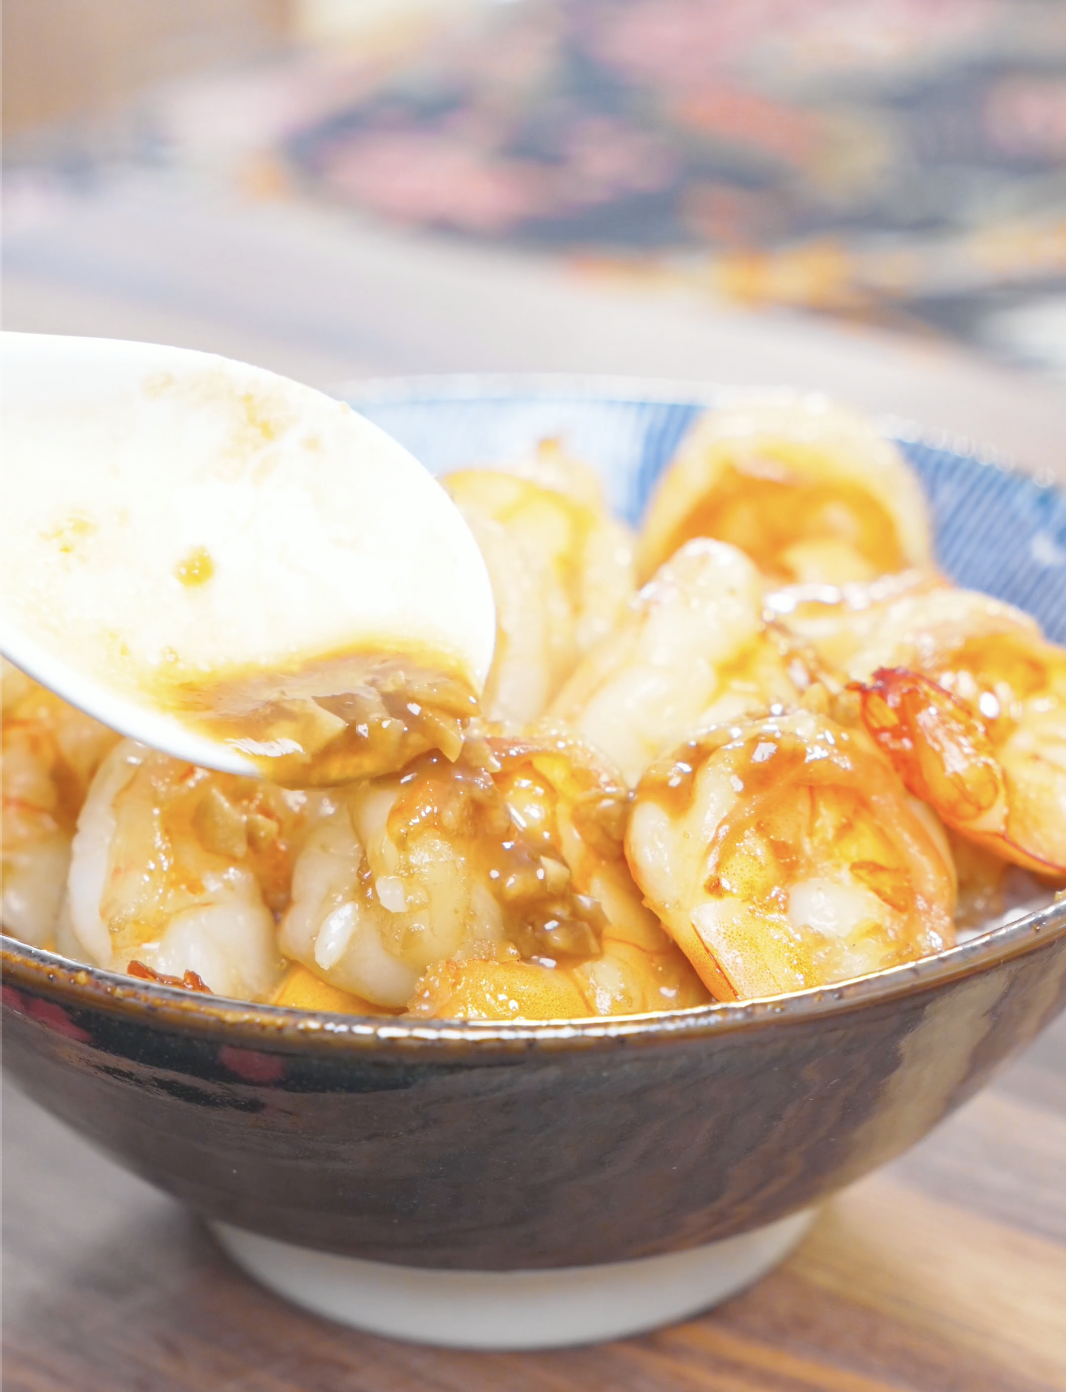
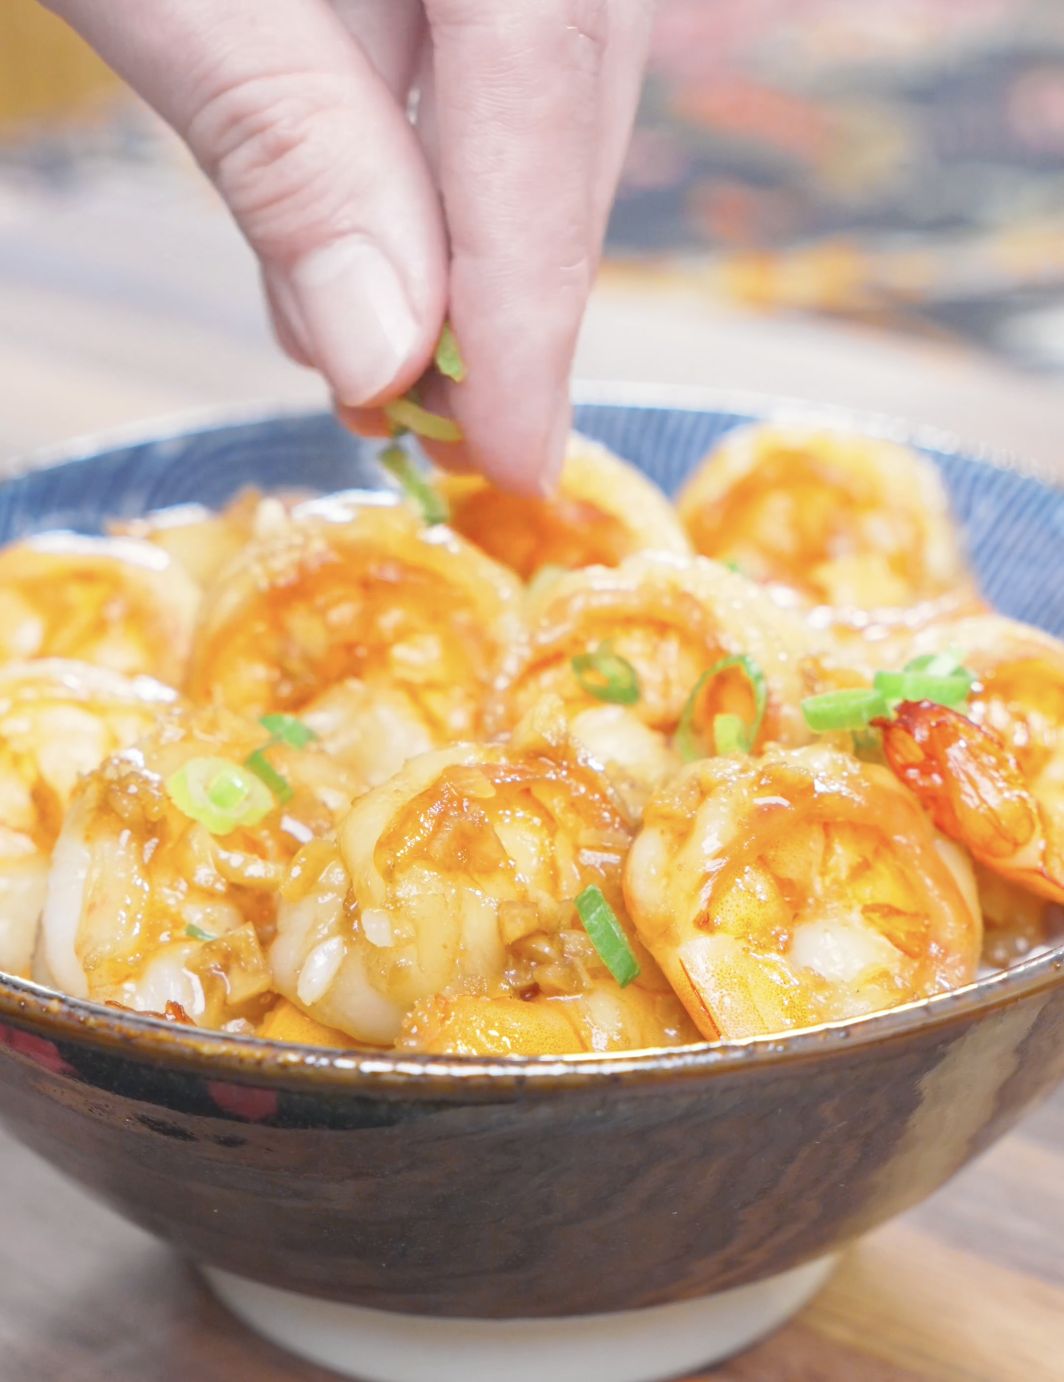
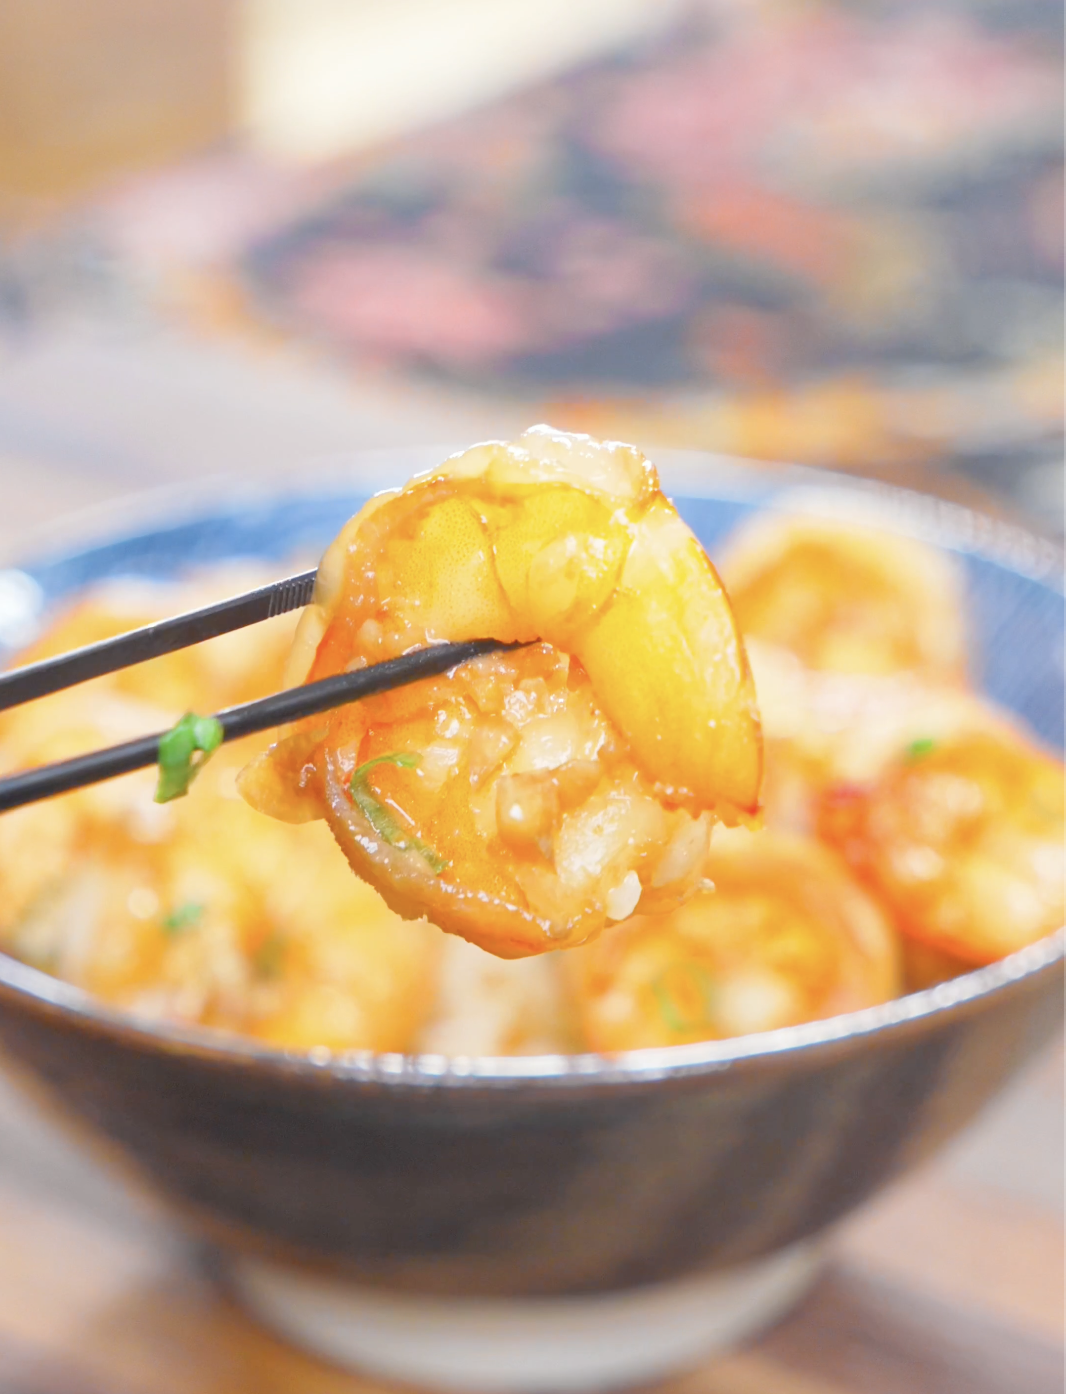
Serve over a fresh bowl of rice and top with even more of that garlic butter sauce. Optionally garnish with scallions. But it’s your food, you eat it how you like.
More of a visual learner? Check out my video recipe below. 👇
Optional Variations & Dietary Adaptations
- Spicy Garlic Buttered Shrimp – If you like a little heat, toss in some red pepper flakes along with the garlic, or finish the dish with a drizzle of chili oil right before serving. A dash of sriracha stirred into the sauce works wonders too.
- Add Veggies – Want to bulk up the dish a bit? Toss in some broccoli, snap peas, bell peppers, or spinach while the garlic is cooking, or sauté them separately and mix them in at the end. It’s an easy way to turn this into a more well-rounded one-pan meal.
- Gluten-Free – Simply swap the light soy sauce for tamari or a gluten-free soy sauce alternative like Bragg’s liquid aminos or coconut aminos, and you’re all set.
- Dairy-Free – Swap the butter for a plant-based butter alternative.
- Low-Carb/Keto-Friendly – Skip the rice and serve the shrimp over cauliflower rice or alongside a simple side of sautéed greens instead. You can also swap the sugar for a low-carb sweetener like monk fruit or erythritol.
- Protein Swap – Not feeling shrimp? This same garlic butter sauce works beautifully with chicken, scallops, or even tofu for a plant-based twist. Just adjust the cooking time depending on what protein you choose.
- Extra Saucy – If you’re someone who likes a little extra sauce to go around (no judgment here), simply double the butter, soy sauce, and sugar to make sure there’s plenty to drizzle over your rice.
Expert Tips & Tricks
- Don’t overcrowd the pan. Give your shrimp some breathing room when they hit the pan. If they’re too crowded, they’ll release extra moisture and end up steaming instead of getting that nice sear. If you’re making a big batch, cook in batches rather than piling it all in at once.
- Cook the shrimp in two stages. Searing the shrimp first and setting them aside before making the sauce means they won’t overcook while the butter and garlic come together. Adding them back in at the end just to finish cooking keeps them tender and juicy instead of rubbery.
- Watch the garlic like a hawk. Garlic can go from perfectly golden and fragrant to bitter and burnt in a matter of seconds, especially in hot butter. Keep the heat at medium and stir it constantly once it hits the pan.
- Use room-temperature shrimp. If your shrimp have been in the fridge, let them sit out for about 10–15 minutes before cooking. This helps them cook more evenly and prevents that annoying cold-in-the-middle situation.
- Pat your shrimp dry. Whether fresh or thawed from frozen, make sure to pat the shrimp dry with a paper towel before they hit the pan. Excess moisture is the enemy of a good sear.
- Taste before you toss the shrimp back in. Once your soy sauce and sugar have combined into that glossy sauce, give it a quick taste. This is your chance to adjust—a little more sugar for sweetness, a splash more soy for saltiness—before the shrimp go back in.
- Don’t skip resting the sauce for a second. Letting the sauce bubble for just a few extra seconds before adding the shrimp back helps it thicken slightly, so it clings to every bite instead of pooling at the bottom of the pan.
- Serve immediately. This dish is best enjoyed hot, fresh off the stove, while the garlic butter sauce is still glossy and the shrimp are perfectly tender. It doesn’t reheat quite as beautifully, so try to time your rice to be ready right when the shrimp are.
Serving Suggestions
This garlic butter shrimp is fantastic served simply over a bowl of steamed rice, letting that glossy sauce soak in, but if you’re a fellow garlic lover, there are so many delicious ways to build out the meal. Swap the plain rice for something with even more flavor, like this garlic butter fried rice or, if you want to go all in on richness, this garlic bacon fried rice.
If noodles are more your thing, this shrimp pairs beautifully with a bowl of creamy garlic butter noodles or, for a fast weeknight twist, garlic butter instant ramen noodles. For something a little more indulgent, spoon the shrimp over a plate of garlic fettuccine alfredo for a rich, comforting dinner. To round out the meal, a side of warm Korean garlic cheese bread makes the perfect companion for mopping up every last bit of buttery garlic sauce.
Storage & Reheating
- Refrigeration: Let any leftover garlic butter shrimp cool to room temperature before transferring it to an airtight container. It’ll keep well in the refrigerator for up to 3 days.
- Freezing: If you want to store it for longer, you can freeze the shrimp in a freezer-safe container or bag for up to 2 months, though keep in mind the texture may be slightly softer once thawed.
- Reheating: For the best texture, reheat your shrimp gently on the stovetop over low-medium heat in a skillet, adding a small splash of water or a little extra butter to help loosen up the sauce as it warms through. Stir occasionally and heat just until warmed through—shrimp can turn rubbery quickly if overcooked, so try not to leave it on the heat too long. If you’re in a hurry, the microwave works too; heat in short 20–30 second bursts at medium power, checking in between, to avoid overcooking. If you froze your shrimp, let it thaw in the refrigerator overnight before reheating for the most even results.
FAQs
What seasoning goes with garlic butter shrimp?
Garlic butter shrimp pairs well with simple, complementary seasonings: black pepper, red pepper flakes or cayenne for heat, smoked paprika for warmth, a pinch of Italian seasoning or fresh herbs like parsley or thyme, and a squeeze of lemon juice or zest for brightness. Old Bay seasoning works nicely if you want a classic seafood-boil flavor. I also like a few shakes of nori furikake for a bit more umami.
Is garlic butter shrimp the same as shrimp scampi?
Not quite, though they’re close cousins. Shrimp scampi traditionally includes white wine and lemon juice as key components, plus often a hit of red pepper flakes, and is classically served over pasta. Garlic butter shrimp is essentially a simpler version—shrimp with butter and garlic, plus a little soy sauce—without the wine or the pasta pairing, making it more versatile as a standalone dish or served over rice, in tacos, etc. So scampi could be thought of as one flavored variation of garlic butter shrimp, rather than the two being identical.
Is it buttered garlic shrimp or garlic buttered shrimp?
Either! Consider it a “you say to-may-to, I say to-mah-to” kinda thing.
More Shrimp Recipes
Craving more shrimp? Try my Honey Garlic Shrimp, Salt and Pepper Shrimp, or Crispy Spicy Salmon Rice!