Deep Fried Pork Belly Recipe
Ingredients
- 1 lb pork belly, cut into thick cubes
- 2 tbsp light soy sauce
- 1 tbsp sugar
- ⅓ cup cornstarch
- Neutral oil, for deep frying
Optional Garnish
- Flaky salt
Instructions
- In a bowl, add the thick cubes of pork belly and season with the light soy sauce and sugar. Mix thoroughly.
- Sprinkle the cornstarch over the pork belly and mix again until well combined and every piece is coated.
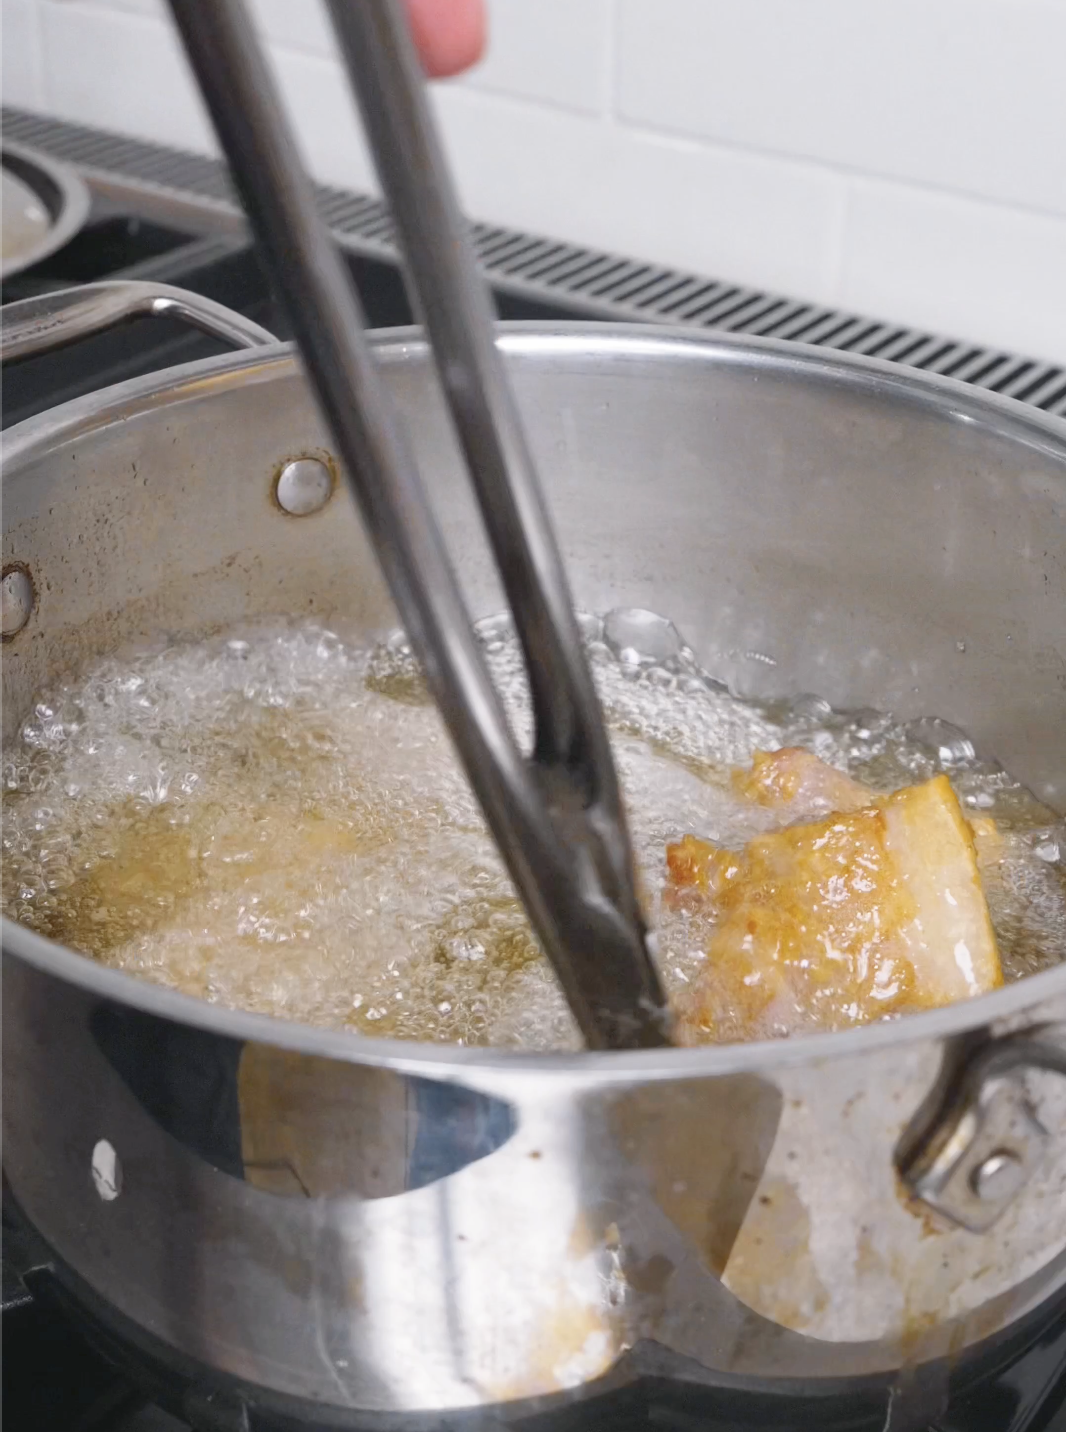
- Heat a pot of oil to 350°F. Drop the pork belly in and fry, removing from the heat once the exterior is a deep caramel brown.
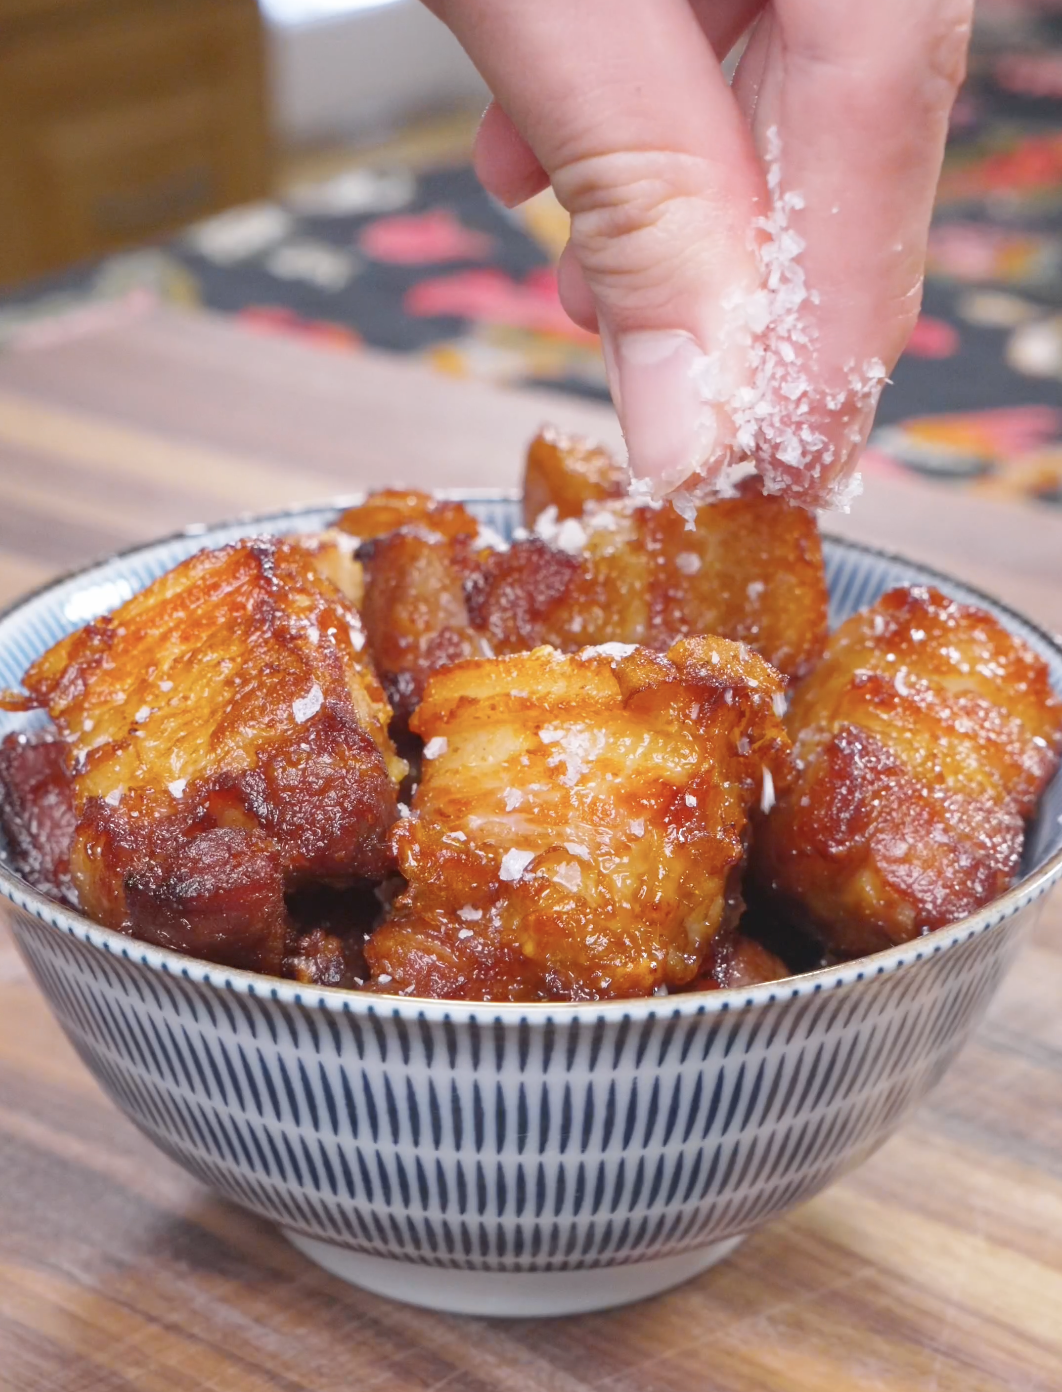
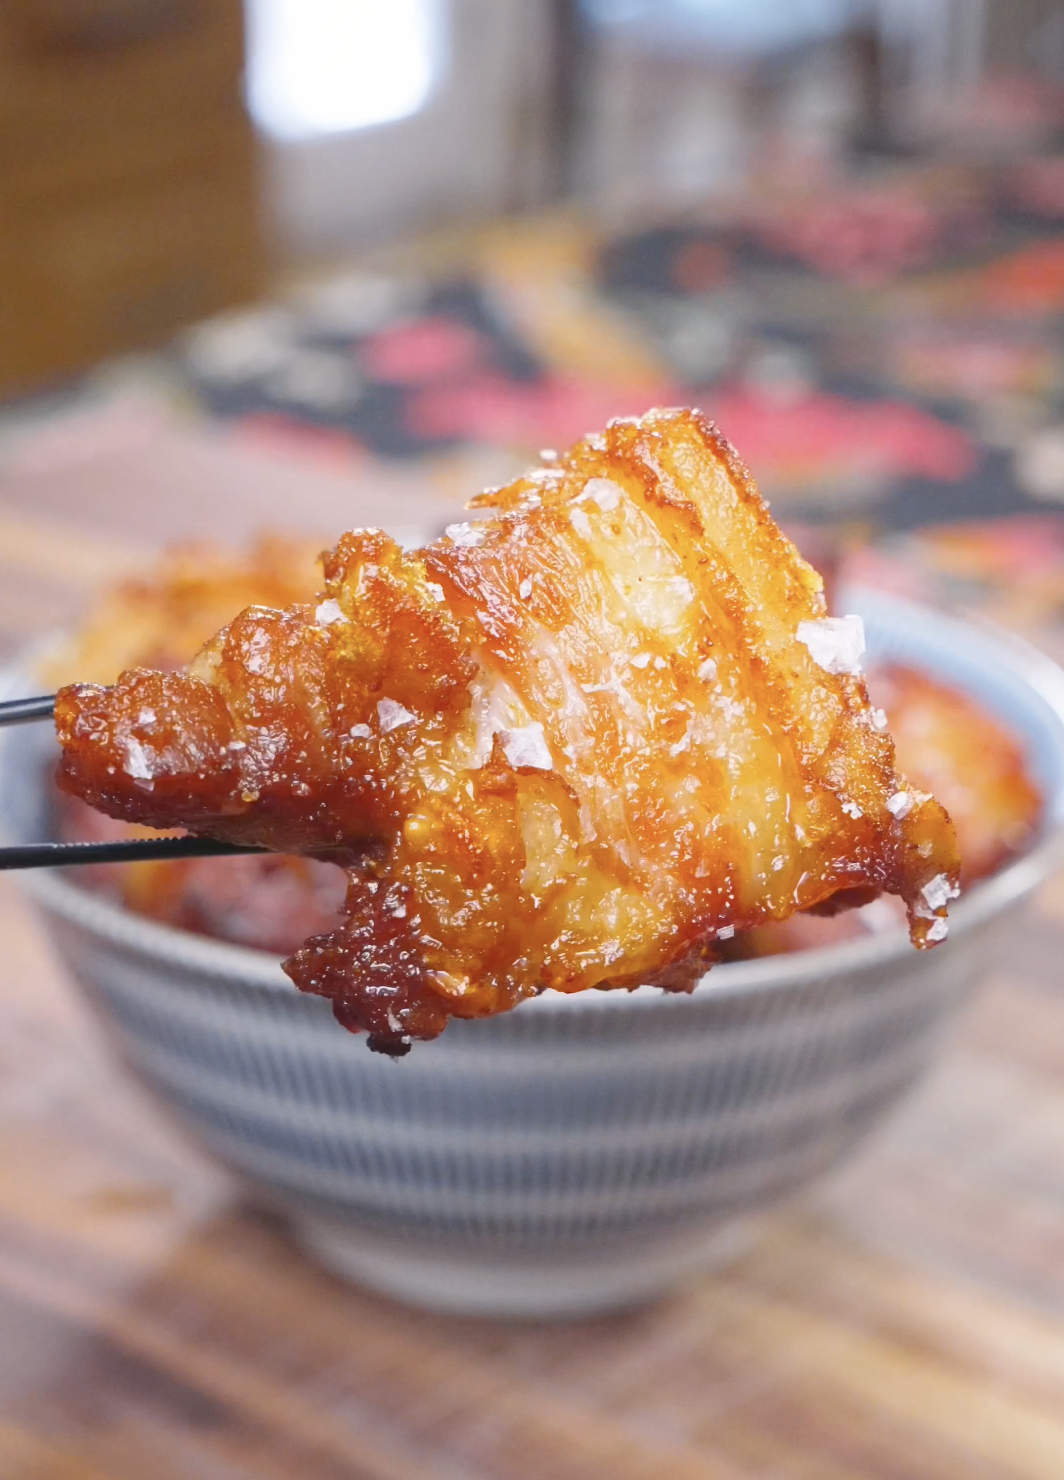
- Place the pork belly in a bowl. Optionally garnish with flaky salt. But it’s your food, you eat it how you like.
Video
Notes
- Pat the pork belly dry before coating — excess moisture stops the cornstarch sticking and causes splatter.
- Cut pieces evenly, around 1 to 1.5 inches, so everything cooks at the same rate.
- Double-fry for restaurant-level crunch: lower temperature to cook through, rest, then higher to crisp.
- Rest on a wire rack after frying so the crust sets.
- Keep the oil temperature steady — rushing is the most common cause of greasy results.
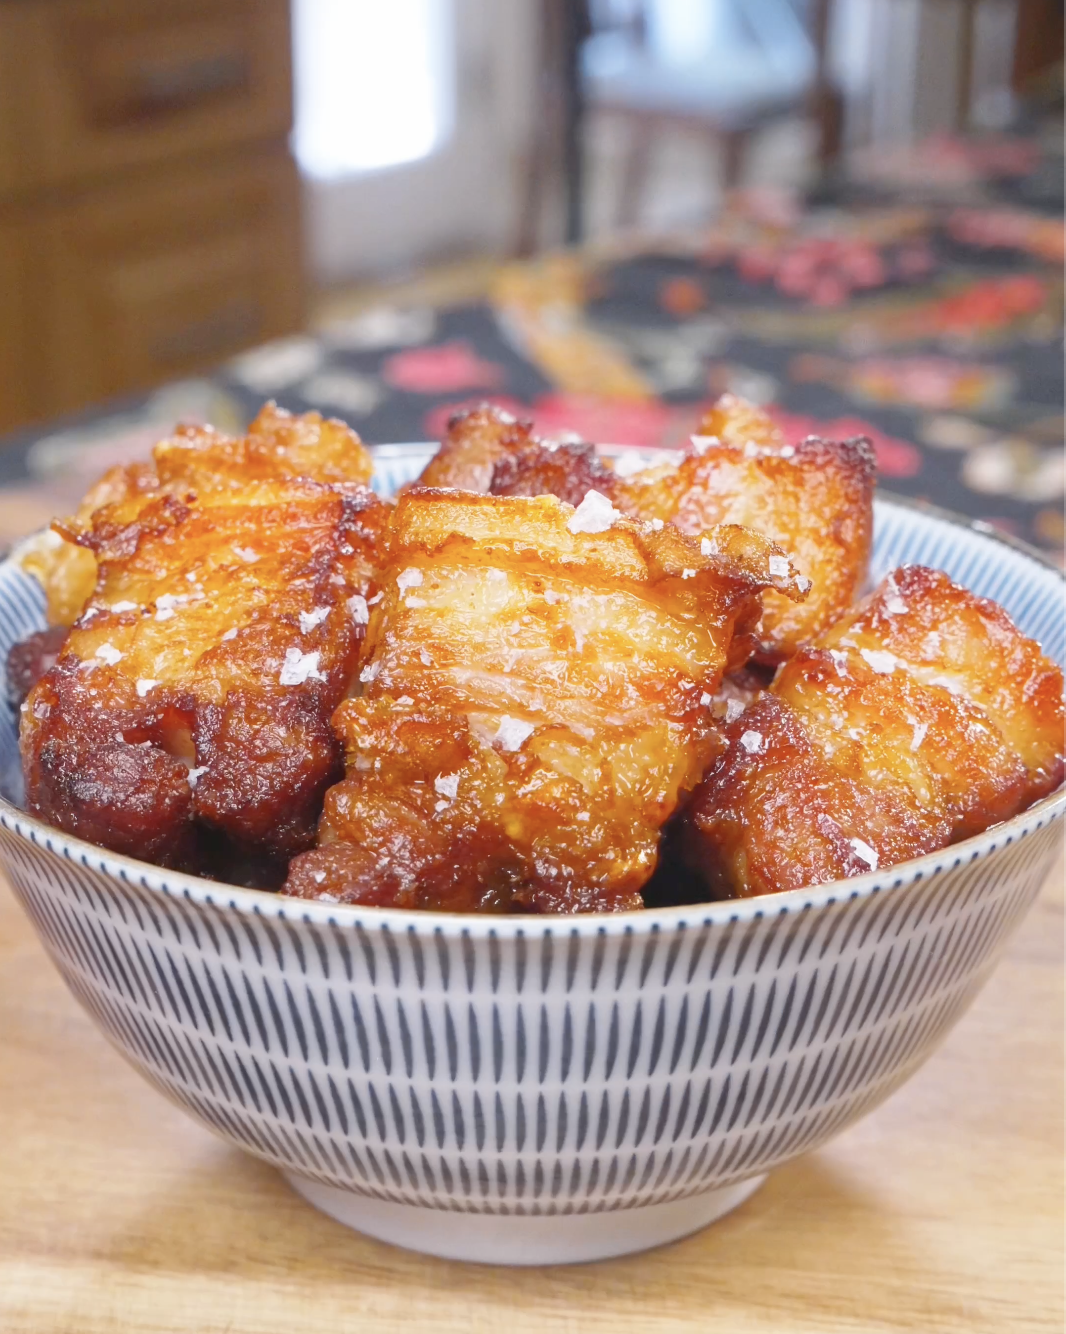
There’s something almost magical about the moment you bite into perfectly Deep Fried Pork Belly bits—the audible crackle giving way to tender, juicy meat underneath, each bite a study in contrasts. This recipe strips the process down to its essentials: pork belly, a touch of light soy sauce and granulated sugar for seasoning, a light cornstarch coating for a shatteringly crisp exterior, and neutral oil for frying, all finished with a sprinkle of flaky salt to let the pork’s natural flavor shine. In just 25 minutes, you can turn a handful of pantry staples into a restaurant-quality dish that rivals anything you’d order at your favorite Chinese takeout spot—no deep-frying expertise or hard-to-find ingredients required. Whether you’re serving it as a show-stopping appetizer, piling it onto rice for a quick weeknight dinner, or using it as the star of a larger spread, this crispy pork belly delivers maximum flavor and texture for minimal effort.
Is pork belly one of your favorite foods? Me too. Check out my sticky sweet pork belly, red braised pork belly and garlic pork belly fried rice recipes next!
Why You’ll Crave This Fried Pork Belly Recipe
What makes this crispy fried pork belly so irresistible isn’t just the technique—it’s how effortlessly it delivers big, craveable results. Each piece turns out with a delicate, glass-like crunch on the outside while staying succulent and rich within, striking an elusive balance between indulgent and refined. The seasoning is deliberately minimal, letting the soy sauce and sugar build a subtle savory-sweet depth that caramelizes in the hot oil, rather than masking the pork’s natural flavor. It’s the kind of dish that feels special enough for a dinner party yet simple enough to whip up on a random Tuesday when you’re craving something comforting. Plus, since everything comes together with just a handful of ingredients and one pan, there’s no elaborate prep or cleanup marathon standing between you and that first crispy, melt-in-your-mouth bite. Once you taste how good this homemade version is, it’ll be hard to imagine reaching for takeout again.
Ingredients & Substitutions
- Pork Belly – The star of the show! Look for a piece with good layers of fat and meat—that’s what gives you the juicy interior and crispy exterior we’re after. If you can, ask your butcher for a cut with an even thickness so it cooks uniformly.
- Light Soy Sauce – This brings the savory, salty backbone to the seasoning without overpowering the pork or darkening it too much. Tamari is a good gluten-free swap.
- Granulated Sugar – Just a touch to balance out the saltiness and help everything caramelize into that gorgeous golden-brown color. Light brown sugar can sub in here if you want a slightly deeper, more molasses-y note.
- Cornstarch – This is your secret weapon for crispiness! It creates a light, crackly coating when fried. Potato starch or tapioca starch both make great substitutes if that’s what you’ve got in the pantry. They’ll give you an equally crispy, maybe even extra-shattery crust.
- Neutral Oil – You’ll want something with a high smoke point for deep frying like vegetable, canola, or peanut oil. Avoid olive oil here since it can’t handle the heat and will affect the flavor. Peanut oil is an especially great choice if you want a subtle nutty undertone.
Optional Garnish
- Flaky Salt – A finishing touch that’s totally worth it! A sprinkle right after frying adds little bursts of crunch and seasoning that make every bite pop. Maldon is my favorite, but any flaky sea salt will do the trick.
This is just a short review of the ingredients; for the complete recipe, including quantities, scroll down to the recipe card 👇
A Primer on Deep Frying
Don’t let deep frying intimidate you! You don’t need any fancy equipment to get perfectly crispy results. A regular heavy-bottomed pot (like a Dutch oven) paired with a reliable thermometer works just as well as a dedicated deep fryer appliance. If you fry often, a deep fryer can be a nice convenience with built-in temperature control and sometimes even oil filtration, but it’s by no means necessary for this recipe.
- Getting the oil temperature right is the single most important factor here. Aim for around 350–375°F (175–190°C)—hot enough to crisp up the coating quickly without letting the pork absorb excess oil, but not so hot that it burns before the inside cooks through. A clip-on candy/deep-fry thermometer is your best friend for keeping an eye on this throughout the cooking process, since oil temperature can dip once you add the pork.
- Fry in batches. Overcrowding the pot drops the oil temperature too fast and leads to soggy, unevenly cooked pieces. Give each piece of pork belly a little room to move around so it fries evenly on all sides.
- Let it rest. Once your pork belly pieces are golden and crispy, transfer them to a wire rack set over a baking sheet (rather than a paper towel-lined plate) to drain. This keeps the bottom from getting steamy and losing its crunch.
- Reusing your frying oil. Good news—you don’t have to toss that oil after just one use! Once it’s completely cooled, strain it through a fine-mesh sieve or cheesecloth to remove any stray bits of cornstarch coating, then store it in a sealed container in a cool, dark place (or the fridge for longer storage). Properly strained and stored oil can typically be reused 2–3 more times for frying, especially if it hasn’t been overheated. Just give it a sniff and a look before reusing—if it smells off, has darkened significantly, or seems foamy, it’s time to let it go.
How to Make Deep Fried Pork Belly
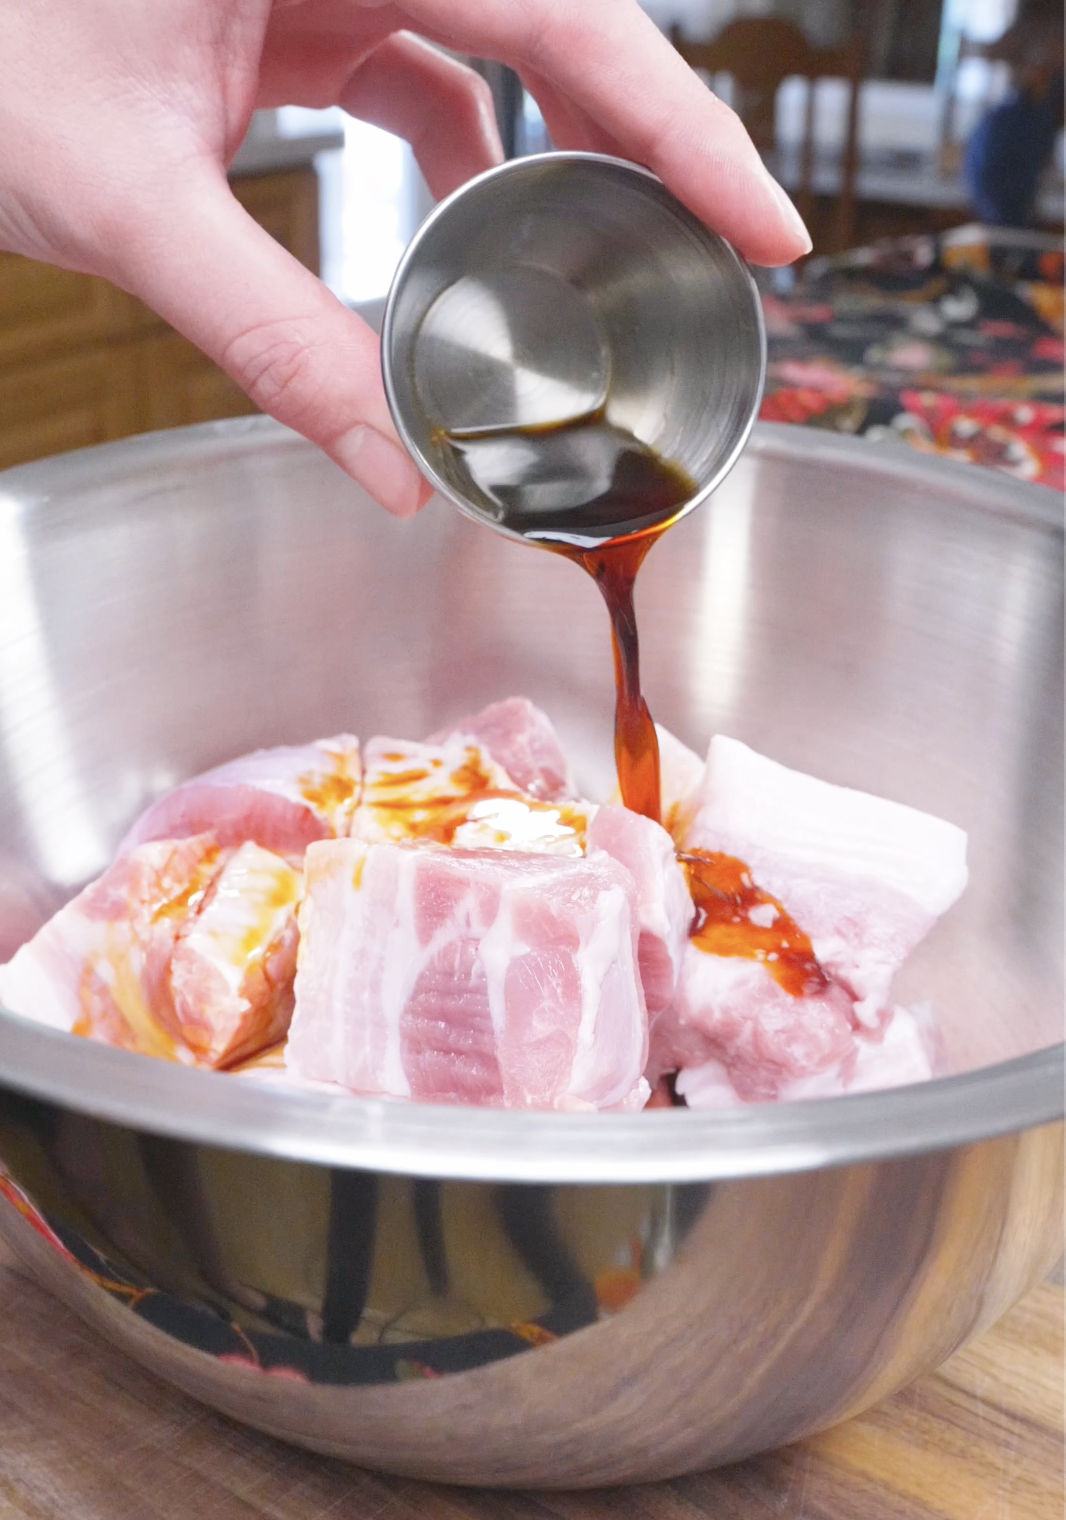
In a bowl, add the thick cubes of pork belly and season with the light soy sauce and sugar. Mix thoroughly.
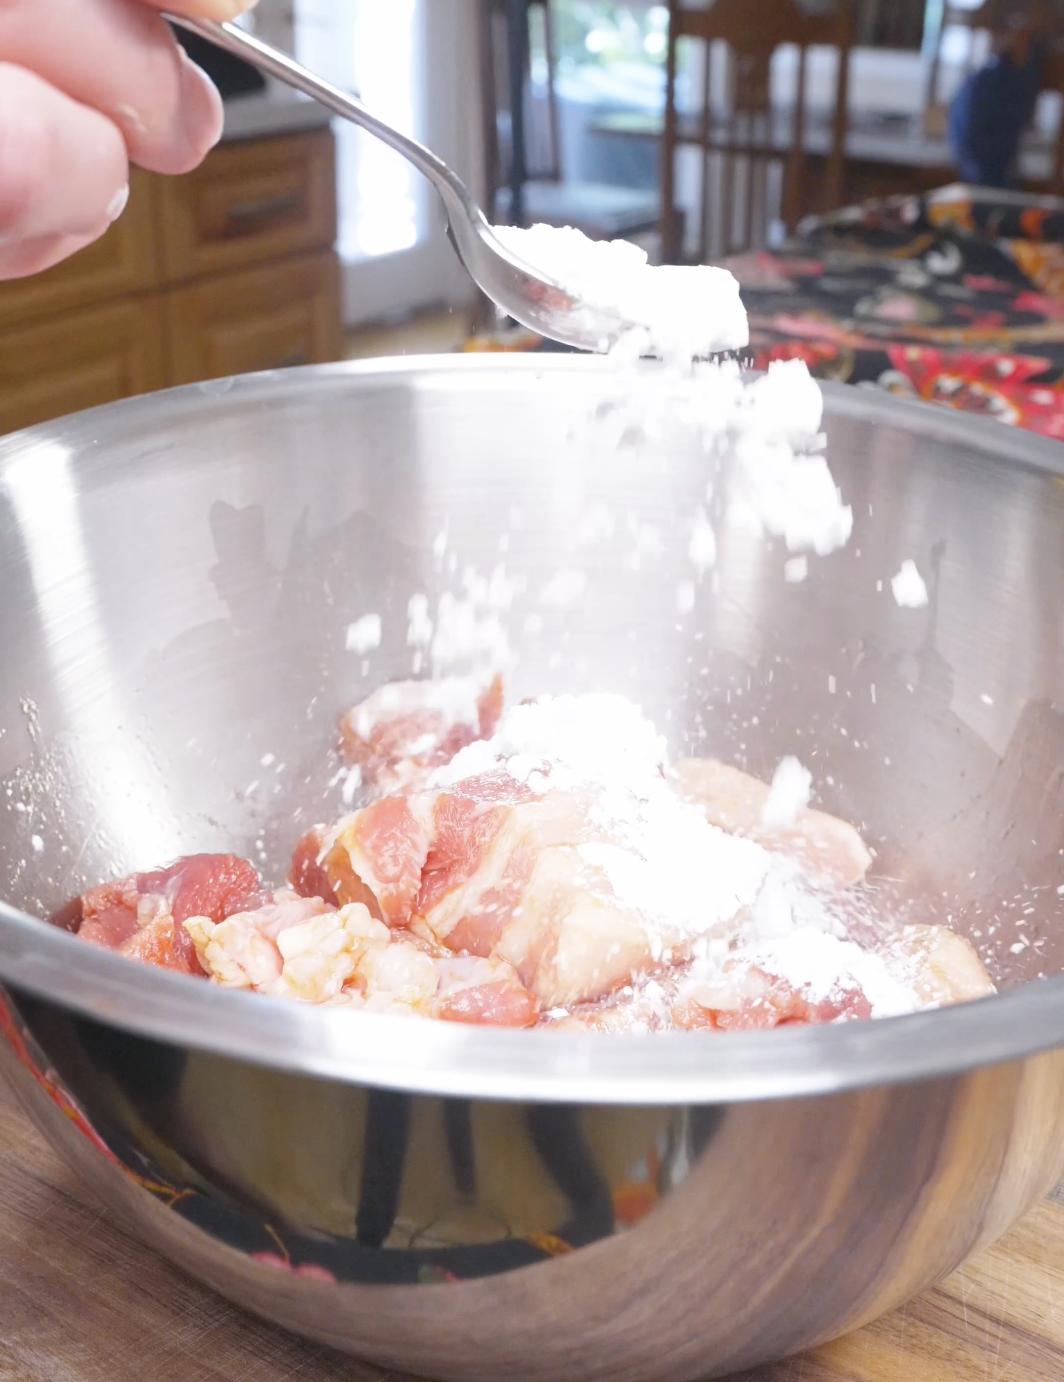
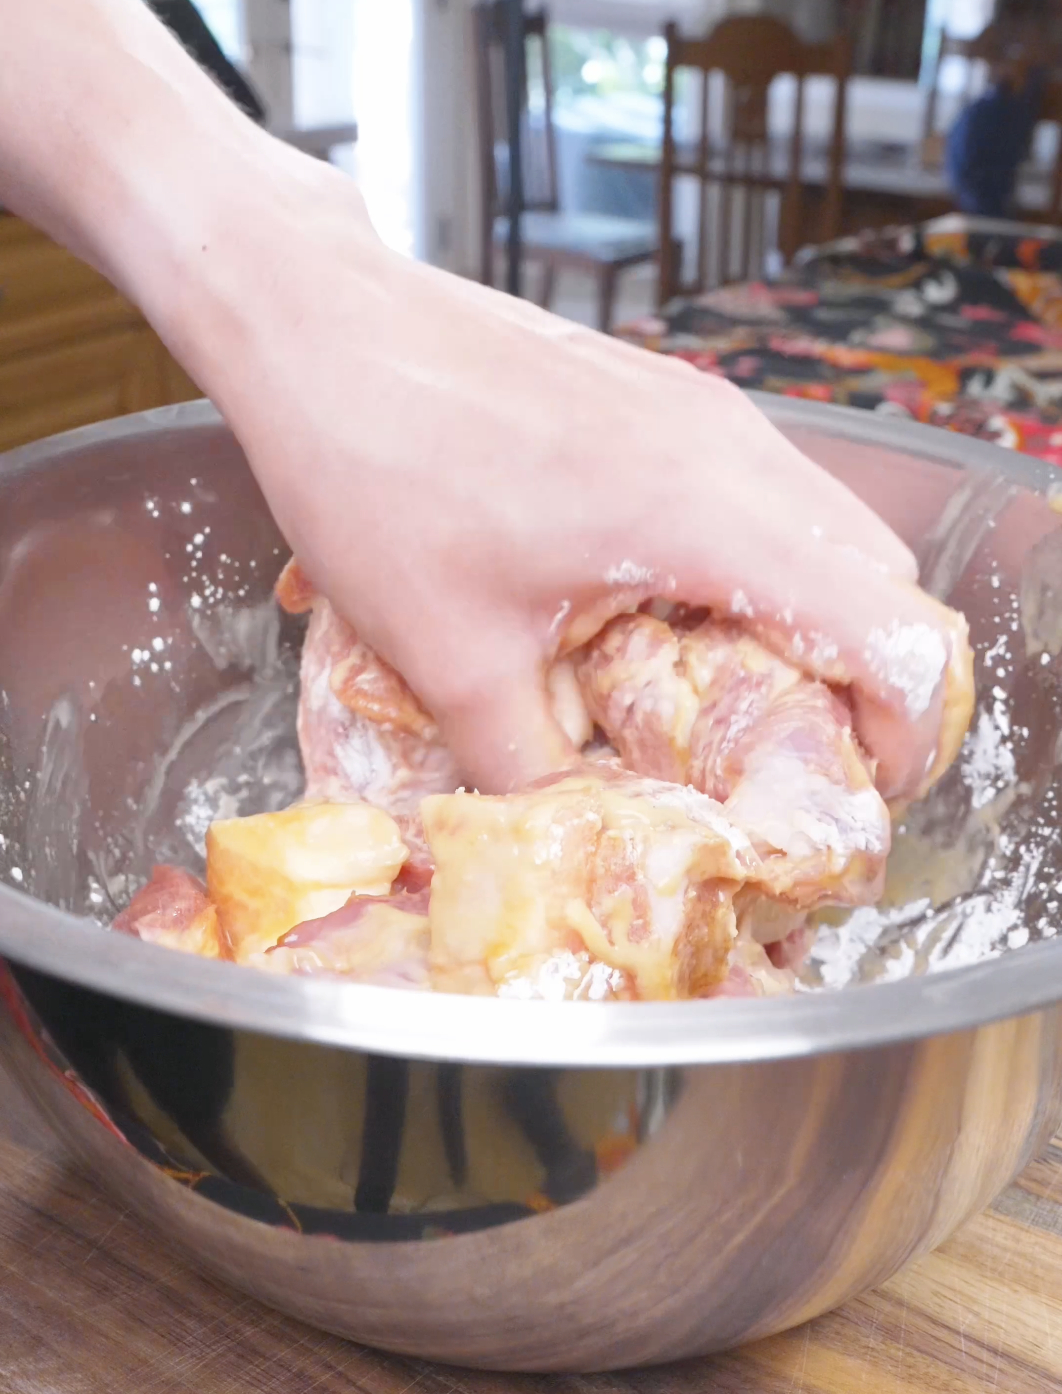
Sprinkle the cornstarch over the pork belly and mix again until well combined and every piece is coated.
Heat a pot of oil to 350°F. Drop the pork belly in and fry, removing from the heat once the exterior is a deep caramel brown.
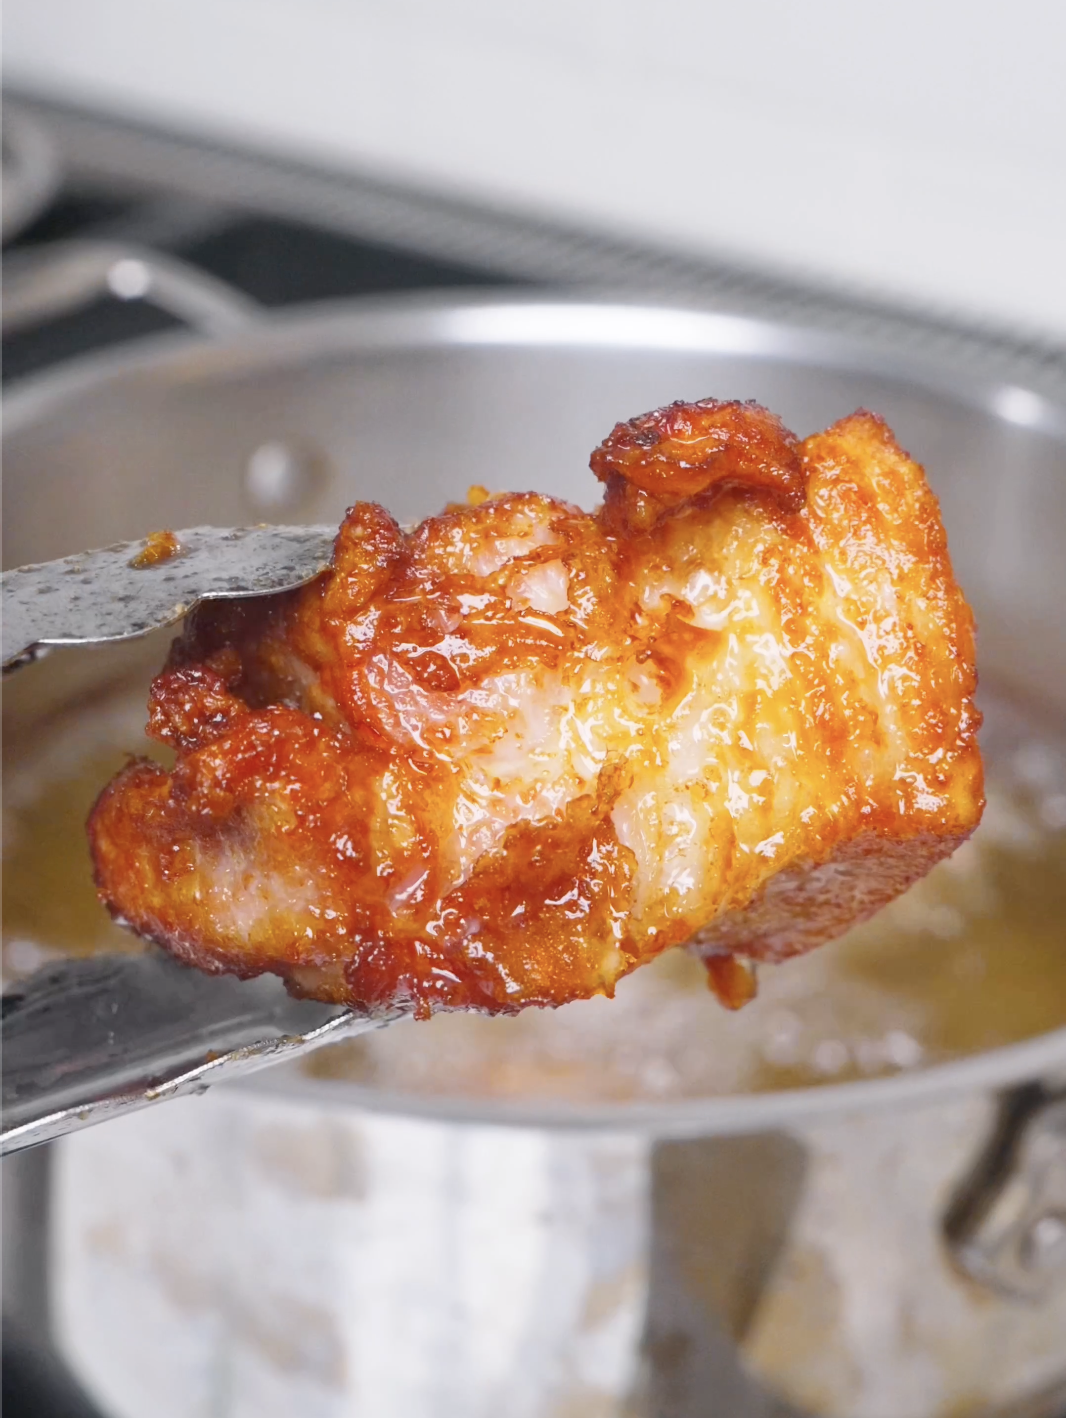
Place the pork belly in a bowl. Optionally garnish with flaky salt. But it’s your food, you eat it how you like.
More of a visual learner? Check out my video recipe below. 👇
Optional Variations & Dietary Adaptations
Feel free to make this deep fried pork belly recipe your own! Here are a few easy ways to switch things up:
- Spicy Kick – If you like a little heat, toss in some chili flakes, a drizzle of chili oil, or a sprinkle of Sichuan peppercorns along with the flaky salt for a numbing, spicy finish.
- Gluten-Free – Simply swap the light soy sauce for tamari or coconut aminos, and double-check that your cornstarch brand is processed in a gluten-free facility. The rest of the recipe is naturally gluten-free as is.
- Air Fried Pork Belly – For a lighter take, you can air-fry the pork belly instead of deep frying. Toss the cornstarch-coated pieces with a light spray of oil and air fry at around 400°F (200°C), flipping halfway through, until golden and crispy. It won’t be quite as shatteringly crisp as the deep-fried version, but it’s a solid lighter alternative.
- Different Protein – Not a pork fan? This same technique works beautifully with chicken thighs cut into bite-sized pieces, or even firm tofu for a vegetarian spin. Just adjust the frying time accordingly since they’ll cook faster than pork belly.
- Extra Aromatic – For more depth of flavor, marinate the pork belly in the soy sauce and sugar mixture for 20–30 minutes before coating in cornstarch, rather than just tossing it right before frying. This lets the seasoning penetrate a bit more.
- Low-Sodium – Use low-sodium soy sauce and reduce or omit the added salt garnish at the end. The dish will still have plenty of savory flavor from the caramelized sugar and soy base.
Expert Tips & Tricks
- Pat the pork belly dry before coating. Any excess moisture will prevent the cornstarch from sticking properly and can cause dangerous oil splatter when frying. A few minutes with a paper towel makes a big difference.
- Double-fry for extra crispiness. If you want restaurant-level crunch, fry the pork belly once at a slightly lower temperature to cook it through, let it rest for a few minutes, then fry again briefly at a higher temperature. This two-step method gives you an incredibly crisp exterior while keeping the inside tender. (Pssst! This method also works well for homemade french fries!)
- Cut pieces evenly. Uniform sizing means everything cooks at the same rate, so you won’t end up with some pieces overdone while others are underdone. Aim for bite-sized cubes around 1 to 1.5 inches.
- Score the skin if using skin-on belly. Lightly scoring the fat layer (without cutting into the meat) helps render the fat more evenly and prevents the skin from curling or bubbling unevenly during frying.
- Don’t skip the resting step after frying. Letting the pork rest for a minute or two on a wire rack allows the crust to set properly. If you toss it in sauce or garnish immediately, you risk softening that hard-earned crispiness.
- Taste and adjust as you go. Soy sauce brands vary quite a bit in saltiness, so give your seasoning mixture a quick taste before committing.
- Keep your oil temperature steady. If you notice the temperature dropping significantly after adding pork, pause and let it climb back up before adding more. Rushing this step is the most common cause of greasy, limp results.
Serving Suggestions
This crispy pork belly is wonderfully versatile and fits right into all kinds of meals. For a classic approach, serve it over a bowl of steamed jasmine rice with a side of stir-fried vegetables to soak up all the savory-sweet flavor. It also makes a fantastic addition to almost any noodle dish. Try tossing it with garlic sesame noodles or piling it on top of a bowl of instant ramen for an extra protein-packed meal.
If you’re putting together a bigger spread, this pork belly pairs beautifully alongside other Asian-inspired dishes like cucumber salad for something fresh and crunchy to balance the richness, or egg fried rice to round things out. It also makes a great appetizer or snack on its own! I like to serve it with toothpicks and a simple dipping sauce like spicy mayo or yum yum sauce for a crowd-pleasing party bite. However you serve it, a sprinkle of sliced scallions or sesame seeds on top never hurts!
Storage & Reheating
- Refrigeration: Let any leftover pork belly cool completely before transferring it to an airtight container. It’ll keep well in the fridge for up to 3-4 days.
- Freezing: If you want to save some for longer, you can freeze it for up to 2 months. Just make sure it’s well-sealed in a proper freezer bag with as much air pressed out as possible to avoid freezer burn.
- Reheating: The microwave is quick, but it will soften that crispy coating, so it’s really only a good option if texture isn’t a priority for you in the moment. For the best results, reheat in the oven or air fryer instead—pop it in at around 375°F (190°C) for about 8-10 minutes, or until heated through and the crust has crisped back up. A skillet works in a pinch too: just toss the pieces over medium heat for a few minutes, turning occasionally, until warmed and re-crisped.
- From Frozen: If you’re reheating from frozen, there’s no need to thaw first. Just add a few extra minutes to your oven or air fryer time, checking that it’s heated through before serving.
- One Little Tip: avoid stacking the pieces on top of each other while reheating, since that traps steam and makes the coating go soggy. Giving them some space on the tray or in the basket helps keep that crispy texture you worked so hard for!
FAQs
How long do you fry pork belly for?
For bite-sized cubes, you’re typically looking at about 5-7 minutes per batch at 350°F (175°C), or until golden brown and cooked through. If you’re double-frying for extra crispiness, do a shorter first fry (around 3-4 minutes) to cook it through, then a quick second fry (1-2 minutes) at a slightly higher temperature to crisp up the exterior.
What is the best way to fry pork belly?
Deep-frying in batches at a steady medium-high temperature (around 350-375°F) gives the most reliably crispy results, since it cooks the pieces evenly on all sides. Make sure not to overcrowd the pot. Too many pieces at once drops the oil temperature and leads to soggy, greasy pork instead of crispy. Pan-frying works too if you prefer using less oil, just expect a slightly less uniform crunch.
Is it necessary to boil pork belly before frying?
It’s not strictly necessary, but it can help, especially with thicker cuts. Boiling (or simmering) first helps render some of the fat and ensures the meat is fully tender before it hits the hot oil, which also means a shorter, gentler fry time at the end. If your pork belly is cut small and thin, you can usually skip this step and fry it directly.
What’s the difference between side pork vs pork belly? What about salt pork vs pork belly?
Side pork and pork belly are essentially the same cut of meat—“side pork” is just another name used for it in some regions. Salt pork, on the other hand, is pork belly (or sometimes fatback) that’s been cured in salt, giving it a much saltier, firmer texture and longer shelf life. It’s typically used more as a seasoning or flavoring ingredient rather than eaten as a standalone piece of meat the way fresh pork belly is.
More Deep Fried Recipes
Craving more crispy fried food? Try my Crispy Pork Belly, Sticky Sweet Pork Belly Bites, or Vietnamese Crispy Pork Belly!