Crispy Tuna Rice Recipe
Ingredients
- 2 cups freshly steamed short-grain rice
- Neutral oil, for shallow frying
For the Seasoned Rice
- 2 tbsp rice vinegar
- ½ tsp salt
- 1 tbsp sugar
For the Tuna Filling
- 8 oz sushi-grade tuna, finely diced
- 2 scallion whites, finely sliced
- 1 tbsp light soy sauce
- 1 tsp sesame oil
- 1 tsp sugar
Optional Garnish
- Soy glaze
- Sriracha mayo
- Sesame seeds
- Scallions
Instructions
- Combine the rice vinegar, salt, and sugar and mix thoroughly until dissolved.
- Add the freshly steamed rice to a bowl and fold in the rice vinegar mixture.
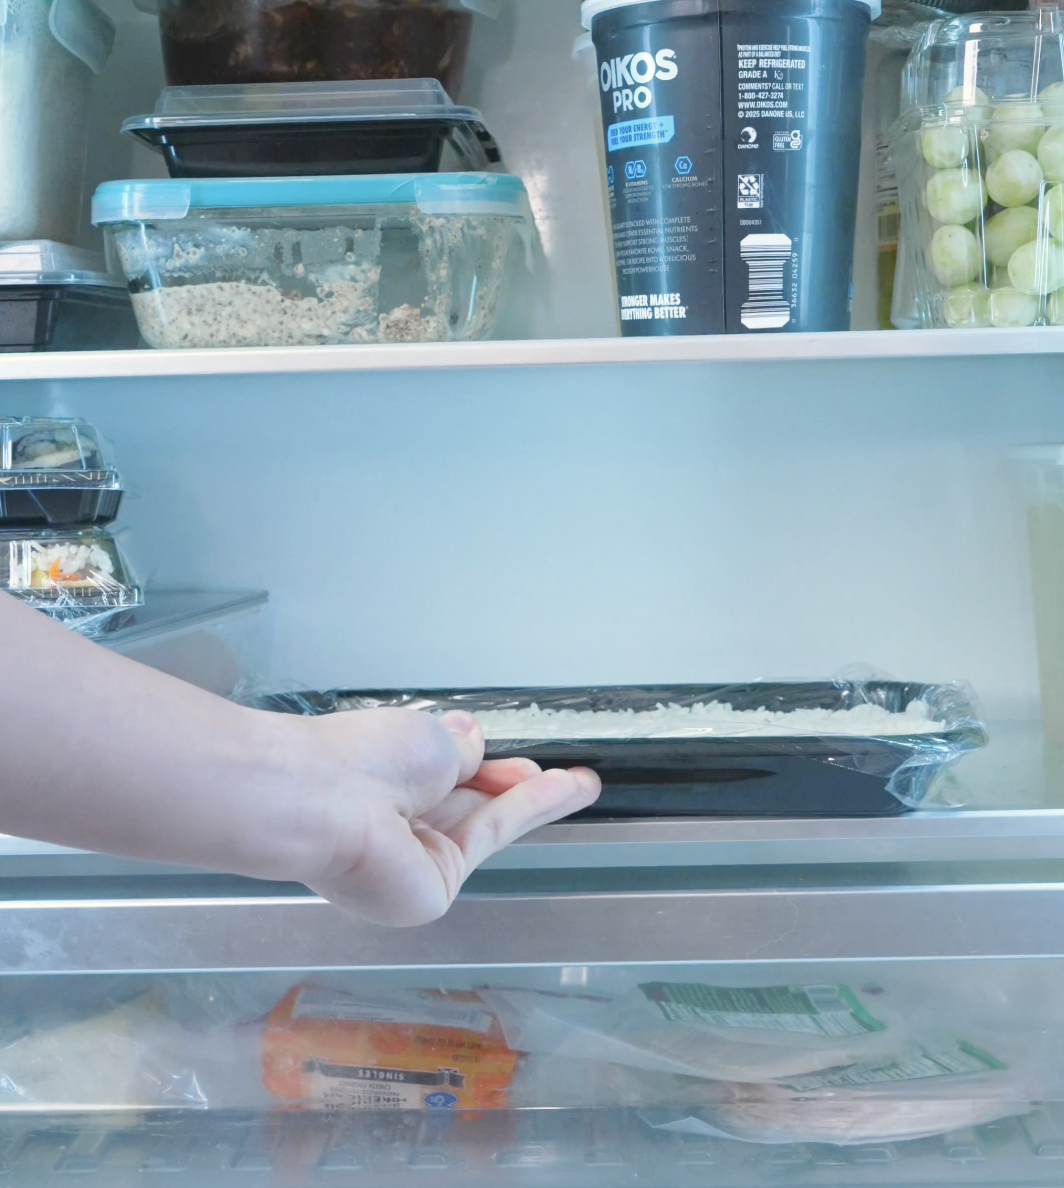
- Line a tray with cling film and press the rice down firmly into an even layer, then place in the freezer for a couple of hours.
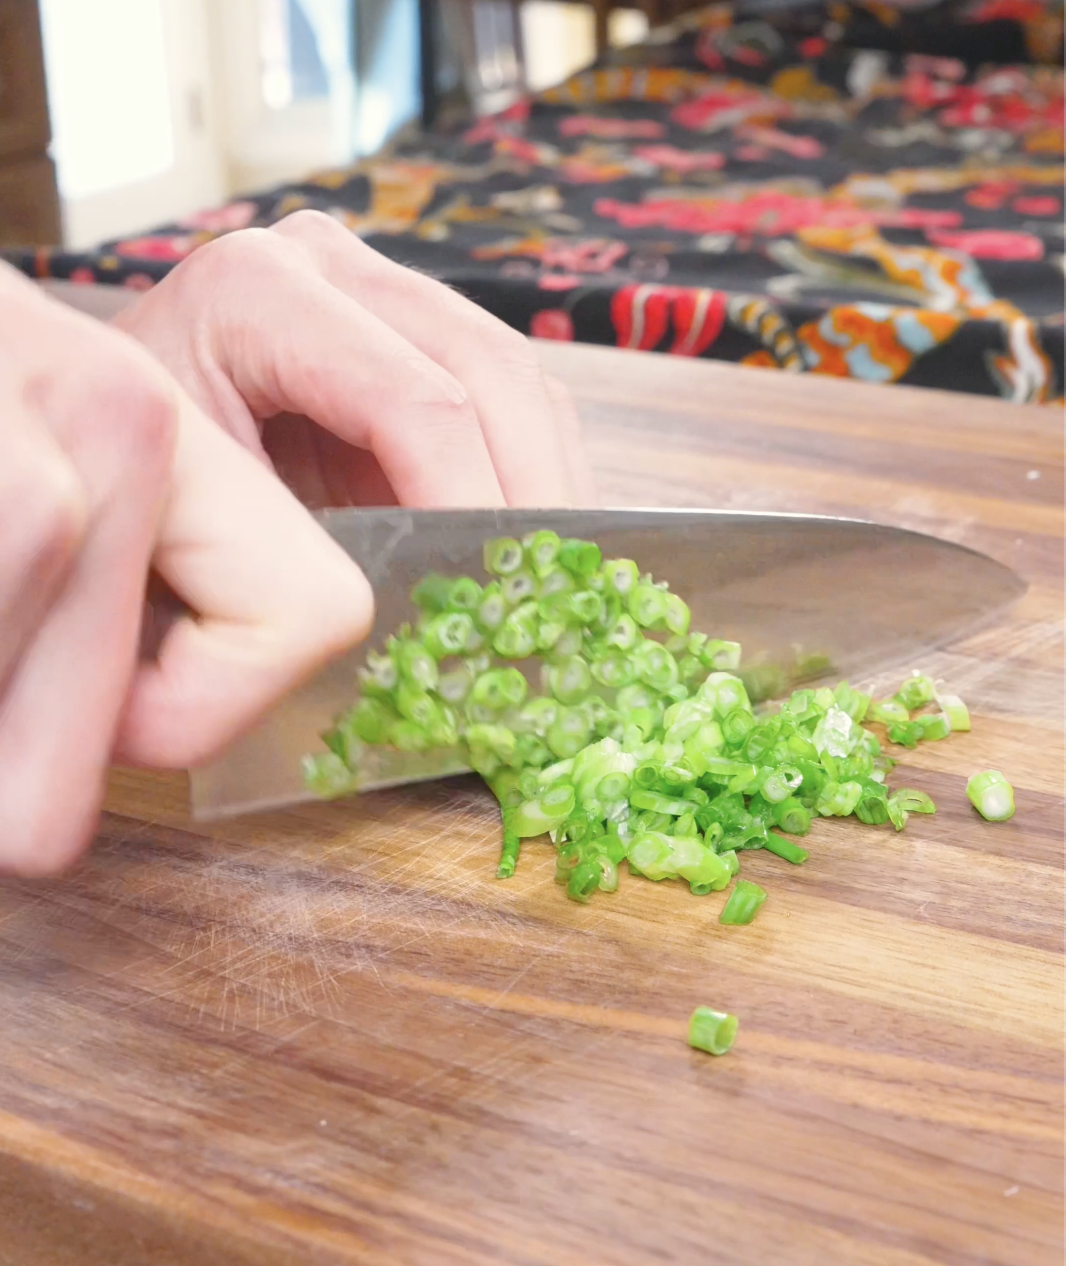
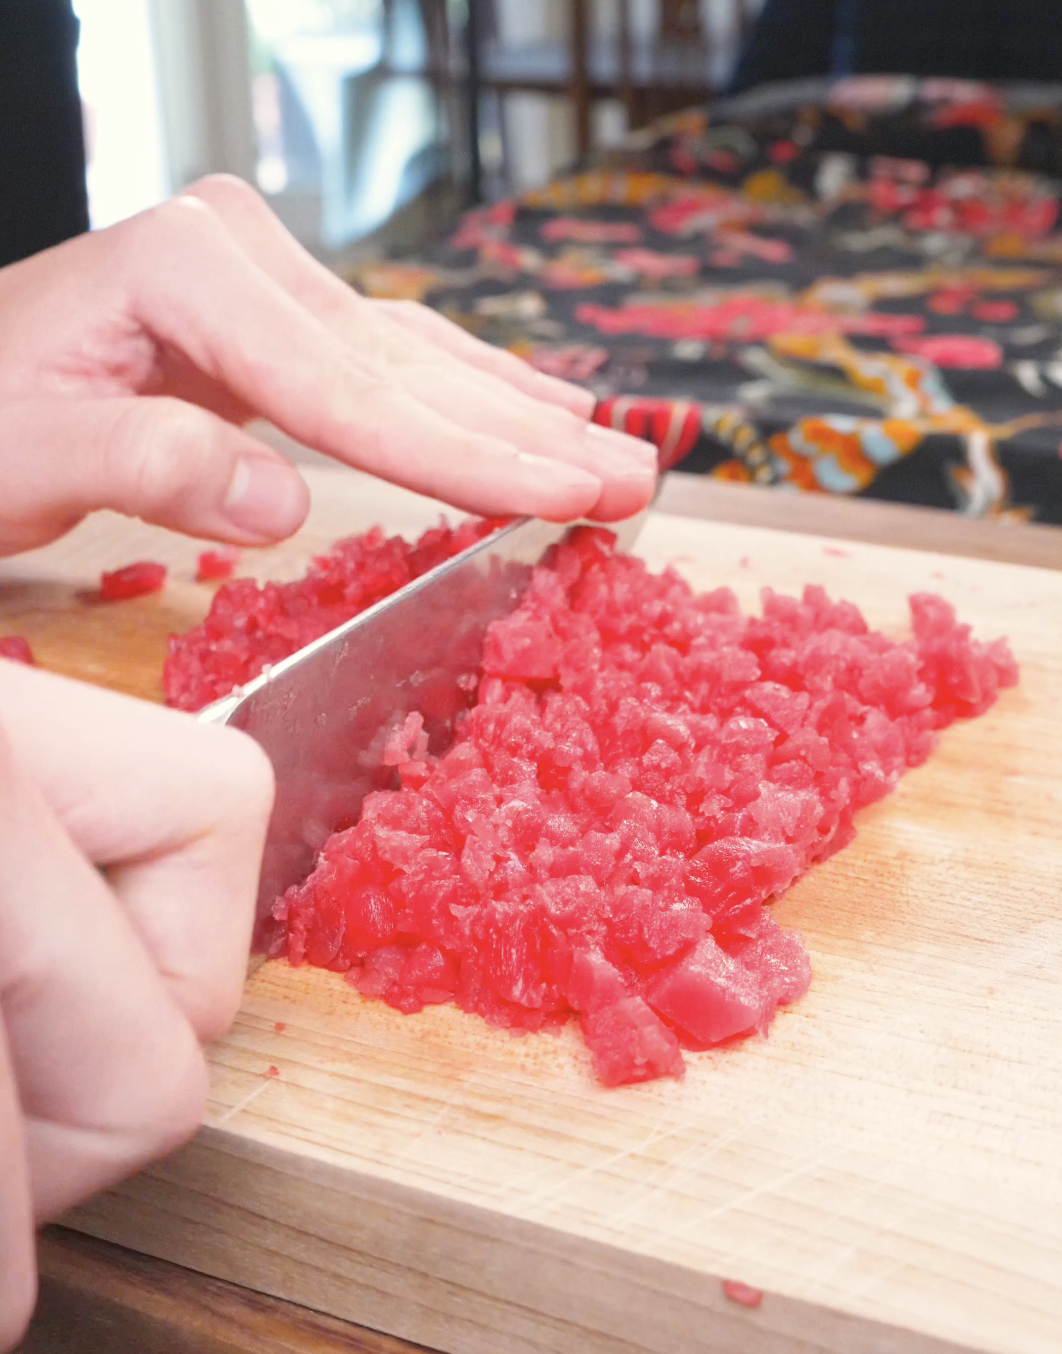
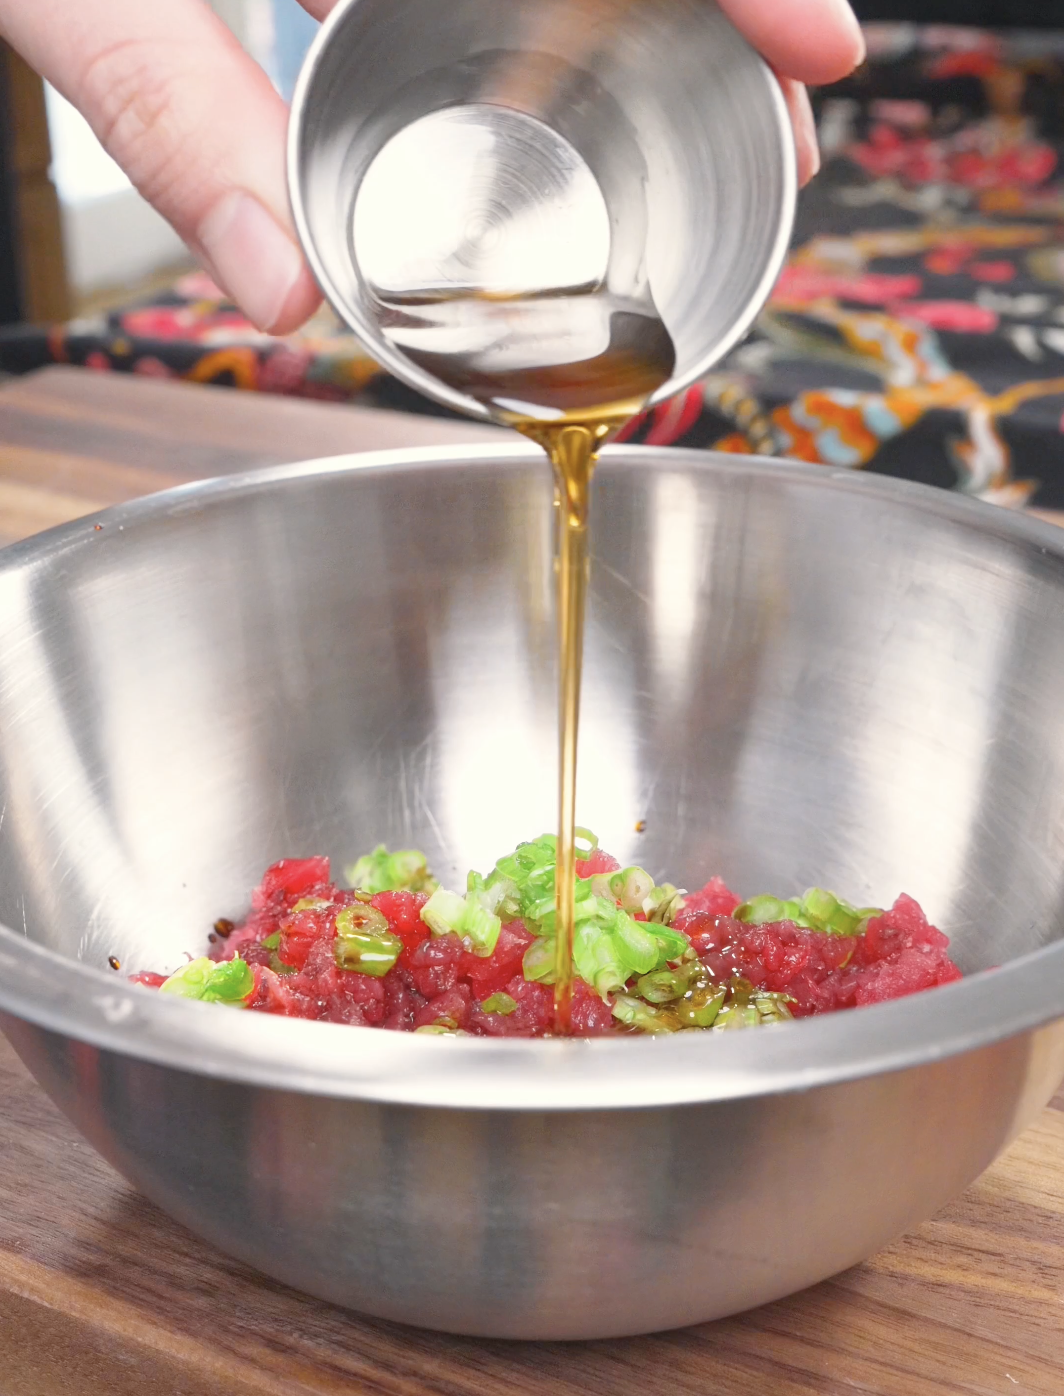
- For the filling, finely slice the scallion whites and give the tuna a fine dice. In a bowl, combine the tuna, scallions, light soy sauce, sesame oil, and sugar, then set aside.
- Remove the rice from the tray and cut it into rectangles, setting them aside.
- Add oil to a pan and shallow fry the rectangles until golden brown on both sides. Remove and rest for at least 10 minutes.
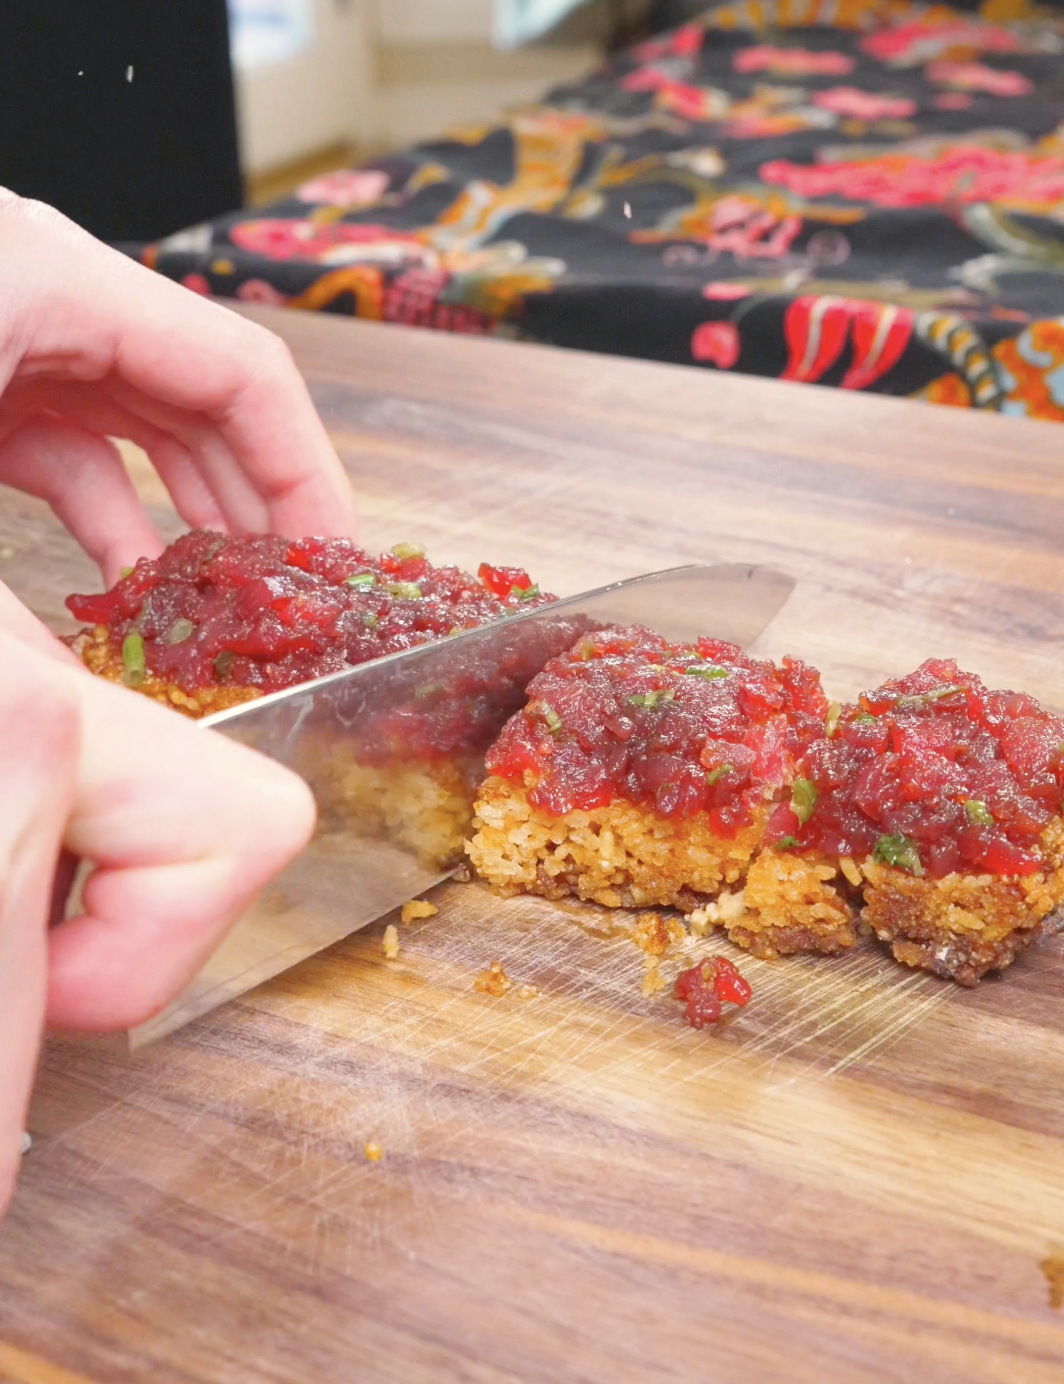
- Place the tuna mixture on top of the crispy rice, cut into little squares, and arrange on a plate.
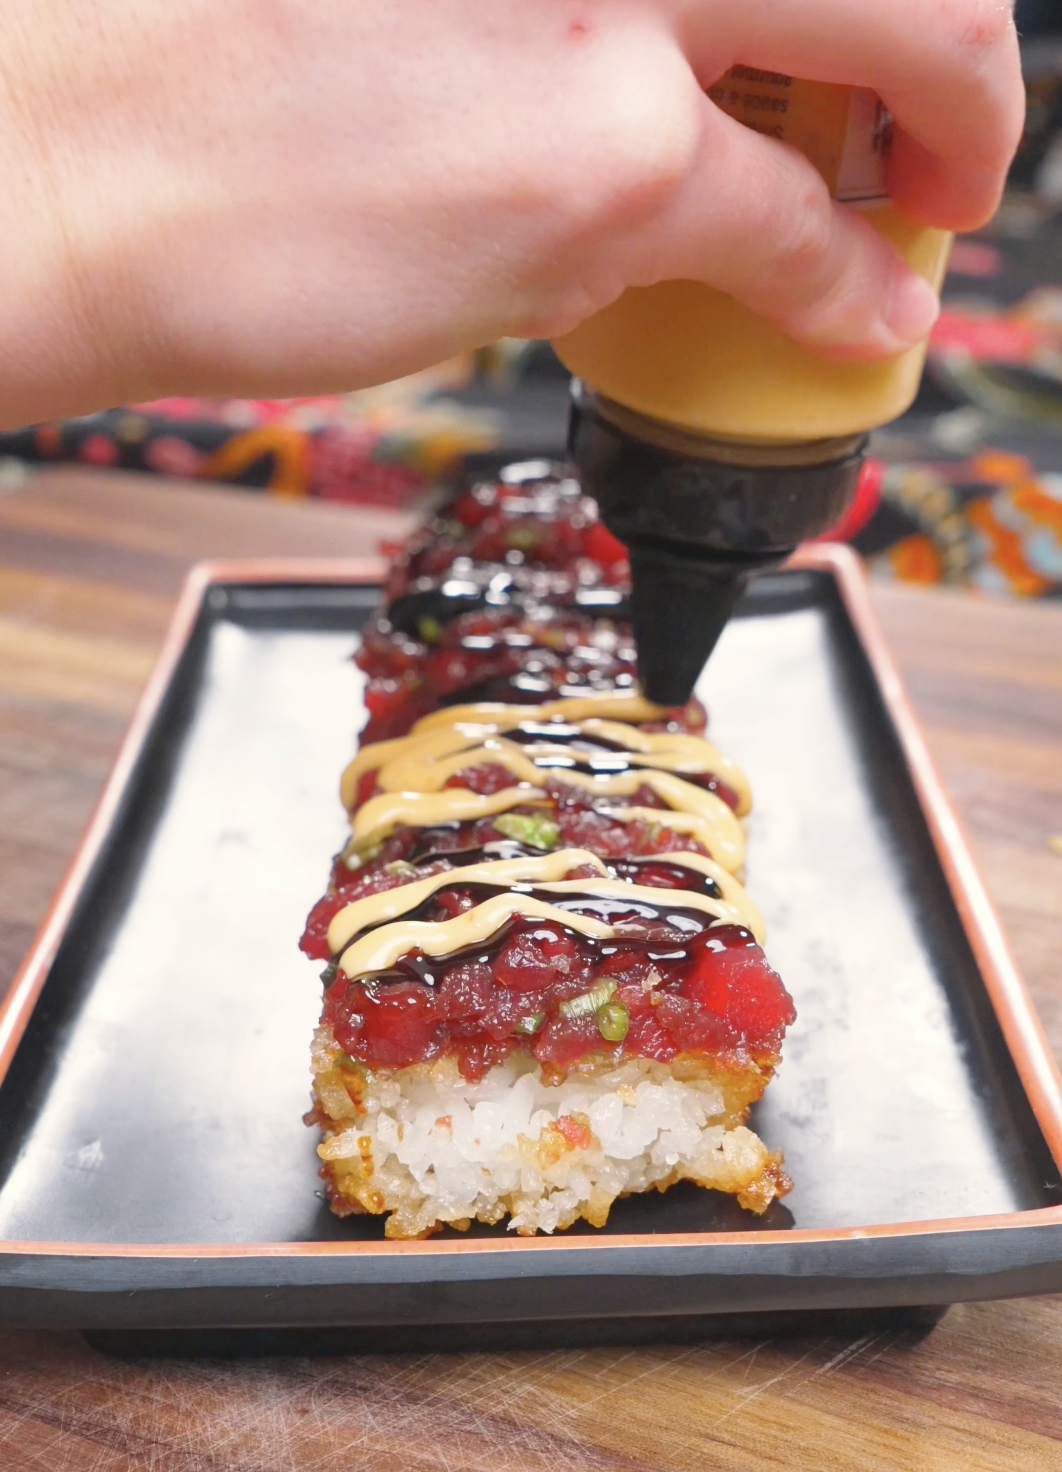
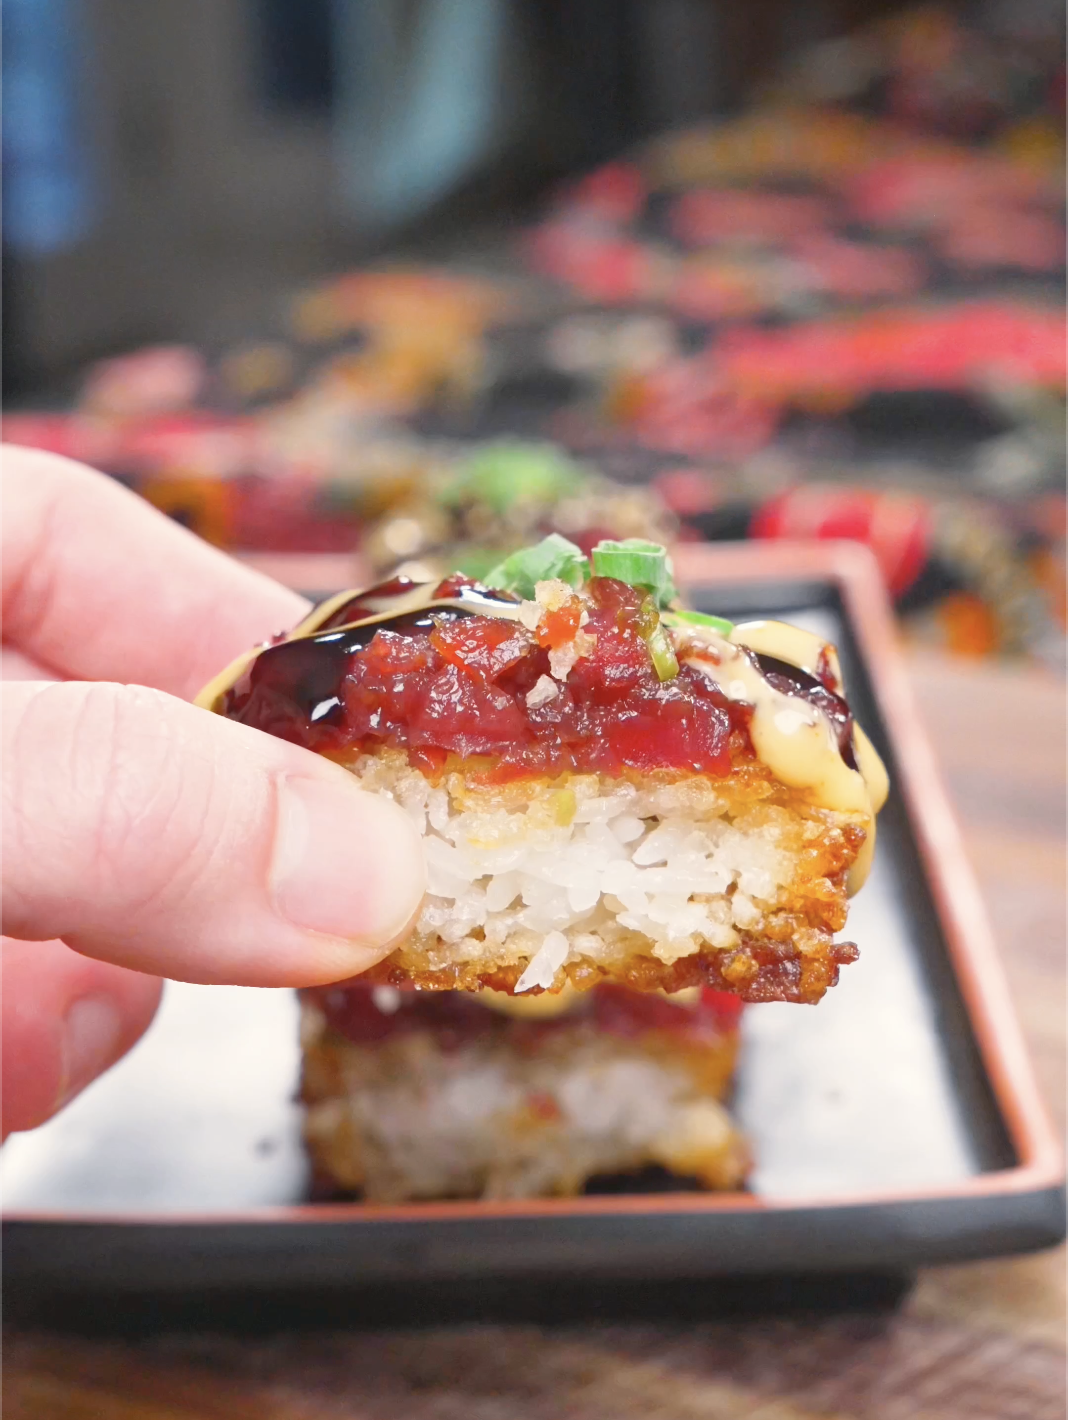
- Optionally garnish with soy glaze, sriracha mayo, sesame seeds, and scallions. But it’s your food, you eat it how you like.
Video
Notes
- Press the rice while it’s still warm — it’s far more pliable and holds its shape better.
- Chill thoroughly before frying. Skipping this is the number one reason crispy rice falls apart in the pan.
- Let the crust set before flipping. If it’s sticking, it needs another minute.
- Assemble just before serving — the whole point is hot crispy rice against cool tuna.
- Prep time does not include the couple of hours in the freezer.
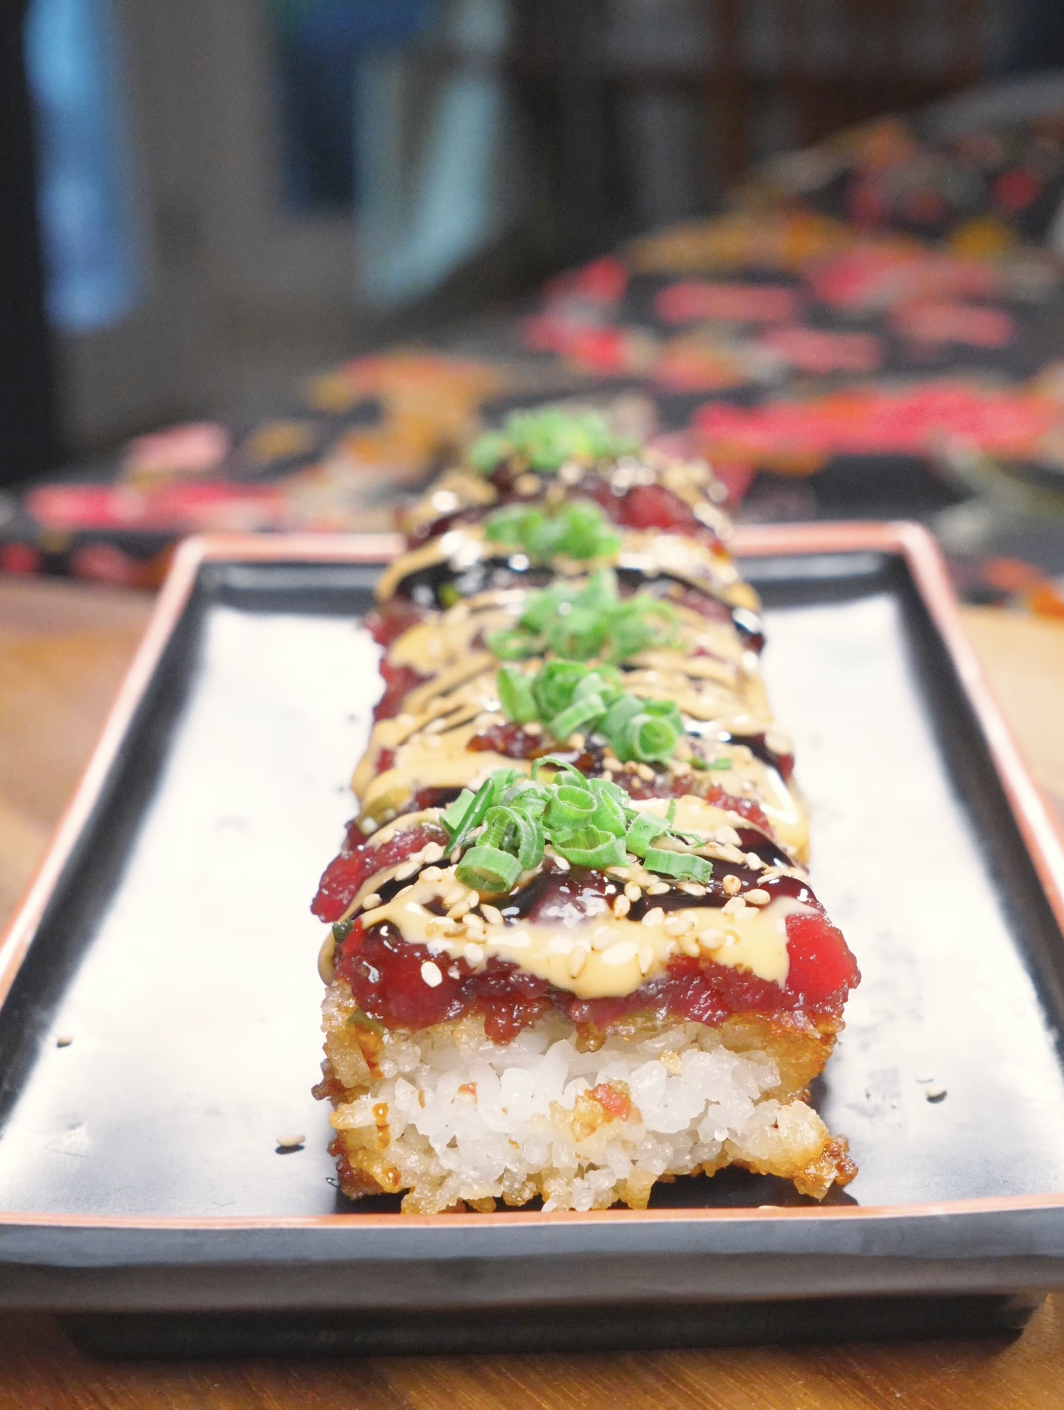
Bring the taste of your favorite sushi restaurant home with my deliciously simple Crispy Tuna Rice recipe! Imagine irresistibly golden, crackly edged rice paired with buttery, melt-in-your-mouth tuna on top. It looks (and tastes) like something straight out of an upscale sushi bar, but it’s secretly easy enough to pull off in your own kitchen—no rolling skills required. The magic is all in the method: seasoned sushi rice gets pressed firm and chilled until it holds its shape. From there, it’s sliced into perfect little rectangles and pan-fried until deeply golden and shatteringly crisp on the outside, while staying soft and sticky within. Piled on top is a savory tuna mixture kissed with soy and sesame, and finished off with whatever makes your heart happy—perhaps a drizzle of soy glaze, sriracha mayo, or scattering of sesame seeds and scallions. It’s equal parts elegant and addictive, and guaranteed to make you feel like a sushi chef in your own home.
Craving more seafood inspiration? Check out my spicy salmon bowl, creamy salmon poke and salt and pepper shrimp recipes next!
Why You’ll Crave Crispy Rice Sushi With Tuna
There’s something almost magnetic about the contrast at the heart of this crispy tuna rice—the first crunchy bite giving way to warm, tender rice underneath, followed immediately by cool, luscious tuna on top. It’s a textural rollercoaster in the best possible way, and it’s exactly why crispy rice has become such a cult favorite on restaurant menus everywhere. Beyond the texture, it’s an incredibly forgiving recipe to make your own: swap the tuna for salmon, add avocado, dial the spice up or down in your sriracha mayo, or go heavier on the soy glaze if you’re a sauce person. It’s also wonderfully low-effort for how impressive it looks! Most of the “work” is just waiting for the rice to chill, which means you can prep it ahead and fry it up right before serving. Whether you’re hosting friends for a dinner party, craving a restaurant-quality snack on a lazy weekend, or just looking for an excuse to eat tuna off crispy rice bites, this recipe hits the sweet spot between fancy and fuss-free.
Ingredients & Substitutions
- Freshly Steamed Short-Grain Rice – Short-grain (or sushi) rice is what gives you a sticky, cohesive texture that holds together when you press and fry it. Long-grain rice just won’t have the same starchiness to bind it. Freshly steamed and still warm is key, since it absorbs the seasoning better than cold, day-old rice would here (yes, the opposite rule from fried rice!).
- Neutral Oil – Something like vegetable, canola, or avocado oil is perfect for shallow frying, since it has a high smoke point and won’t compete with the delicate flavors of the tuna. Avoid olive oil, as its flavor can be a bit overpowering and it doesn’t love high heat.
For the Seasoned Rice
- Unseasoned Rice Vinegar – Make sure you’re grabbing the unseasoned kind, since seasoned rice vinegar already has sugar and salt added, which will throw off your measurements. If you can’t find rice vinegar at all, a light touch of apple cider vinegar can work in a pinch, though the flavor will be slightly sharper.
- Salt – Kosher salt or fine sea salt both work beautifully for dissolving into the vinegar mixture.
- Granulated Sugar – To balance out the tang of the vinegar in the rice and add a bit of sweetness to the tuna filling. Pure cane sugar works well as a less-refined alternative.
For the Tuna Filling
- Sushi-Grade Tuna – This is non-negotiable since you’re eating it raw. Always buy tuna explicitly labeled sushi- or sashimi-grade from a trusted fishmonger. If tuna isn’t available, try making my crispy spicy salmon rice instead.
- Scallion Whites – These add a mild bite and crunch to the tuna mixture. If you’re out of scallions, finely diced shallot or a little red onion can step in. Save the dark green parts for garnish.
- Light Soy Sauce – This brings the savory, umami backbone to your tuna filling. Tamari is a great gluten-free swap. Low-sodium soy sauce also works if you want to control the saltiness.
- Toasted Sesame Oil – A little goes a long way here, lending that nutty, toasty aroma that makes this crispy rice tuna taste unmistakably Asian-inspired.
Optional Garnish
- Soy Glaze – This is purely for drizzling love on top, so store-bought is totally fine here. If you want to make your own, simmering soy sauce with a touch of sugar and cornstarch until thickened does the trick.
- Sriracha Mayo – Store-bought sriracha mayo works great, or whisk your own by combining mayo (preferably Kewpie) with sriracha to taste. Adjust the ratio depending on how much heat you’re after.
- Sesame Seeds – Toasted or raw both work for garnish, but toasted will give you a slightly deeper, nuttier flavor and look.
- Scallion Greens – Save these for garnishing at the end; they add a fresh, bright pop of color and flavor right before serving.
This is just a short review of the ingredients; for the complete recipe, including quantities, scroll down to the recipe card 👇
What Makes Tuna “Sushi-Grade?”
You’ve probably seen the term “sushi-grade” stamped proudly on tuna at the fish counter, but here’s a little secret: it’s not actually an official or regulated label. There’s no governing body stamping a seal of approval on it. Rather, it’s more of an informal industry term that fishmongers and grocery stores use to signal that a fish has been handled with the care and freshness needed to eat raw.
That said, there are a few things that generally go into earning that label. Sushi-grade tuna is typically flash-frozen at extremely low temperatures shortly after being caught, which kills off any parasites that could be present—a step required by the FDA for fish served raw in the U.S. It also tends to come from fish that’s been bled and gutted quickly after catch, and handled with scrupulous attention to temperature control all the way from boat to counter, since any lapse in that cold chain can allow bacteria to grow.
When you’re shopping, your best bet is to buy from a fishmonger or grocery store you trust, ask directly if the tuna is safe to eat raw, and plan to use it the same day you buy it. If raw tuna ever makes you nervous, don’t worry. This crispy sushi rice recipe is still delicious with seared or fully cooked tuna, you’ll just trade a little bit of that classic melt-in-your-mouth texture for peace of mind.
How to Make Crispy Tuna Rice
Combine the rice vinegar, salt, and sugar and mix thoroughly until dissolved.
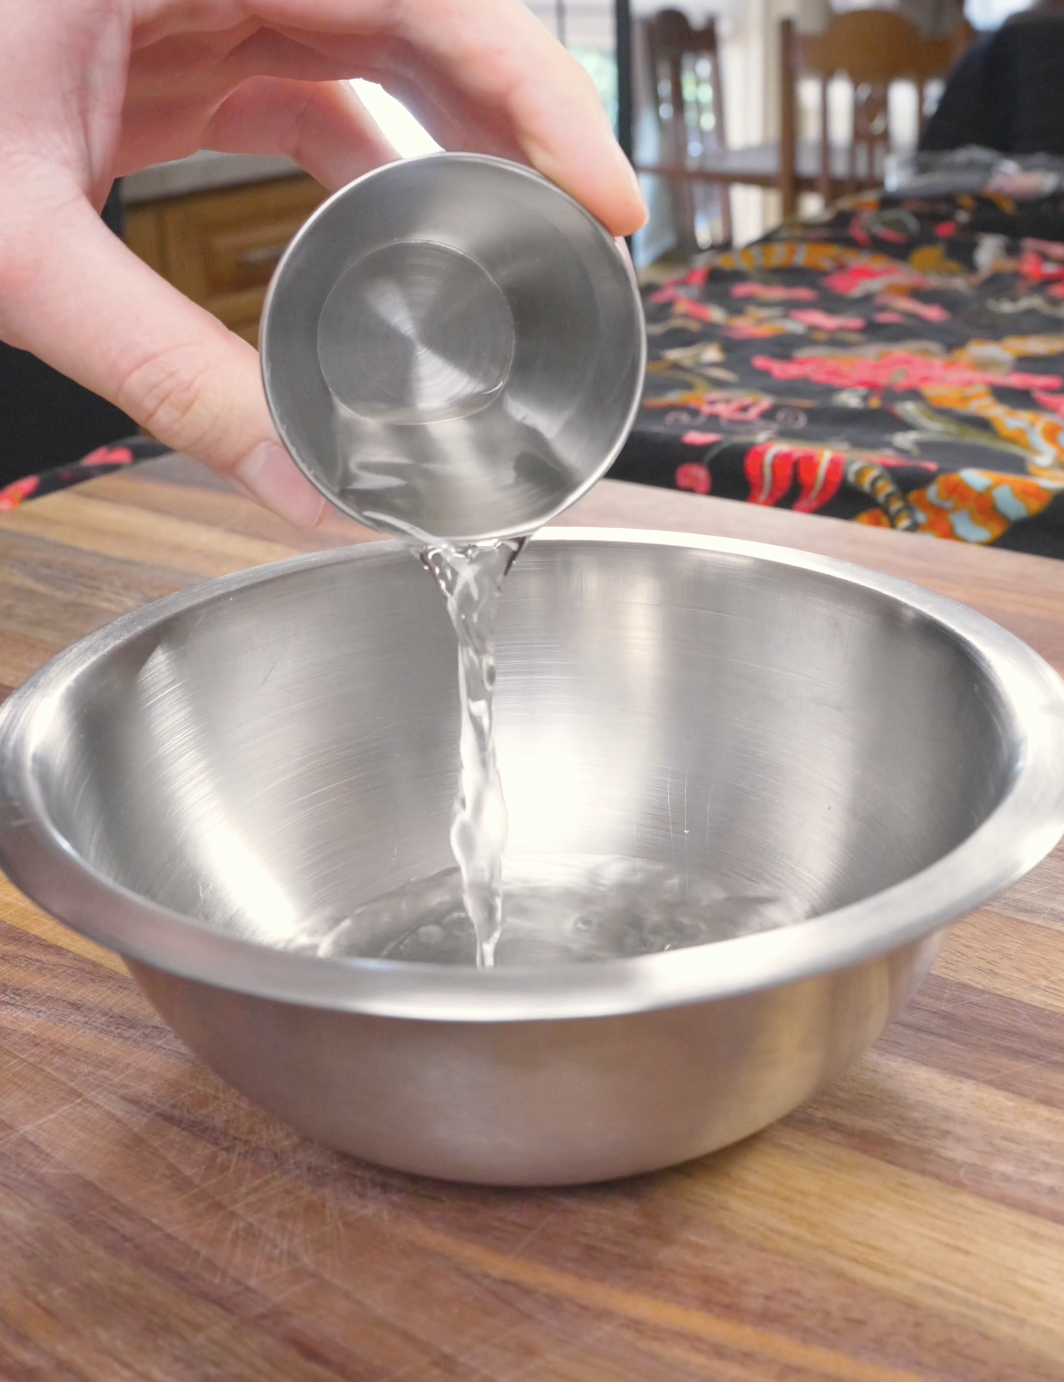
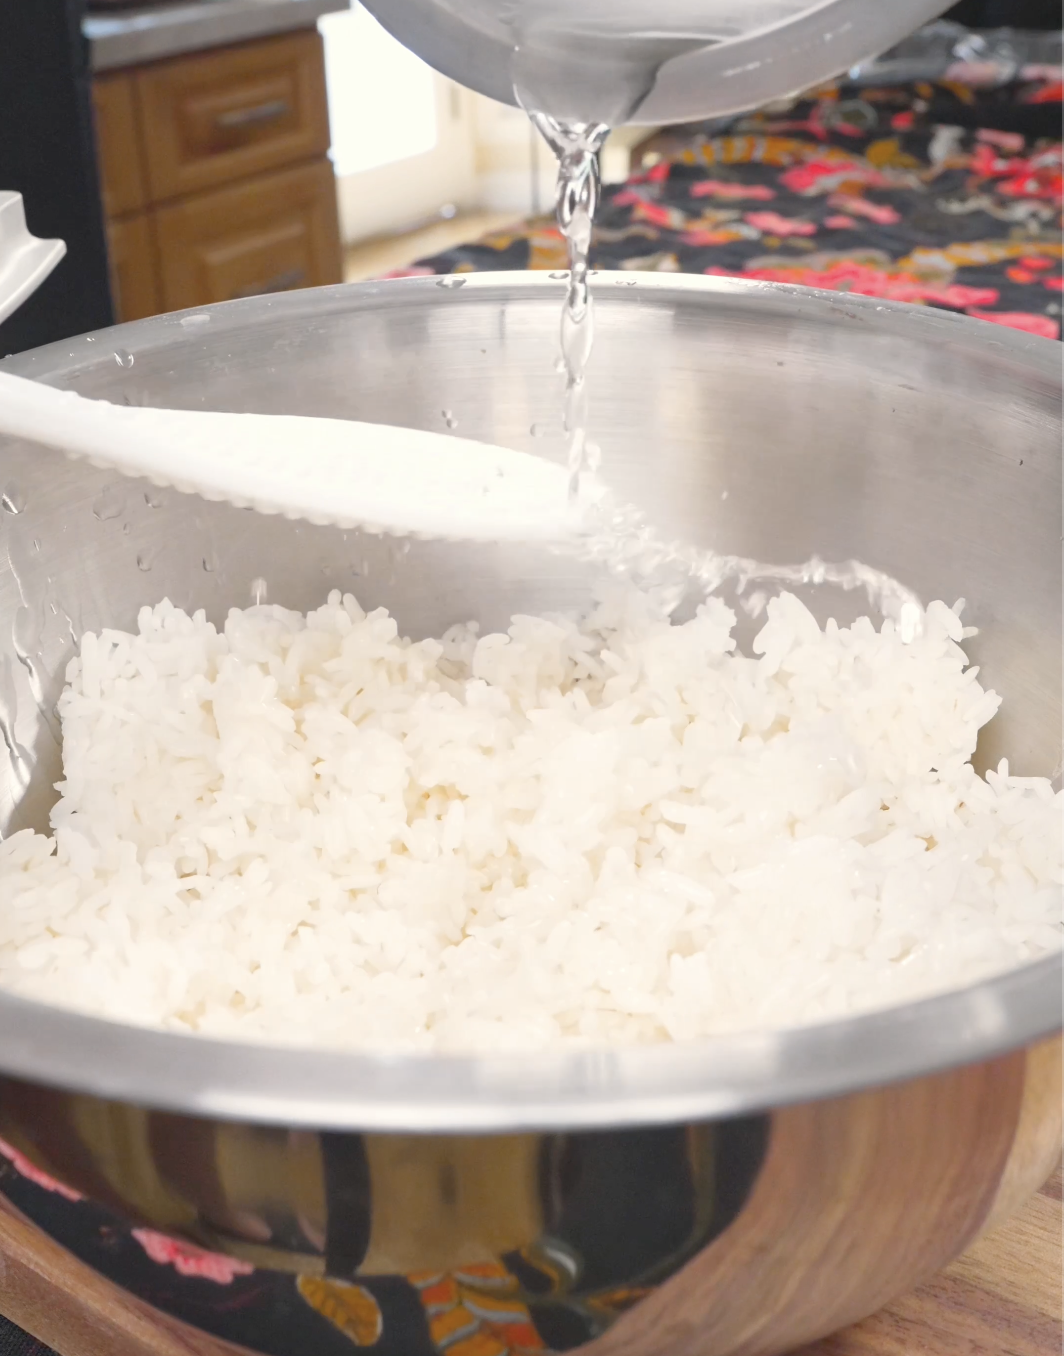
Add the freshly steamed rice to a bowl and fold in the rice vinegar mixture.
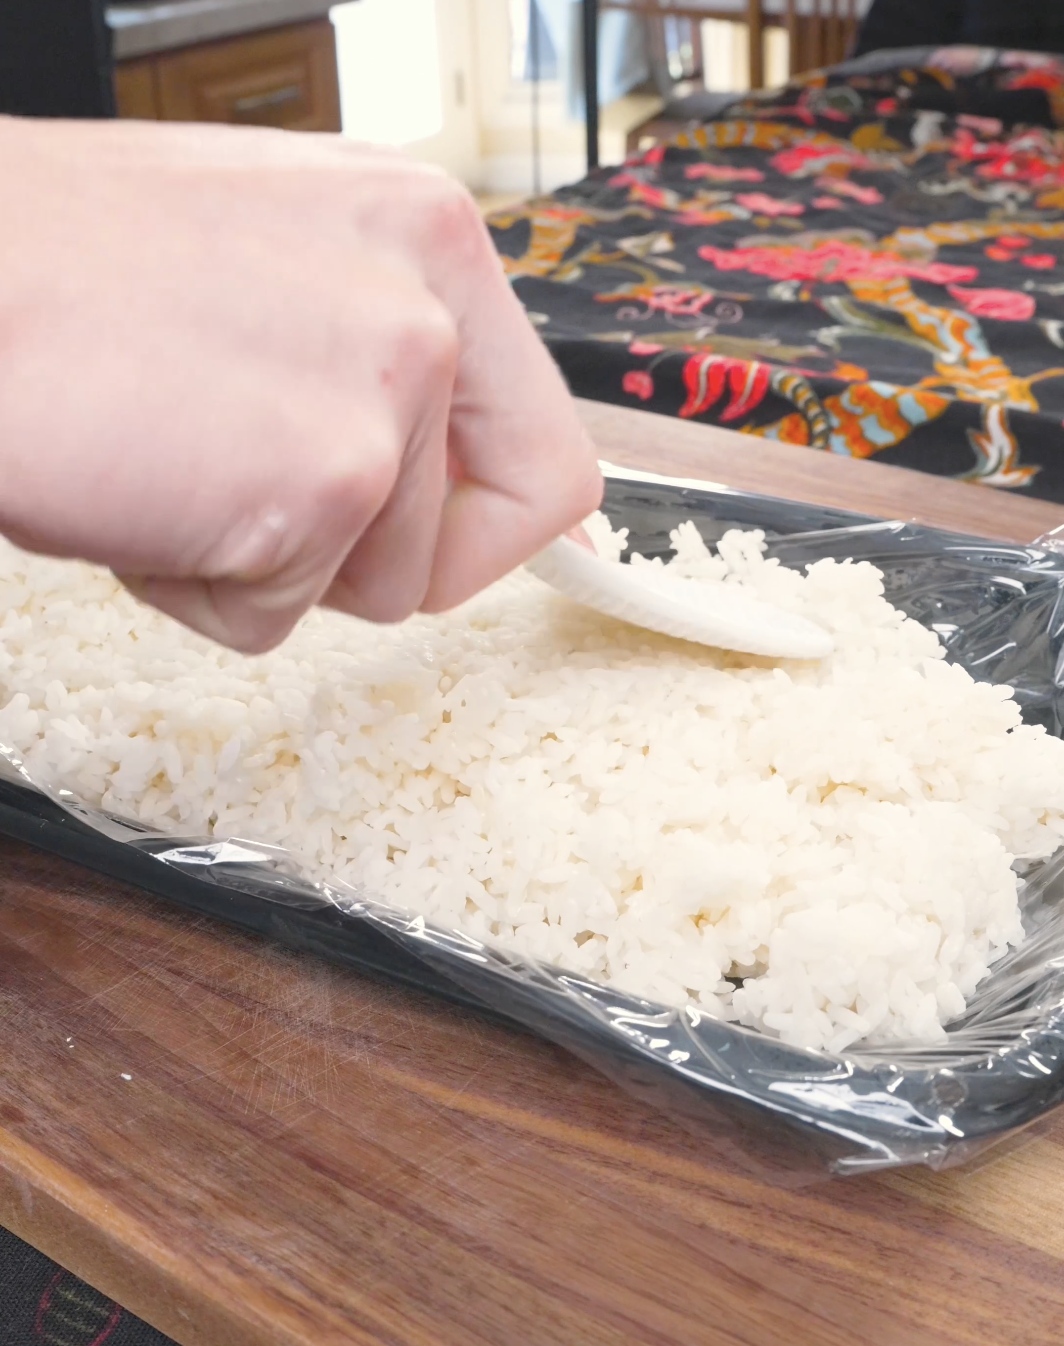
Line a tray with cling film and press the rice down firmly into an even layer, then place in the freezer for a couple of hours.
For the filling, finely slice the scallion whites and give the tuna a fine dice. In a bowl, combine the tuna, scallions, light soy sauce, sesame oil, and sugar, then set aside.
Remove the rice from the tray and cut it into rectangles, setting them aside.
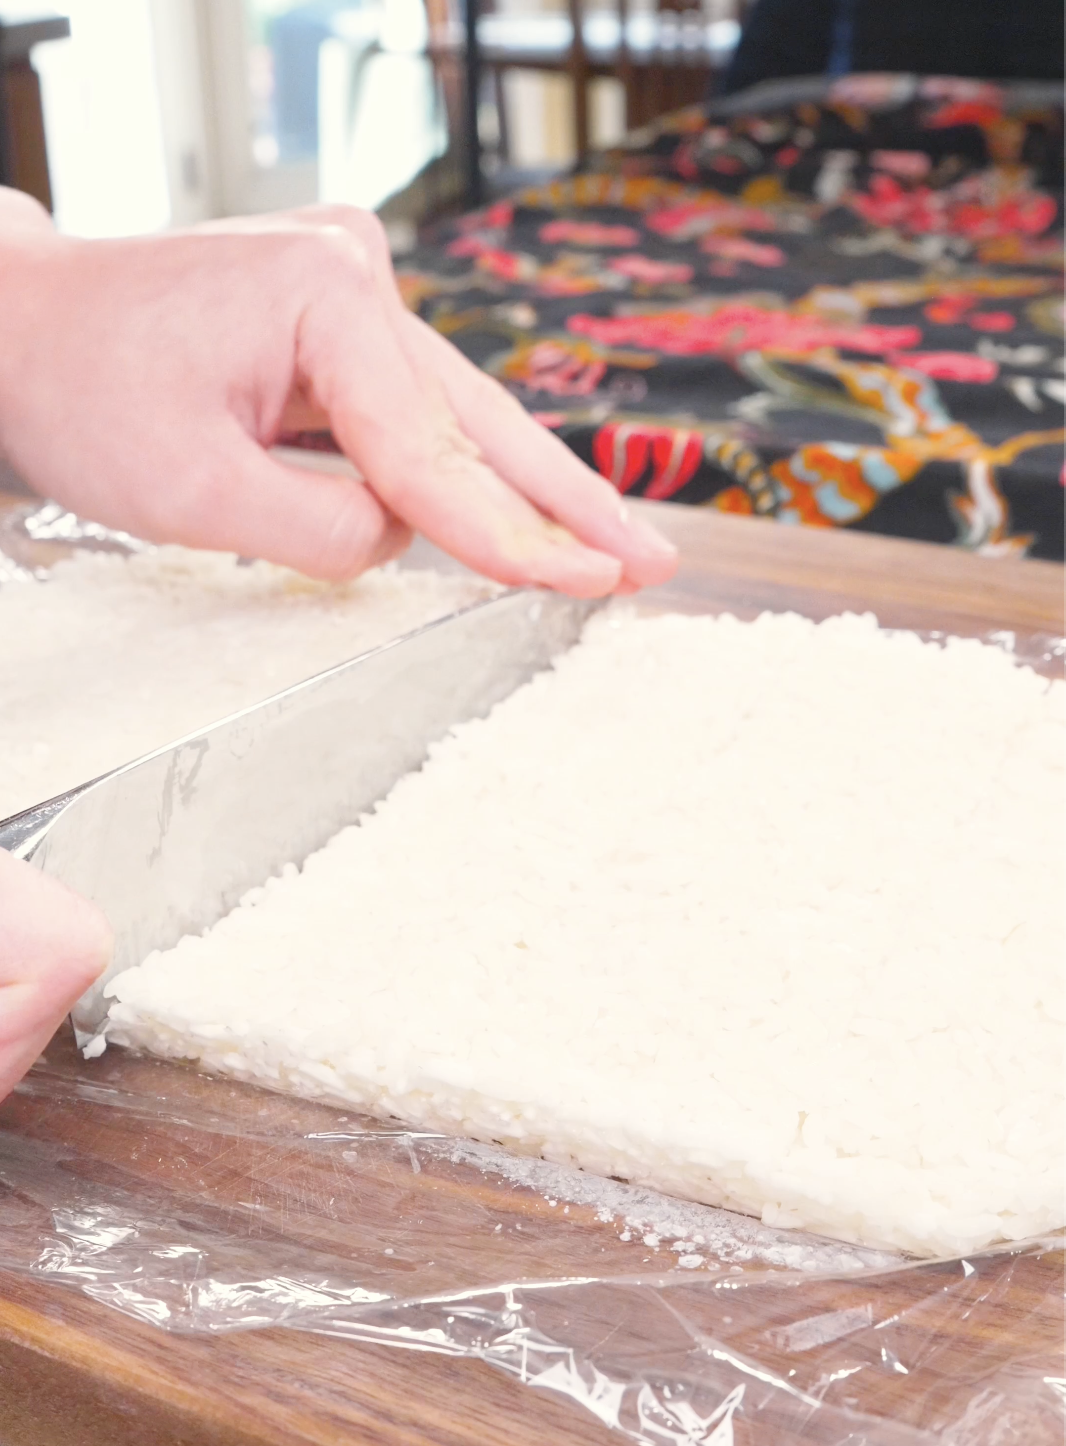
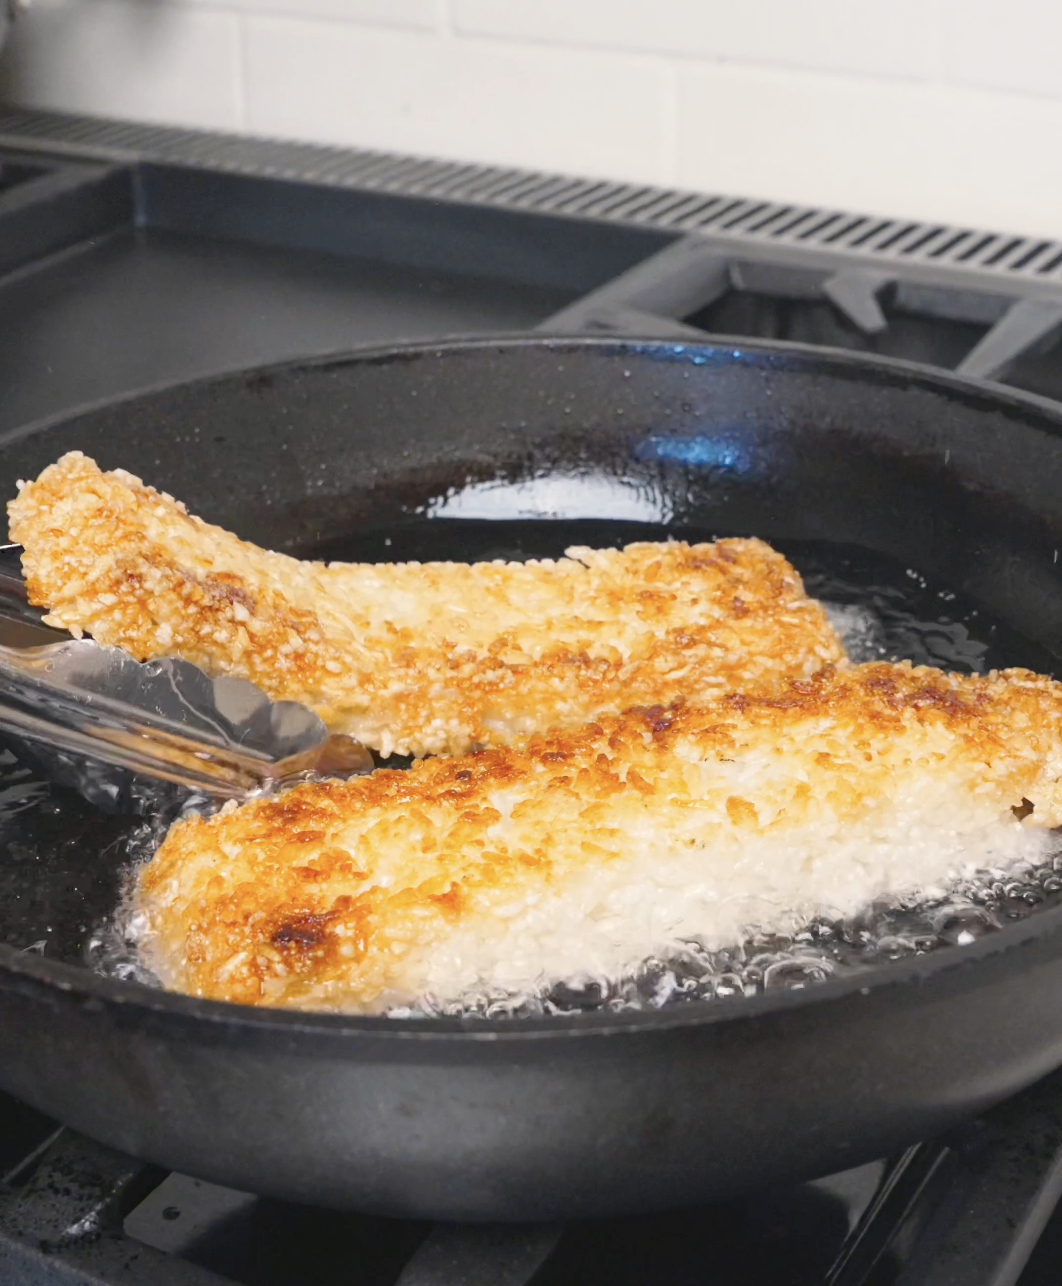
Add oil to a pan and shallow fry the rectangles until golden brown on both sides. Remove and rest for at least 10 minutes.
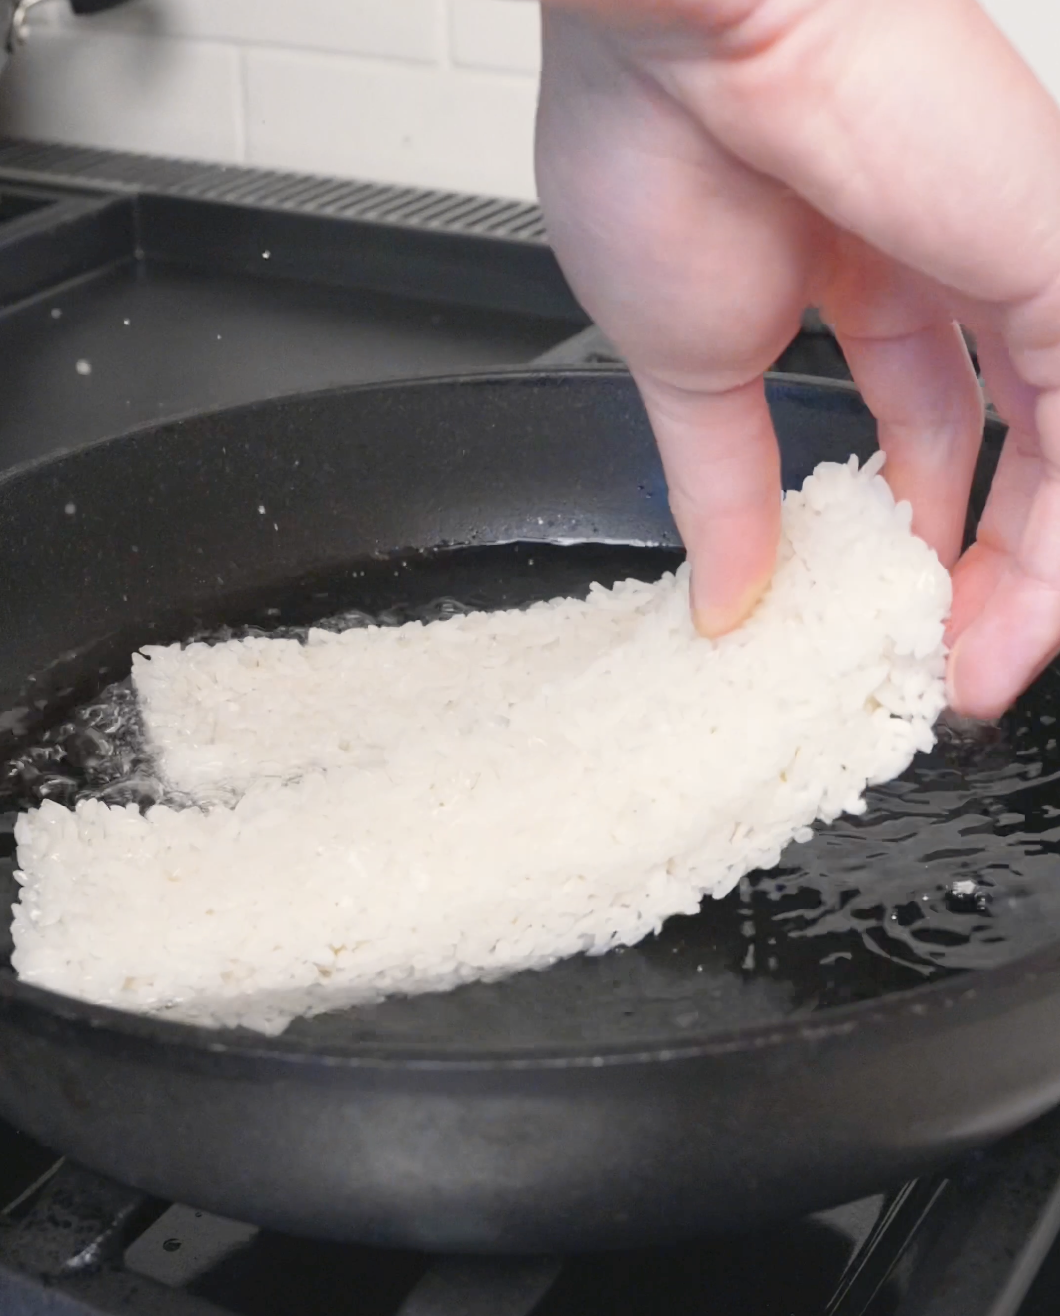
Place the tuna mixture on top of the crispy rice, cut into little squares, and arrange on a plate.
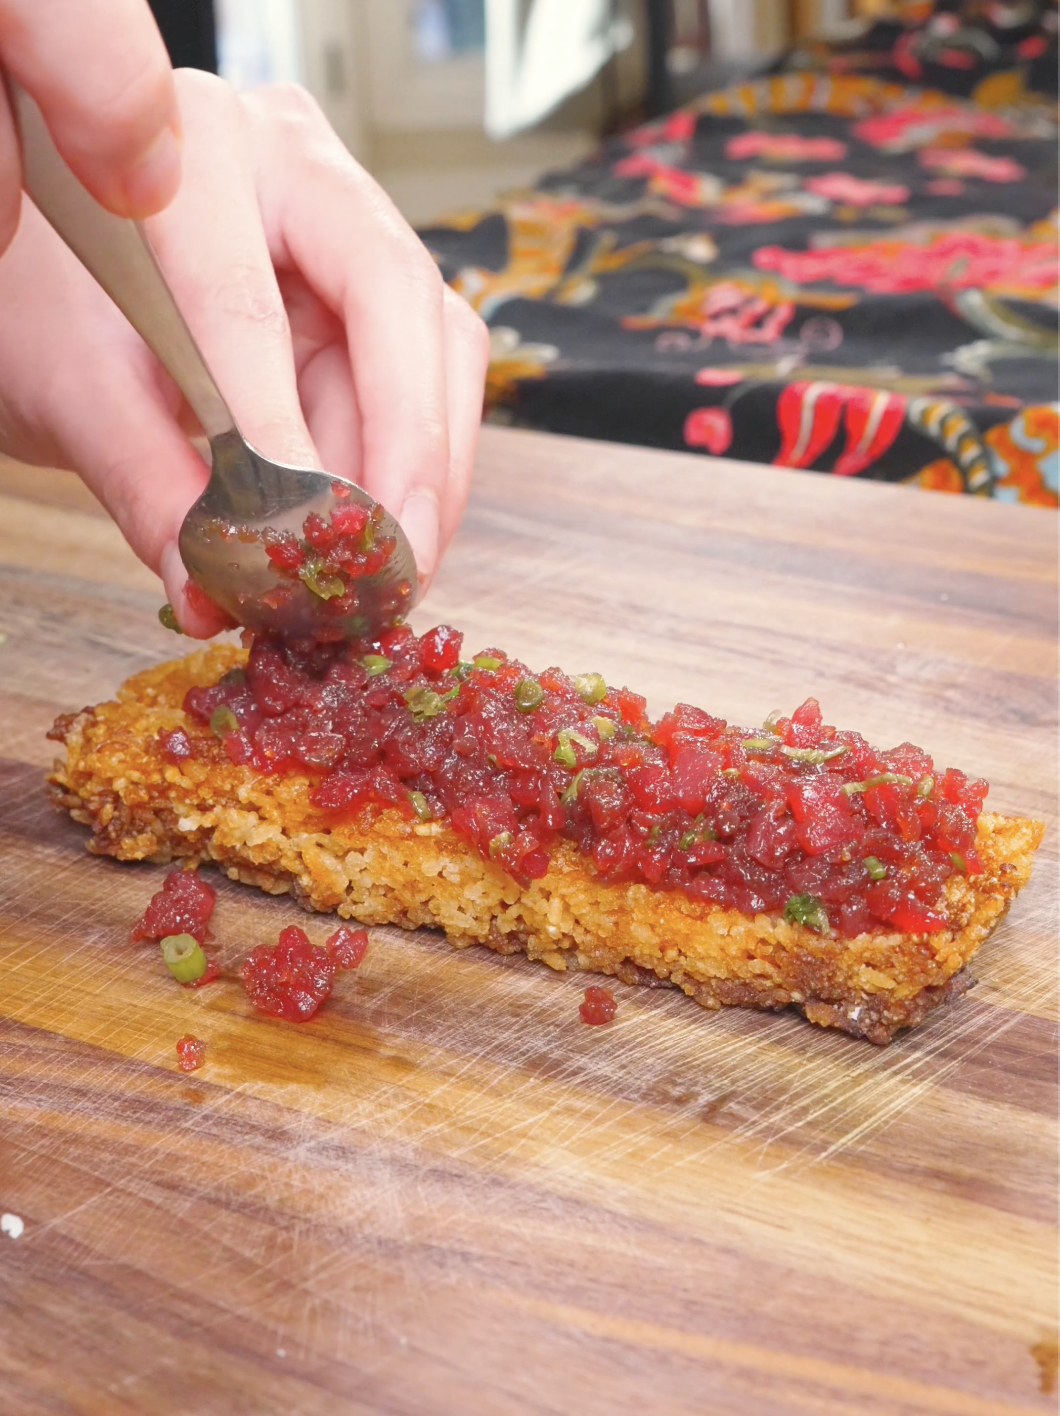
Optionally garnish with soy glaze, sriracha mayo, sesame seeds, and scallions. But it’s your food, you eat it how you like.
More of a visual learner? Check out my video recipe below. 👇
Optional Variations & Dietary Adaptations
This tuna crispy rice recipe is wonderfully easy to bend to your own tastes or dietary needs, so don’t be afraid to make it your own. Here are a few ideas to get you started:
- Gluten-Free Crispy Rice – Swap the light soy sauce for tamari or coconut aminos.
- Vegan – Swap the tuna for diced avocado, marinated watermelon “tuna”, or even seasoned mashed chickpeas for a protein-packed twist—just toss your preferred substitute with the same scallion, soy, and sesame mixture for the same savory-sweet flavor profile. For the sriracha mayo, a plant-based mayo works beautifully as a one-to-one swap.
- Cooked – Can’t eat raw fish? Not to worry. Seared or fully cooked tuna, canned tuna mixed with a little mayo, or even cooked shrimp all make lovely stand-ins — you’ll lose a bit of that silky raw texture, but you’ll still get all the crispy-rice magic underneath.
- Add Veggies – Finely diced cucumber, shredded carrot, or even edamame folded into the tuna mixture add a nice crunch and little bursts of color. Avocado slices on top are also a classic, creamy addition that pairs beautifully with the crispy rice base.
- Adjust the Heat – For a spicy tuna crispy rice variation, add a few extra dashes of sriracha to your mayo or mix a pinch of chili flakes into the tuna itself. If you’d rather keep things mild, simply skip the sriracha mayo altogether and finish with a plain kewpie mayo or just the soy glaze for a gentler, kid-friendly version.
Expert Tips & Tricks
- Press your rice while it’s still warm. Warm rice is far more pliable and sticks together much more easily than rice that’s cooled, so don’t let it sit around before pressing it into your pan or mold. You’ll get cleaner, sturdier rectangles that hold their shape beautifully when fried.
- Chill thoroughly before frying. Once pressed, pop the rice in the fridge (or even the freezer for a quicker chill) until it’s completely firm. Skipping this step is the number one reason crispy rice falls apart in the pan. A good chill is what lets it hold together under heat.
- Don’t overcrowd the pan. Fry your rice rectangles in batches if needed, leaving a little breathing room between each piece. Crowding the pan drops the oil temperature and leads to steaming instead of that golden, crackly crust you’re after.
- Let the crust do its thing before flipping. Resist the urge to move or flip the rice too early—give it a few undisturbed minutes so a proper golden crust forms. If it’s sticking, it likely just needs another minute or two.
- Dice your tuna evenly and keep it cold. A small, uniform dice helps the tuna mix evenly with the seasonings and sit prettily on top of the rice. Keeping it chilled until you’re ready to assemble also keeps everything food-safe and fresh-tasting.
- Assemble just before serving. The magic of this dish is in the contrast between the hot, crispy rice and the cool, silky tuna, so top your rice right before you plan to eat for the best textural payoff.
- Taste as you go with your seasoned rice. Vinegar brands vary in acidity, so taste your rice mixture before adding it all and adjust the salt or sugar slightly if needed. Perfectly balanced seasoned rice makes all the difference.
Serving Suggestions
This crispy tuna rice is a fantastic dish on its own, but it also loves good company. For a light and refreshing pairing, try serving it alongside a bright, crunchy cucumber salad, which echoes the same clean, savory-sweet flavors without competing for attention.
If you’re putting together a bigger spread, it fits right in next to other starters like sticky sweet pork belly bites. Or pair it with my simple sushi bake for a build-your-own sushi night that’s a lot more approachable than it sounds. A warm bowl of miso soup on the side rounds things out nicely, especially if you’re serving this as a starter rather than the main event.
If you’re hosting, these crispy rice bites also make a wonderful party appetizer. Just arrange them on a platter with extra sriracha mayo and soy glaze for drizzling, and watch them disappear. Pair them with other finger foods like vegetable spring rolls or edamame with chili salt for an easy, crowd-pleasing spread that covers a nice range of textures and flavors.
Storage & Reheating
Because this dish is best enjoyed fresh, with that lovely hot-crispy-rice-meets-cool-tuna contrast, it’s not really designed for leftovers as a fully assembled dish. But don’t worry, the components store just fine on their own, so nothing has to go to waste.
- If you have leftover tuna filling, store it in an airtight container in the fridge and enjoy it within a day, since it’s raw fish and best eaten promptly for both safety and quality. It’s lovely spooned over rice, tucked into a quick hand roll, or even piled onto crackers for a speedy snack.
- For leftover cooked rice rectangles (before or after frying), let them cool completely, then store them in an airtight container in the fridge for up to 2–3 days. To reheat, skip the microwave if you can—it tends to make the crust go soft and a bit sad. Instead, pop them back into a hot, lightly oiled skillet for a few minutes per side, which re-crisps the exterior beautifully and warms the inside through. A quick stint in the air fryer or oven at a high temperature also works well if you’re reheating a larger batch at once.
- Avoid freezing the assembled dish or the raw tuna portion, as the texture of both the rice crust and the fish really suffers once thawed.
FAQs
What is crispy tuna rice?
It’s a popular sushi-restaurant-style appetizer made of crispy, pan-fried rice rectangles topped with a seasoned raw tuna mixture, usually finished with a drizzle of spicy mayo and a sweet soy glaze. Think of it as a crunchy, handheld bite that combines warm, crackly rice with cool, silky fish.
What tuna to use for crispy rice?
You’ll want sushi-grade (sometimes labeled “sashimi-grade”) ahi or bluefin tuna, since it’s eaten raw. Buy it from a trusted fishmonger or well-reviewed seafood counter, and look for flesh that’s deep red, firm, and glossy rather than dull or discolored.
Is crispy tuna rice healthy?
In moderation, yes. Tuna is a great source of lean protein and omega-3s, and the rice provides energy-giving carbs. That said, the frying, sriracha mayo, and soy glaze add extra fat, sodium, and sugar, so it’s best enjoyed as a treat or appetizer rather than an everyday staple.
More Appetizer Recipes
Craving more small bites? Try my Crispy Fried Enoki Mushrooms, Sticky Sweet Pork Belly Bites, or Crispy Potato Balls!