Sticky Sweet Pork Belly Recipe
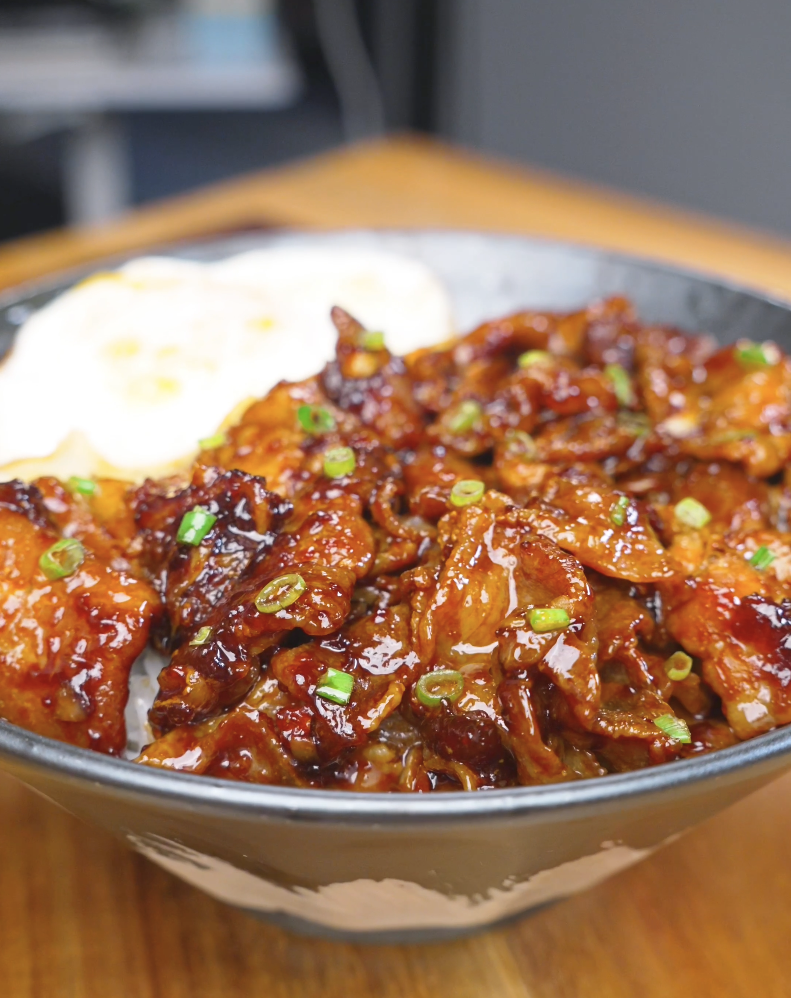
Equipment
Ingredients
- 12 oz pork belly, thinly sliced
- 3 cloves garlic, minced
- Neutral oil, for cooking
For the Sauce:
- 1 tbsp dark soy sauce
- 2 tbsp light soy sauce
- 1.5 tbsp brown sugar
- 1/2 tsp cornstarch mixed with 1 tbsp water, slurry
Optional Garnish:
- Scallions
- Fried egg
- Steamed rice
Instructions
- Heat a pan over medium heat with a bit of oil. Add the minced garlic and cook for about 1 minute until fragrant.
- Add the thinly sliced pork belly and cook until about 80% of the way done, allowing some of the fat to render.
- Add the dark soy sauce, light soy sauce, and brown sugar. Stir to combine, then add the cornstarch slurry.
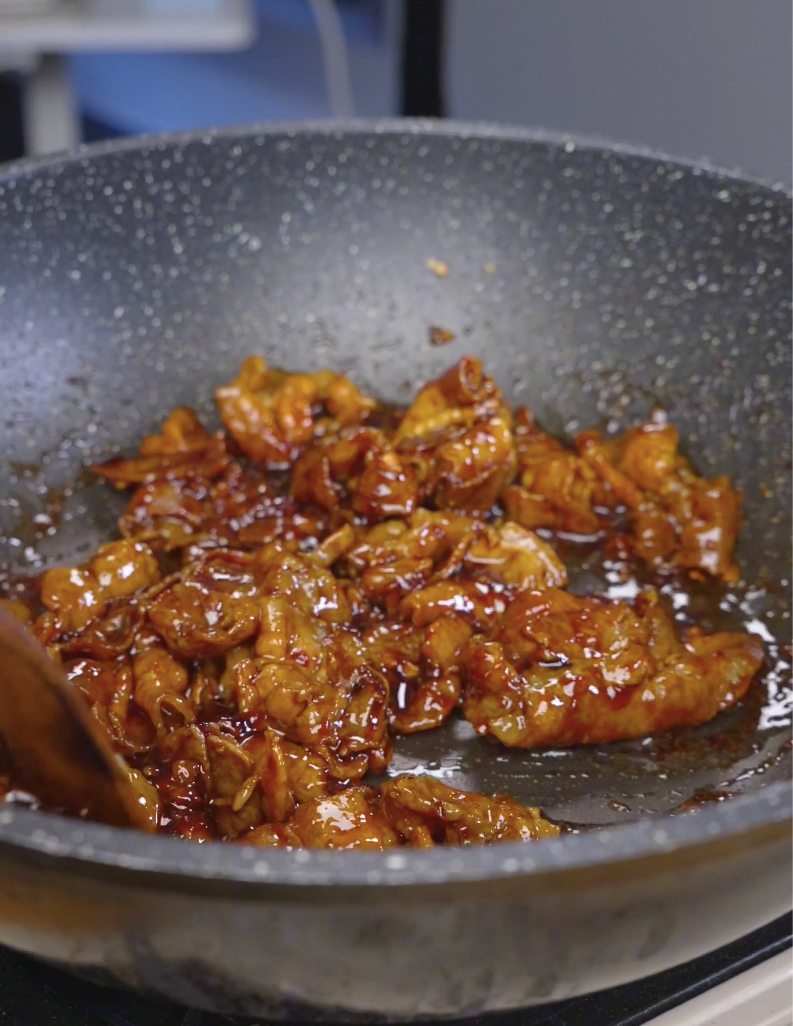
- Continue cooking until the sauce thickens into a glossy glaze that coats the pork.
- Serve over a fresh bowl of rice.
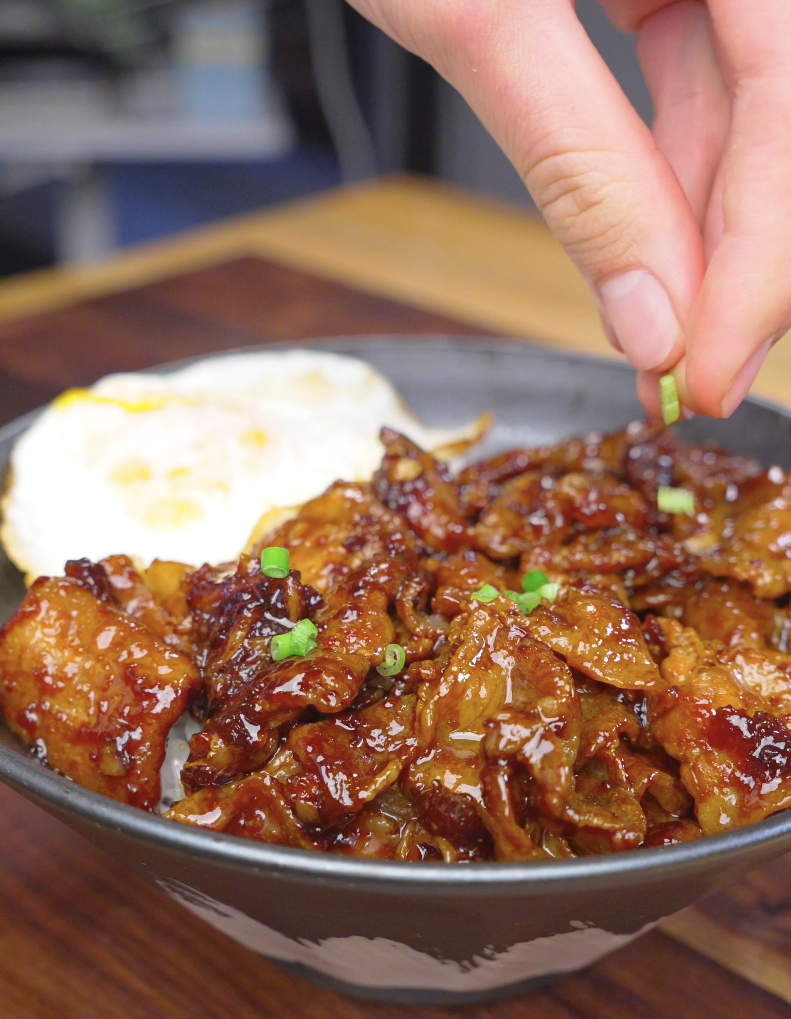
- Optionally garnish with scallions and serve with a fried egg.
Video
Notes
- Store leftovers in an airtight container in the fridge for up to 4 days. The flavor gets even better as it sits.
- Store the pork and rice in separate containers. The fat will harden in the fridge but melts again once reheated.
- Reheat on the stovetop over medium heat with a tablespoon of water for 2 to 3 minutes (best), or microwave for about 2 minutes.
Nutrition
Nutrition information is automatically calculated, so should only be used as an approximation.
Table of Contents
- Sticky Sweet Pork Belly Recipe
- Introduction
- Why You’ll Love This Sticky Sweet Pork Belly Recipe
- Why the Sauce Matters In This Sticky Sweet Pork Belly Recipe
- What You’ll Need To Make This Sticky Sweet Pork Belly Recipe
- How to Make This Sticky Sweet Pork Belly Recipe
- What to Serve With This Sticky Sweet Pork Belly Recipe
- How to Store Sticky Sweet Pork Belly for Meal Prep
- Reheating Instructions
- Substitutions for Sticky Sweet Pork Belly Recipe
- What to Make Next
Introduction
If you’ve never made a really great pork belly recipe at home, this Sticky Sweet Pork Belly Recipe is a welcome surprise. A lot of people think pork belly has to cook for hours before it becomes tender, but that’s not always the case. When it’s sliced thin, it cooks very quickly while still staying juicy thanks to all its natural fat. As the pork browns, that rendered fat mixes with the simple yet flavorful sauce and creates a glossy glaze that clings to every piece. The whole meal comes together in about 25 minutes using just one pan and a handful of pantry staples.
Why You’ll Love This Sticky Sweet Pork Belly Recipe
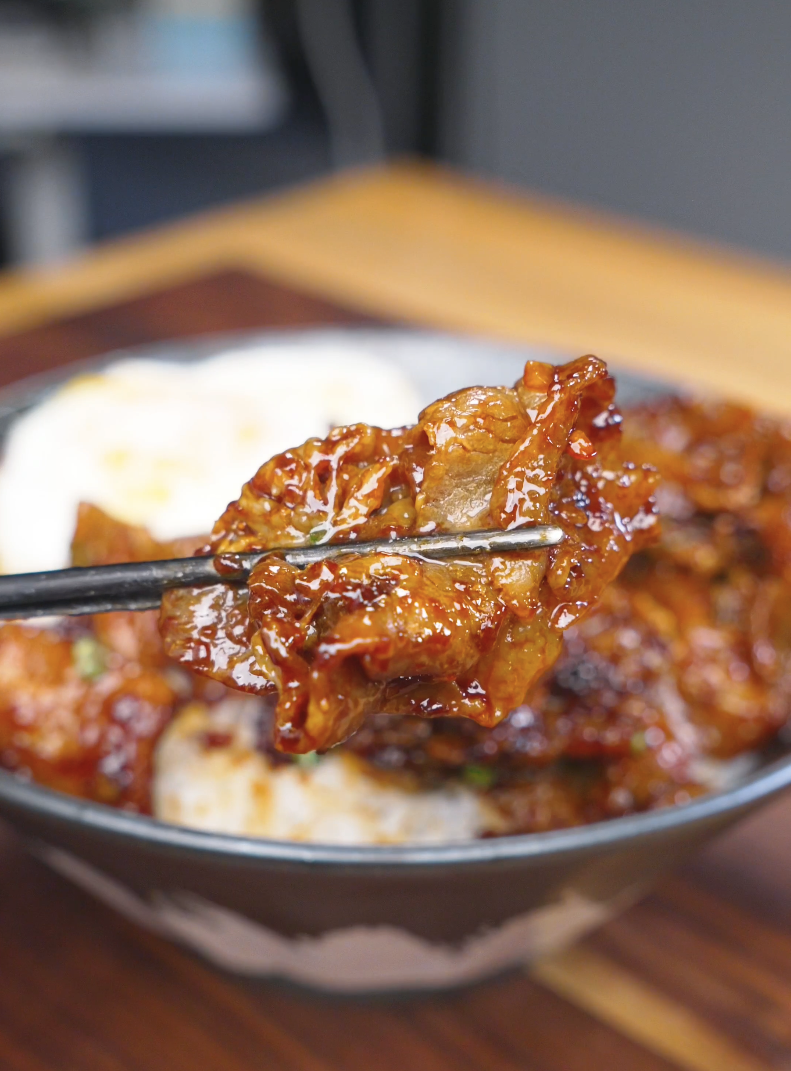
One of the best things about this Sticky Sweet Pork Belly Recipe is how much flavor develops in such a short amount of time. Since pork belly naturally contains plenty of fat, you don’t need much oil in the pan. As it cooks, the fat slowly renders and becomes part of the sauce, giving it a deeper, more umami flavor that coats every slice. Because the pork belly is so thin, the pieces cook quickly, develop lightly caramelized edges, and stay tender without needing a long braise or marinade. Once the sauce is added, it thickens in about a minute into a sticky glaze that clings to the pork and delivers big flavor in every bite.
Why the Sauce Matters In This Sticky Sweet Pork Belly Recipe
The sauce is what turns this Sticky Sweet Pork Belly Recipe from a simple pork belly dish into something you’ll want to make every week. Although it can be made with just a few pantry staples, each ingredient has an important role. Light soy sauce seasons the pork, while dark soy sauce adds a deeper color and more umami without making the dish too salty. The brown sugar balances those salty notes and creates that signature sticky coating. The final step to making this sauce is the cornstarch slurry, which thickens it in less than a minute. Instead of being watery, the sauce clings to every inch of the pork. Once the slurry is added, keep stirring with a spatula so the sauce doesn’t get clumpy and coats the pork evenly.
What You’ll Need To Make This Sticky Sweet Pork Belly Recipe
- Pork belly – The base of the dish. It cooks quickly and has plenty of fat.
- Garlic – Infuses the oil with flavor and builds the foundation of the sauce.
- The sauce – Dark soy sauce, light soy sauce, brown sugar, and a cornstarch slurry. It’s the perfect sauce for pork belly.
- Optional toppings – Scallions, a fried egg, and steamed rice help turn this into a complete meal.
How to Make This Sticky Sweet Pork Belly Recipe
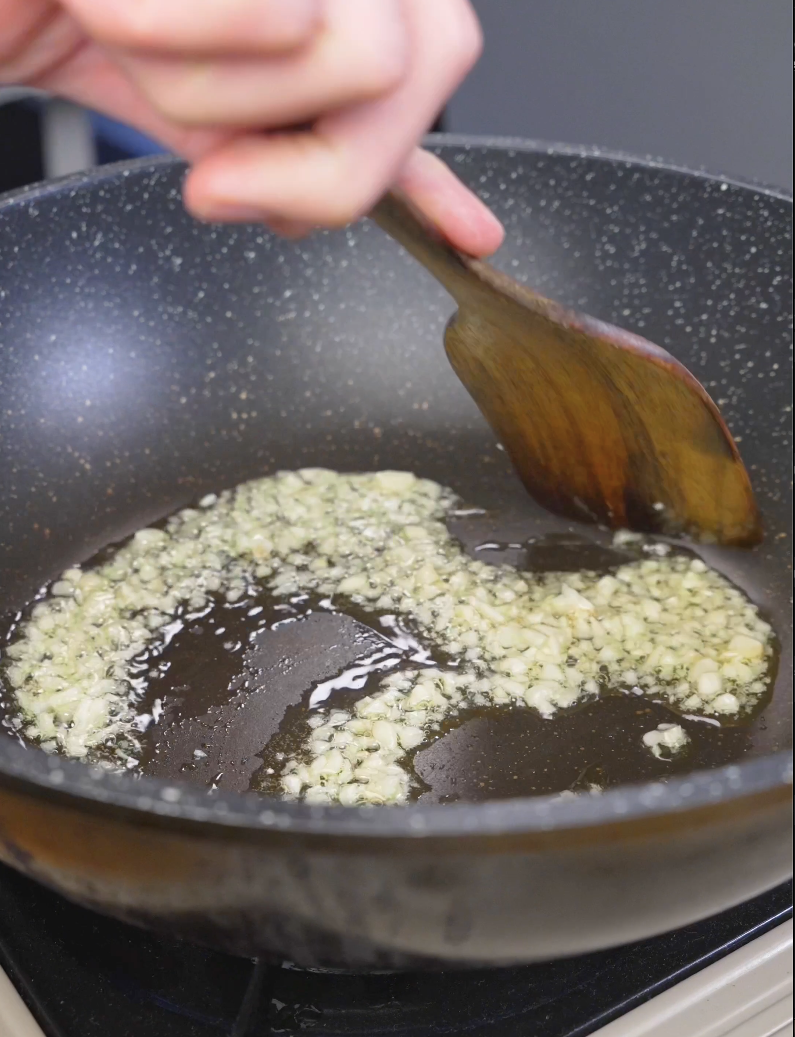
Heat a large pan over medium heat and add a small drizzle of neutral oil. Add the minced garlic and cook for about 30 to 60 seconds, stirring frequently, until fragrant.
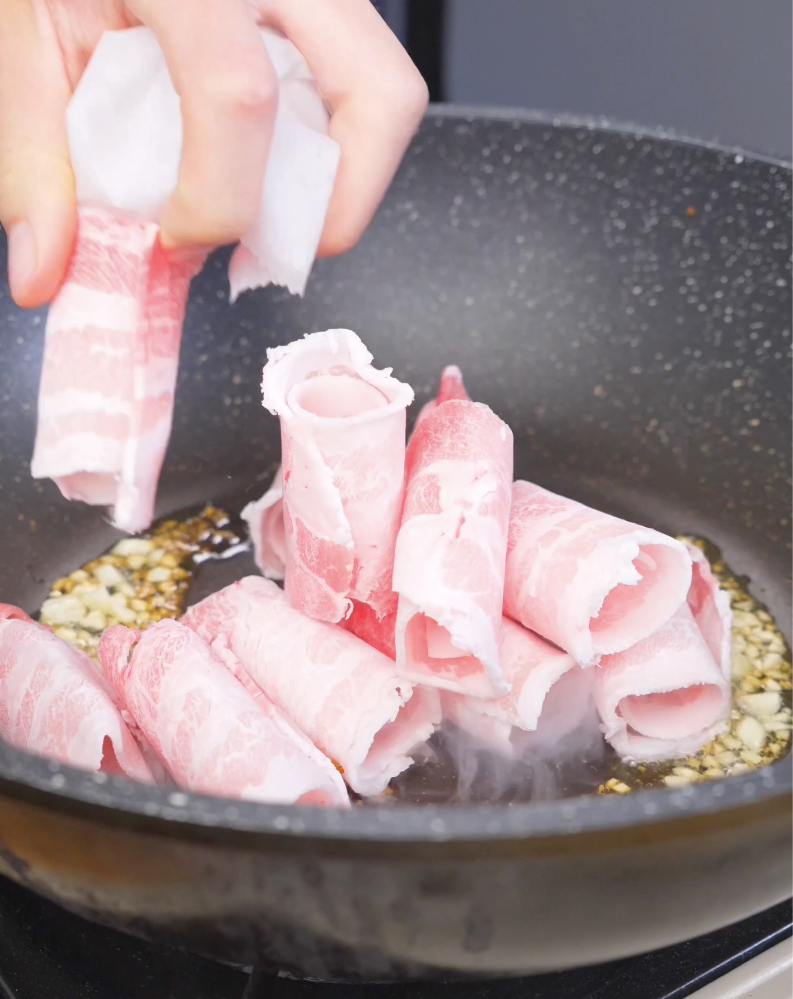
Add the thinly sliced pork belly to the pan in a single layer. Cook for 6 to 8 minutes, stirring occasionally, until most of the pork is cooked through and the edges begin to caramelize.
Pour in the light soy sauce, dark soy sauce, and brown sugar. Toss everything together until the pork is evenly coated and the sugar has dissolved.
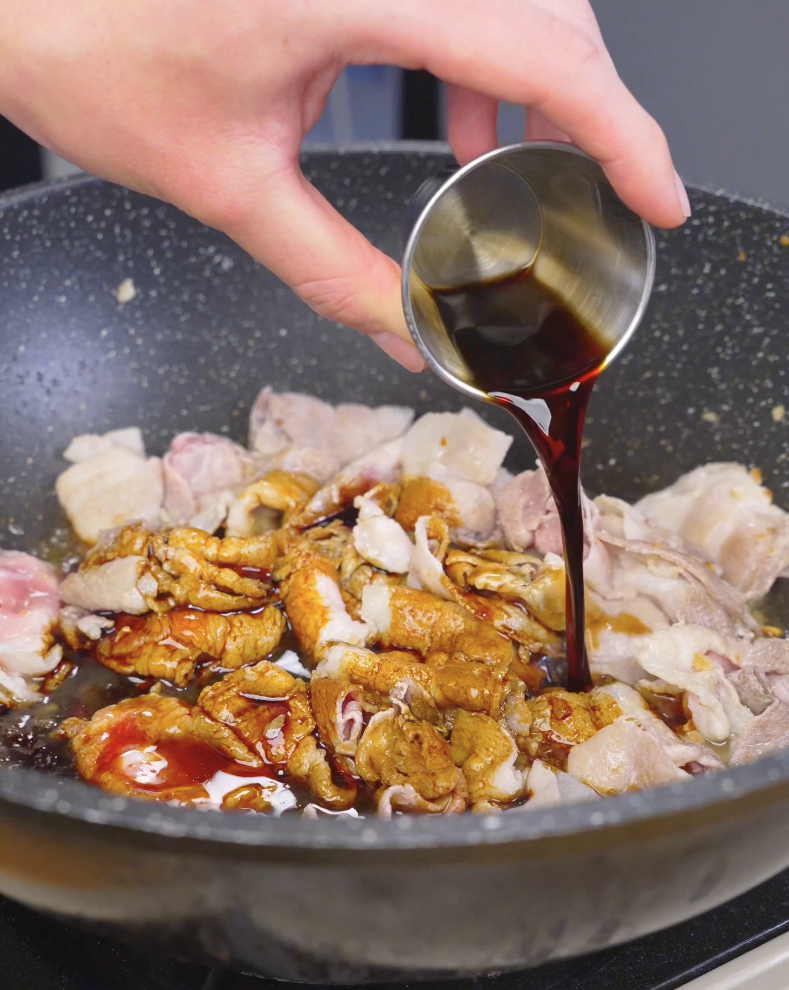
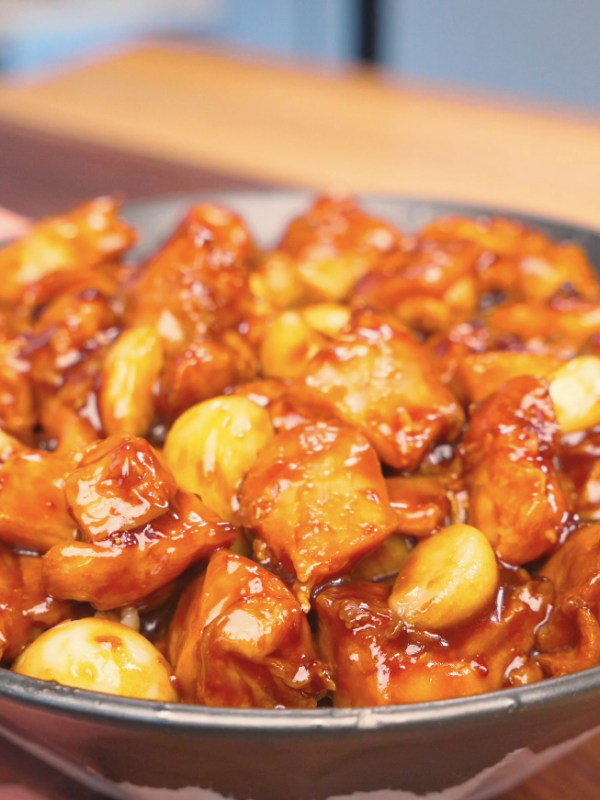
Give the cornstarch slurry a quick stir, then pour it into the pan. Continue stirring for about 30 to 60 seconds as the sauce thickens into a glaze that coats every piece of pork.
Serve immediately over steamed rice and garnish with sliced scallions, sesame seeds, or a fried egg.
What to Serve With This Sticky Sweet Pork Belly Recipe
This Sticky Sweet Pork Belly Recipe is great over a bowl of steamed rice, but adding a side dish always makes the meal better. Here are a few of my favorite pairings:
- Cucumber salad. A simple cucumber salad dressed with rice vinegar, a pinch of sugar, and salt cuts the richness of the pork belly.
- Sautéed greens. Sautéed greens with garlic and a little oyster sauce are an easy vegetable that pairs perfectly with the sweet and savory sauce.
- Kimchi. The acidic, spicy flavor of kimchi tastes great with the sticky sauce.
How to Store Sticky Sweet Pork Belly for Meal Prep
If you have leftovers, store them in an airtight container in the refrigerator for up to 4 days. I actually think the flavors become even better after they’ve been stored. For the best texture, store the pork belly and rice in separate containers. As the pork is refrigerated, the fat will naturally harden, but it will melt again once reheated.
Reheating Instructions
- Stovetop (best method). Add the pork belly to a pan over medium heat with a tablespoon of water. Cook for 2 to 3 minutes until the sauce is completely liquid and the pork is hot to the touch.
- Microwave. Place the pork in a microwave-safe bowl, cover with a paper towel, and heat for 2 minutes, stirring halfway through.
Substitutions for Sticky Sweet Pork Belly Recipe
This Sticky Sweet Pork Belly Recipe is easy to customize with ingredients you may already have on hand. Here are a few of my favorite substitutions:
- Pork shoulder or thin pork chops. If you can’t find pork belly, thinly sliced pork shoulder or pork chops are great substitutions.
- Honey. Substitute the brown sugar for honey if you don’t have brown sugar. It still helps the sauce reduce into a sticky glaze.
- Sriracha or chili flakes. Add a teaspoon of sriracha or a pinch of red pepper flakes if you like spicy flavors!
What to Make Next
Want more sticky sweet flavor? Try my Sticky Sweet Chicken!
Craving crispy chicken instead? You’ll love my Crispy Sticky Sweet Chicken.
Prefer beef instead? Cook my Mongolian Ground Beef!