Garlic Butter Udon Recipe
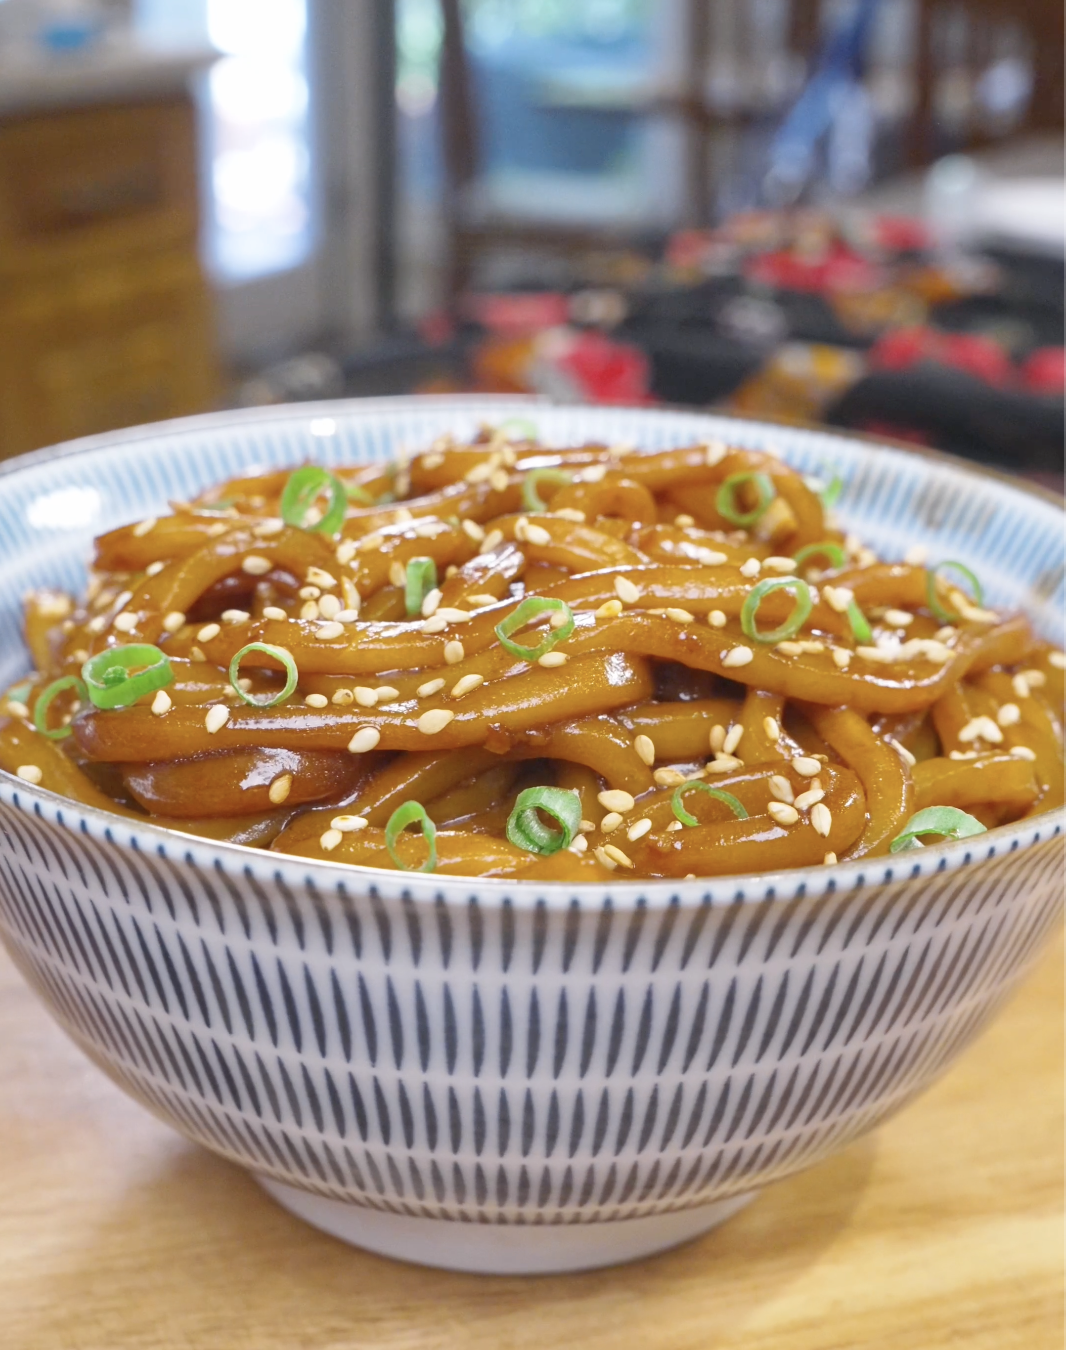
Ingredients
- 14 oz frozen udon noodles
- 3 tbsp unsalted butter
- 4 cloves garlic, minced
For the Sauce
- 2 tbsp light soy sauce
- 1 tbsp sugar
Optional Garnish
- Sesame seeds
- Scallions
Instructions
- Bring a pot of water to a boil and cook the frozen udon just until it loosens up, then rinse and drain.
- Add the butter to a pan over medium heat. Once it’s melted, add the minced garlic and cook until fragrant, about 30 seconds.
- Add the light soy sauce and sugar and mix until the sugar is fully dissolved. Add the udon and toss until well combined and the sauce coats every strand.
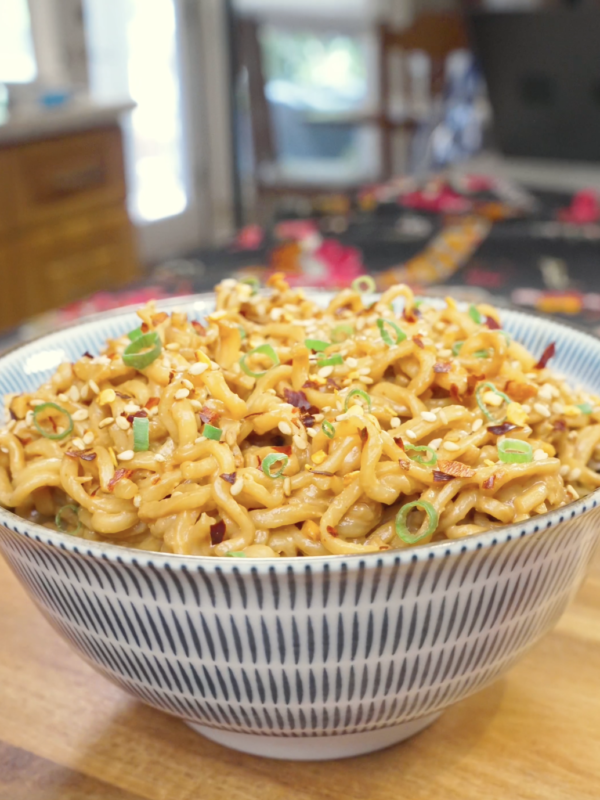
- Transfer to a bowl and optionally garnish with sesame seeds and scallions. But it’s your food, you eat it how you like.
Video
Notes
- Separate the frozen udon before it hits the pan — a quick rinse or 30-second par-boil keeps it from clumping.
- Keep the heat moderate for the garlic. It turns bitter fast in browning butter.
- Add the sauce on low heat or off the burner so the soy and sugar don’t scorch.
- Toss with tongs rather than stirring, so the noodles coat evenly without breaking.
- Serve immediately — udon is at its chewy, glossy best right after tossing.
If you’ve got a grumbly tummy and bare pantry, my Buttery Garlic Udon Noodles are here to help! All you need is 5 simple ingredients and 15 minutes to whip up a slurpworthy bowl of thick, bouncy noodles that’ll knock out your hunger in no time. There’s something almost magical about how a few pantry staples can transform into something so deeply satisfying. The melted butter and garlic mingling together until the kitchen smells like a cozy corner noodle shop, then a splash of soy sauce and a touch of sugar to round everything out into a glossy, savory-sweet coating? Sign me up! But the noodles themselves are the real star here, with their signature thick, chewy bite that makes every slurp feel like a mini celebration. It’s the kind of recipe that proves comfort food doesn’t need to be complicated. Whether you’re making it for a quick solo meal after a long day or doubling it up to share, this one’s endlessly easy to customize, so don’t be afraid to make it your own.
Eat enough garlic to ward off vampires? Me too! You need to check out my sticky garlic chicken, whole garlic chicken stir-fry, spicy garlic noodles and garlic bacon fried rice recipes next!
Why You’ll Crave This Garlic Butter Udon Noodles Recipe
There’s a reason this dish disappears fast every time I make it — it hits that perfect sweet spot between effortless and crave-worthy. Think of it as a cozy East-meets-West mashup, borrowing a nod from classic aglio e olio with its garlicky, butter-forward base, but swapping in chewy udon and a salty-sweet soy glaze for a flavor profile that feels totally its own. The noodles soak up every bit of that garlicky butter sauce, so each bite is rich without being heavy, and savory without needing a dozen ingredients to get there. It’s fast enough for a late-night craving, simple enough for a beginner cook, and flavorful enough that you’ll find yourself making it on repeat — proof that sometimes the best recipes are the ones that don’t try too hard.
Ingredients & Substitutions
- Frozen Udon Noodles – These are the star of the show, giving you a deliciously thick, chewy bite that makes this recipe so slurpable. No frozen udon on hand? Fresh or vacuum-packed udon works too—just adjust your cook time since they usually need less time in the pot. In a pinch, you can even sub in thick rice noodles or even spaghetti, though the texture will be a bit different.
- Unsalted Butter – This is where all that rich, cozy flavor comes from, so don’t skimp! Using unsalted lets you control the saltiness of the dish since the soy sauce already brings plenty. If all you’ve got is salted butter, that’s okay too—just go easy on the soy sauce to keep things balanced.
- Garlic – Fresh is really the way to go here since it gets gently toasted in the butter, releasing that irresistible aroma that makes the whole dish sing. If you’re out of fresh cloves, jarred minced garlic is a pretty close substitute.
For the Sauce
- Light Soy Sauce – This brings the salty, savory backbone to the dish. Tamari or coconut aminos are great swaps if you’re keeping things gluten-free.
- Granulated Sugar – Just a touch to balance out the saltiness and give the sauce a subtle, glossy sweetness. Brown sugar works great too and adds a hint of caramel flavor, or you can use honey or maple syrup if that’s what’s in your pantry.
Optional Garnish
- Sesame Seeds – These add a little nutty crunch and make the bowl look extra inviting, but don’t stress if you don’t have any on hand—your garlic udon will be just as delicious without them.
- Scallions – A sprinkle of freshly sliced scallions adds a pop of color and a mild oniony freshness that brightens up all that rich, buttery flavor. No scallions? Chives make a nice substitute, or just leave the garnish off entirely.
This is just a short review of the ingredients; for the complete recipe, including quantities, scroll down to the recipe card 👇
A Bit About Udon
Udon is a thick, chewy Japanese wheat noodle known for its satisfying bite and ability to soak up whatever flavorful sauce or broth it’s paired with. Its origins trace back to China, where wheat-based noodles were already a staple. It’s believed a Japanese monk traveled there during the Nara period and brought the technique for making thick wheat noodles back home.
Interestingly, that original dish looked quite different from the udon we know today. Early versions were more like small dumplings or flattened dough pockets rather than long noodles, and it took centuries of refinement before Japanese cooks reshaped the dough into the long, slurpable strands that I crave. Over time, regional chefs experimented with the thickness, chew, and shape of the noodle, eventually landing on the long-cut style we now associate with udon, with different areas developing their own signature takes.
That chewy bite is actually a defining trait of good udon—the Japanese even have a word for it, “koshi,” which refers to the noodles’ elasticity and stickiness, featuring a texture that is not too hard but a satisfying bite.
When you’re shopping for udon, you’ll typically come across four main varieties: fresh, frozen, dried, and shelf-stable microwaveable, and each one behaves a little differently once it hits the pot.
- Frozen udon is essentially freshly cooked noodles that have been flash frozen, so all you have to do is thaw them and heat them up in a microwave or pot, usually taking just a minute or two to cook. This makes it the most convenient option for a quick weeknight dinner, and it also happens to give you the chewiest, most satisfying bite. Frozen udon noodles have firmer and chewier textures than dry versions.
- Fresh udon, often sold vacuum-packed in the refrigerated section, is also pre-cooked, giving it a much thicker mouthfeel than its dried counterpart and stays sturdy throughout preparation.
- Shelf-stable microwaveable udon is another pre-cooked option, but instead of living in the fridge or freezer, it’s packaged to sit happily in your pantry—usually in individual vacuum-sealed pouches. Since the noodles are already fully cooked, all you need to do is microwave the pouch for about a minute or loosen them briefly in hot water. Texture-wise, it’s a nice middle ground: softer than frozen udon’s signature chewy bite, but still much more tender and satisfying than dried udon once rehydrated, making it a great grab-and-go option when you don’t have access to a fridge or freezer.
- Dried udon, on the other hand, is the shelf-stable option and has a noticeably different bite—it’s typically produced in a thinner, flatter shape, almost like a linguine, and is prone to turning mushy. It also takes considerably longer to cook, since fresh udon noodles only need about 2-3 minutes, while dried udon noodles need about 8-10 minutes.
For this recipe, frozen udon is the way to go. It gives you that irresistibly thick, bouncy texture with virtually no effort, which is exactly the kind of noodle you want soaking up all that garlicky, buttery goodness!
How to Make Buttered Garlic Udon
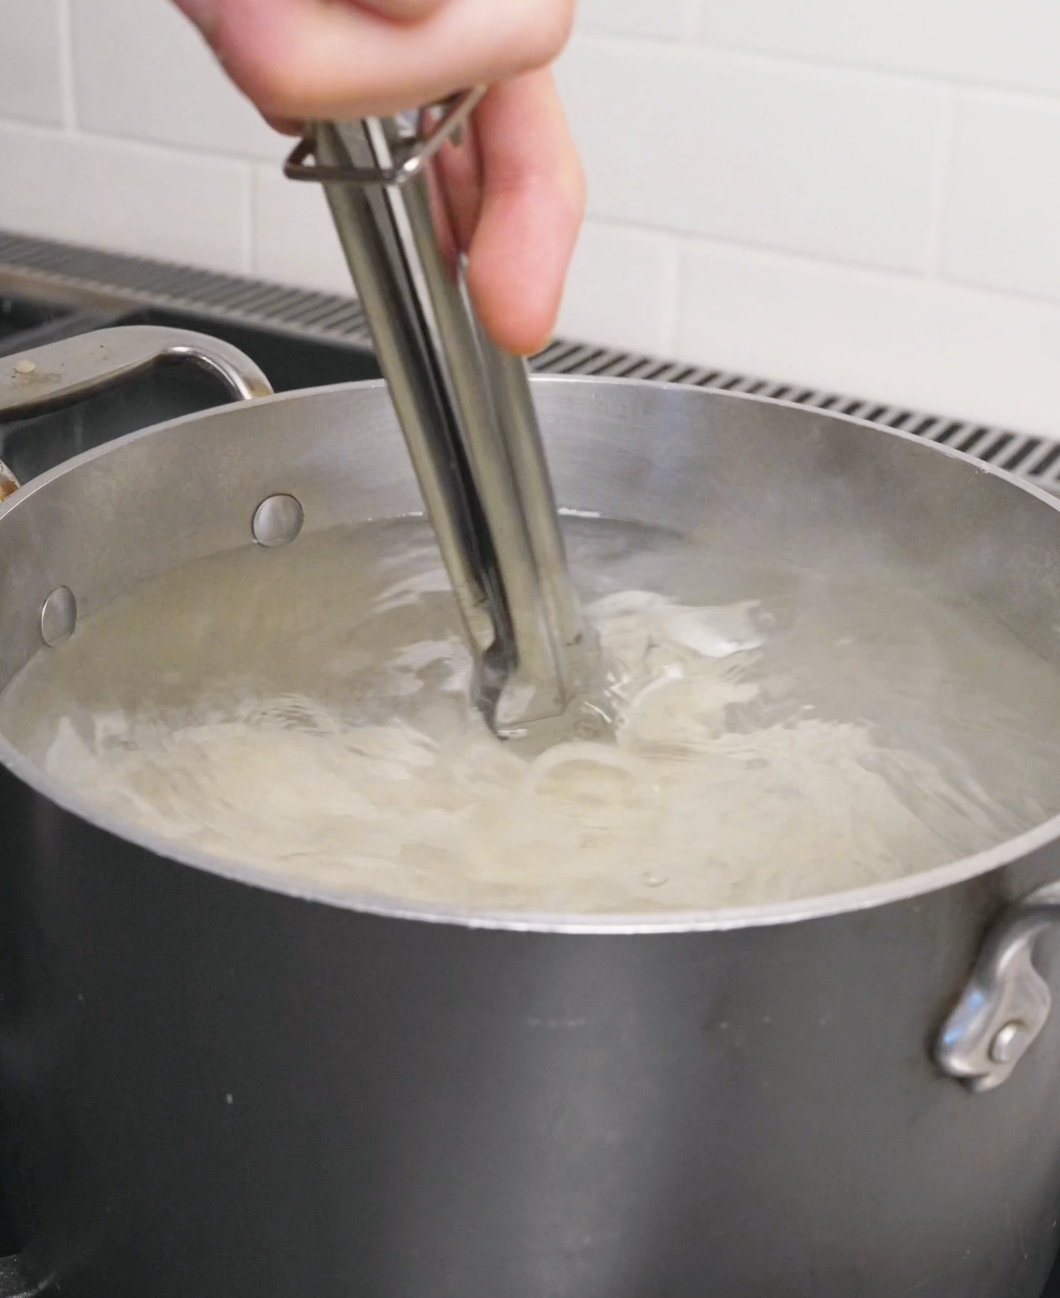
Bring a pot of water to a boil and cook the frozen udon just until it loosens up, then rinse and drain.
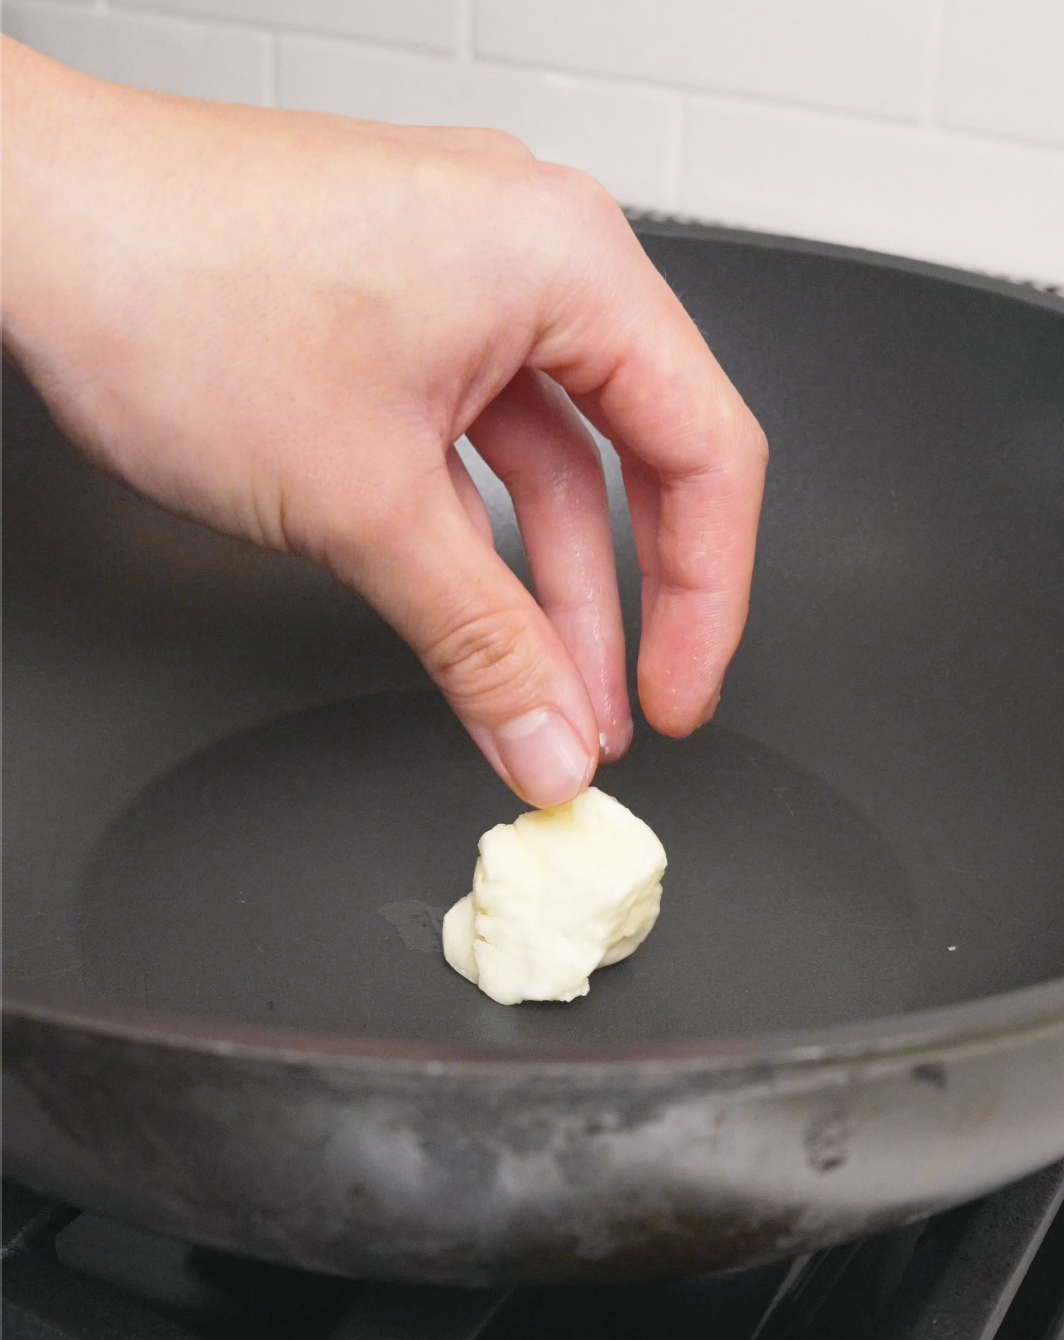
Add the butter to a pan over medium heat. Once it’s melted, add the minced garlic and cook until fragrant, about 30 seconds.
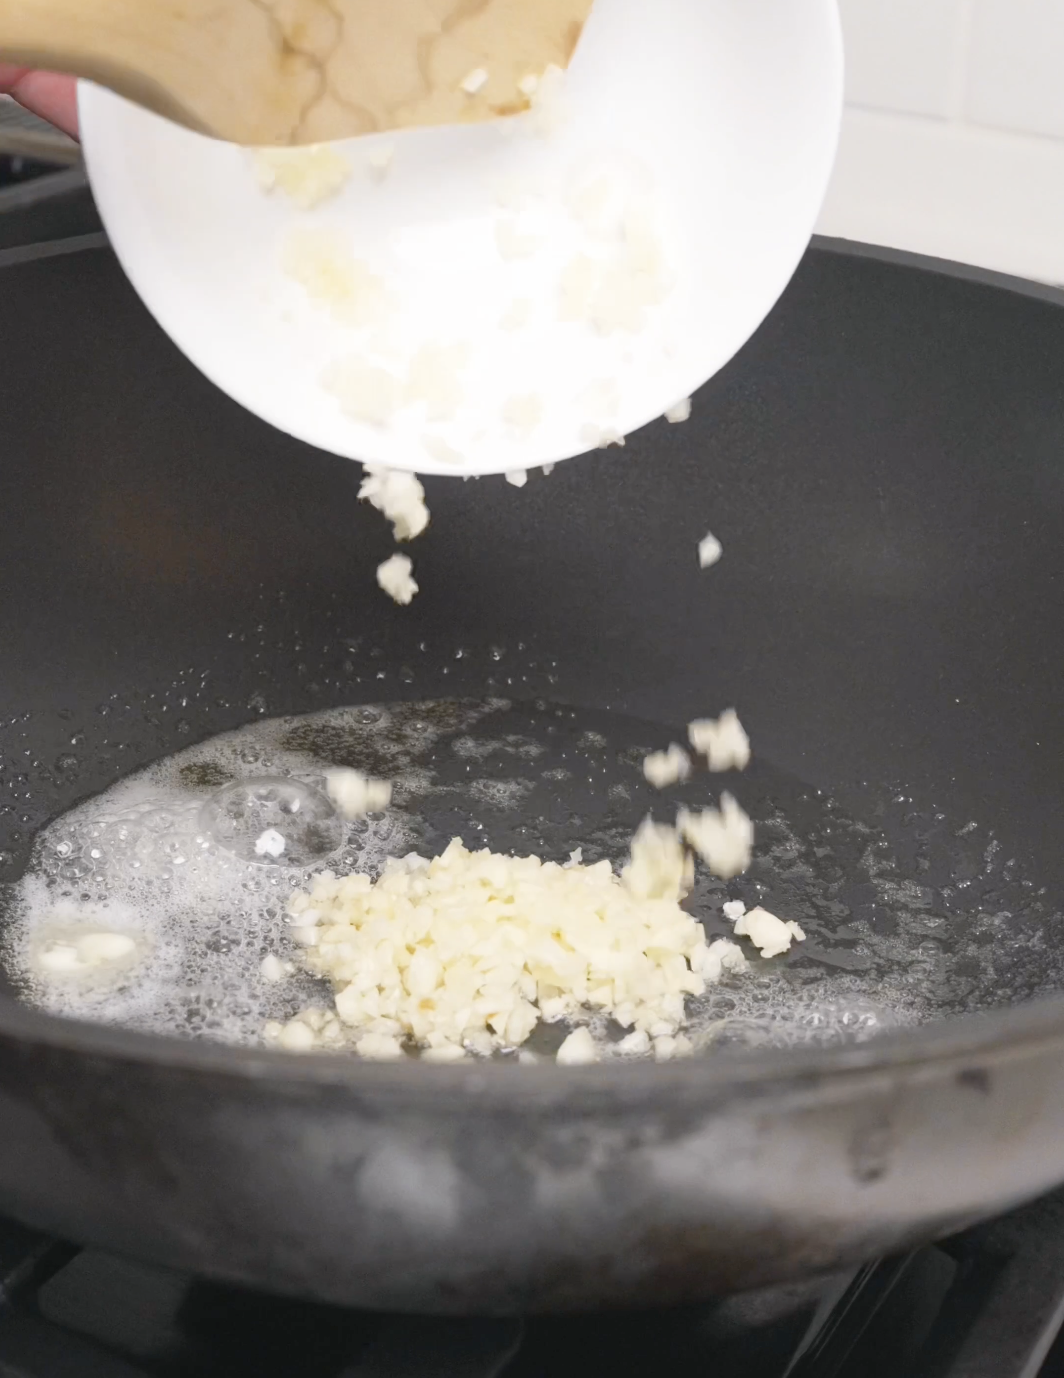
Add the light soy sauce and sugar and mix until the sugar is fully dissolved. Add the udon and toss until well combined and the sauce coats every strand.
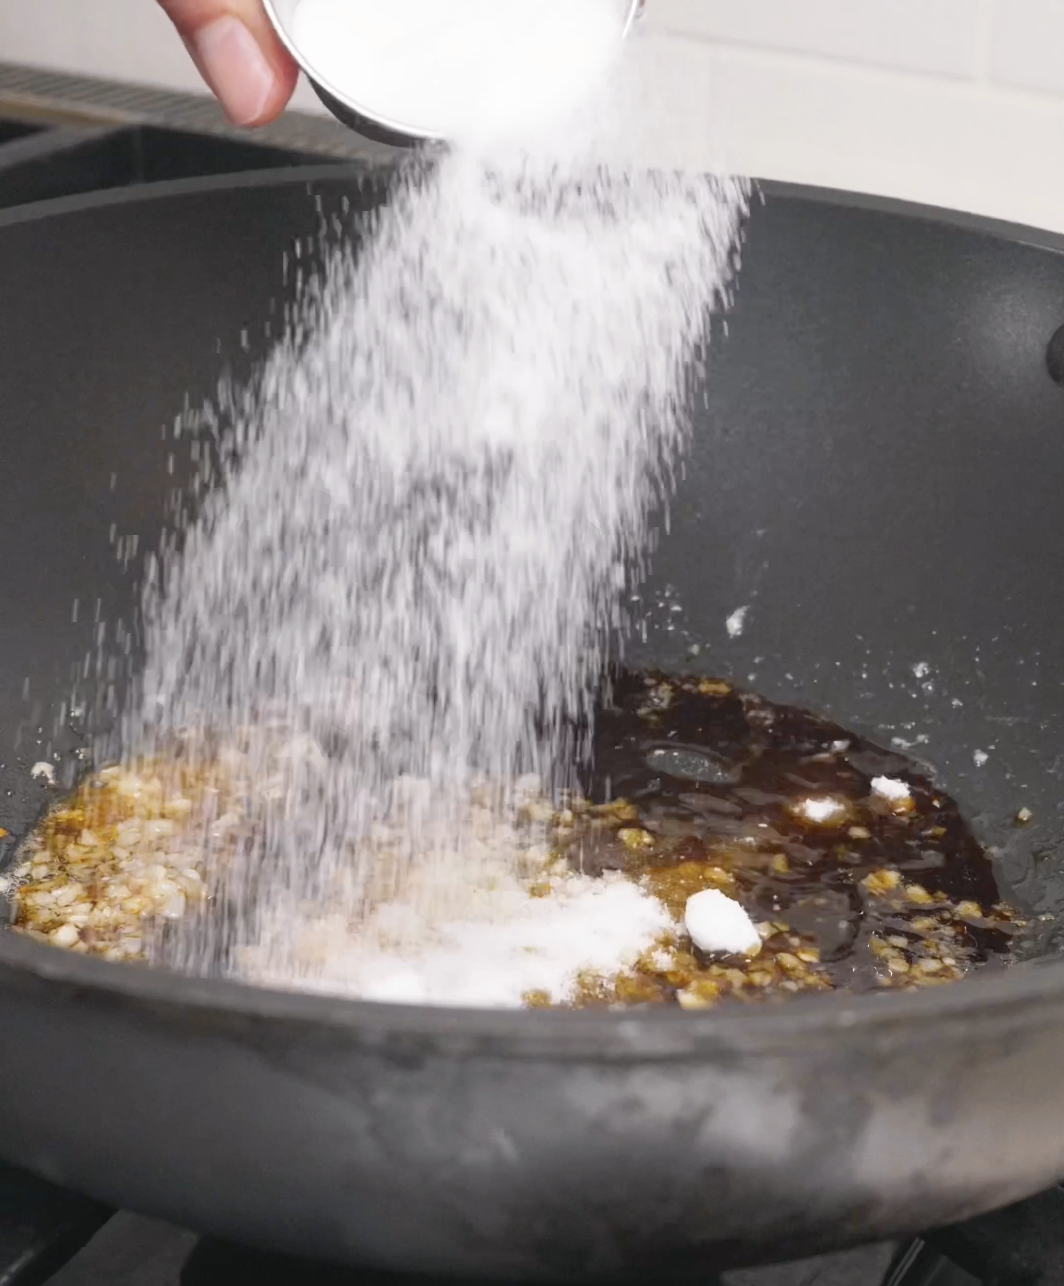
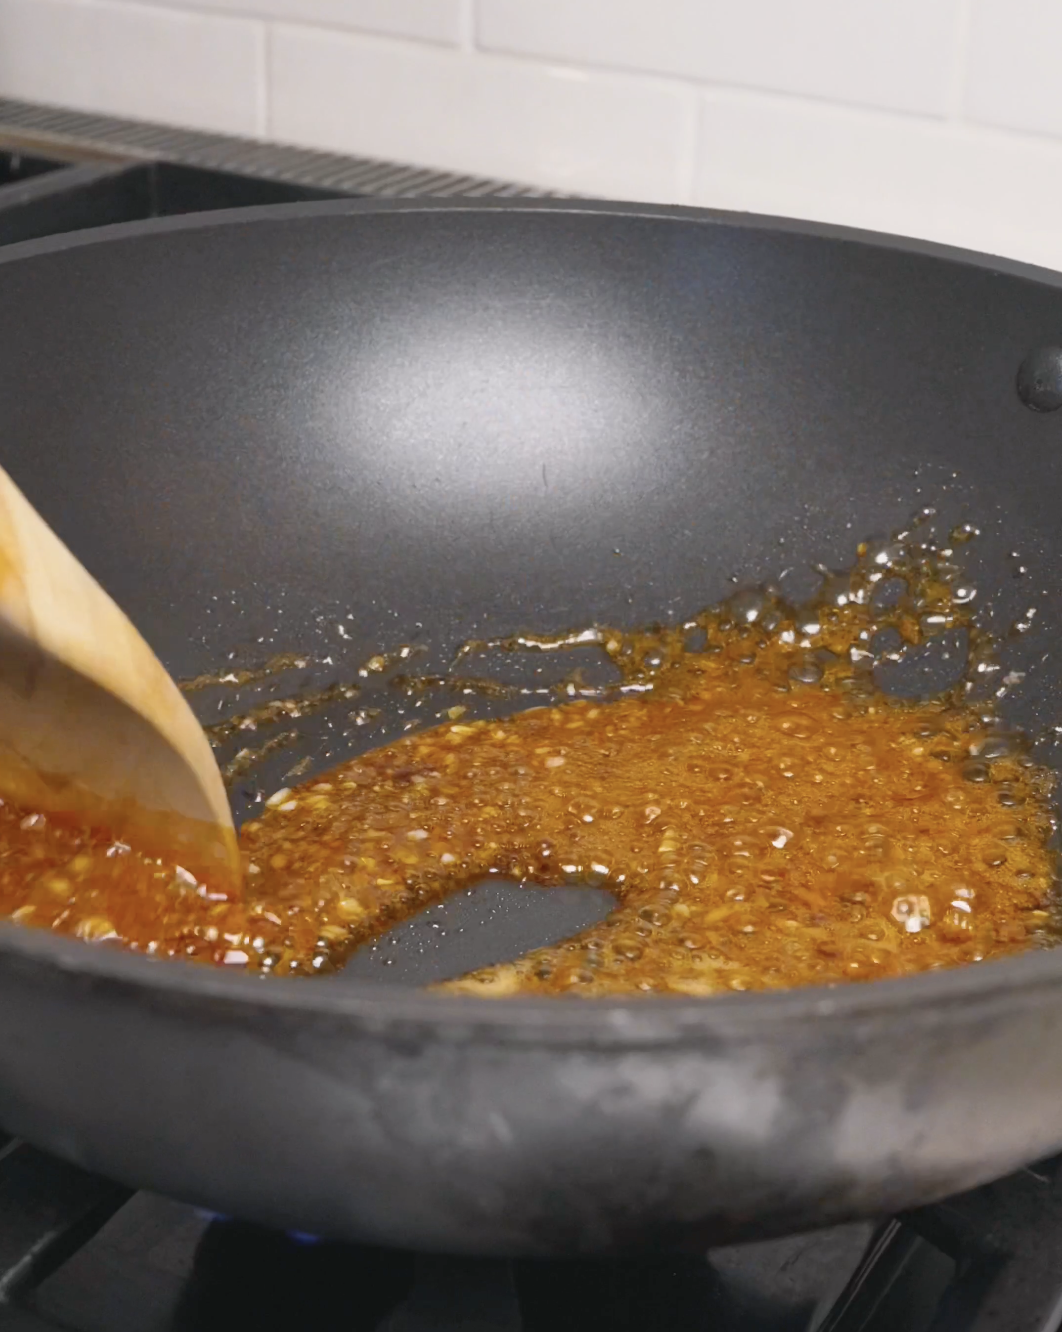
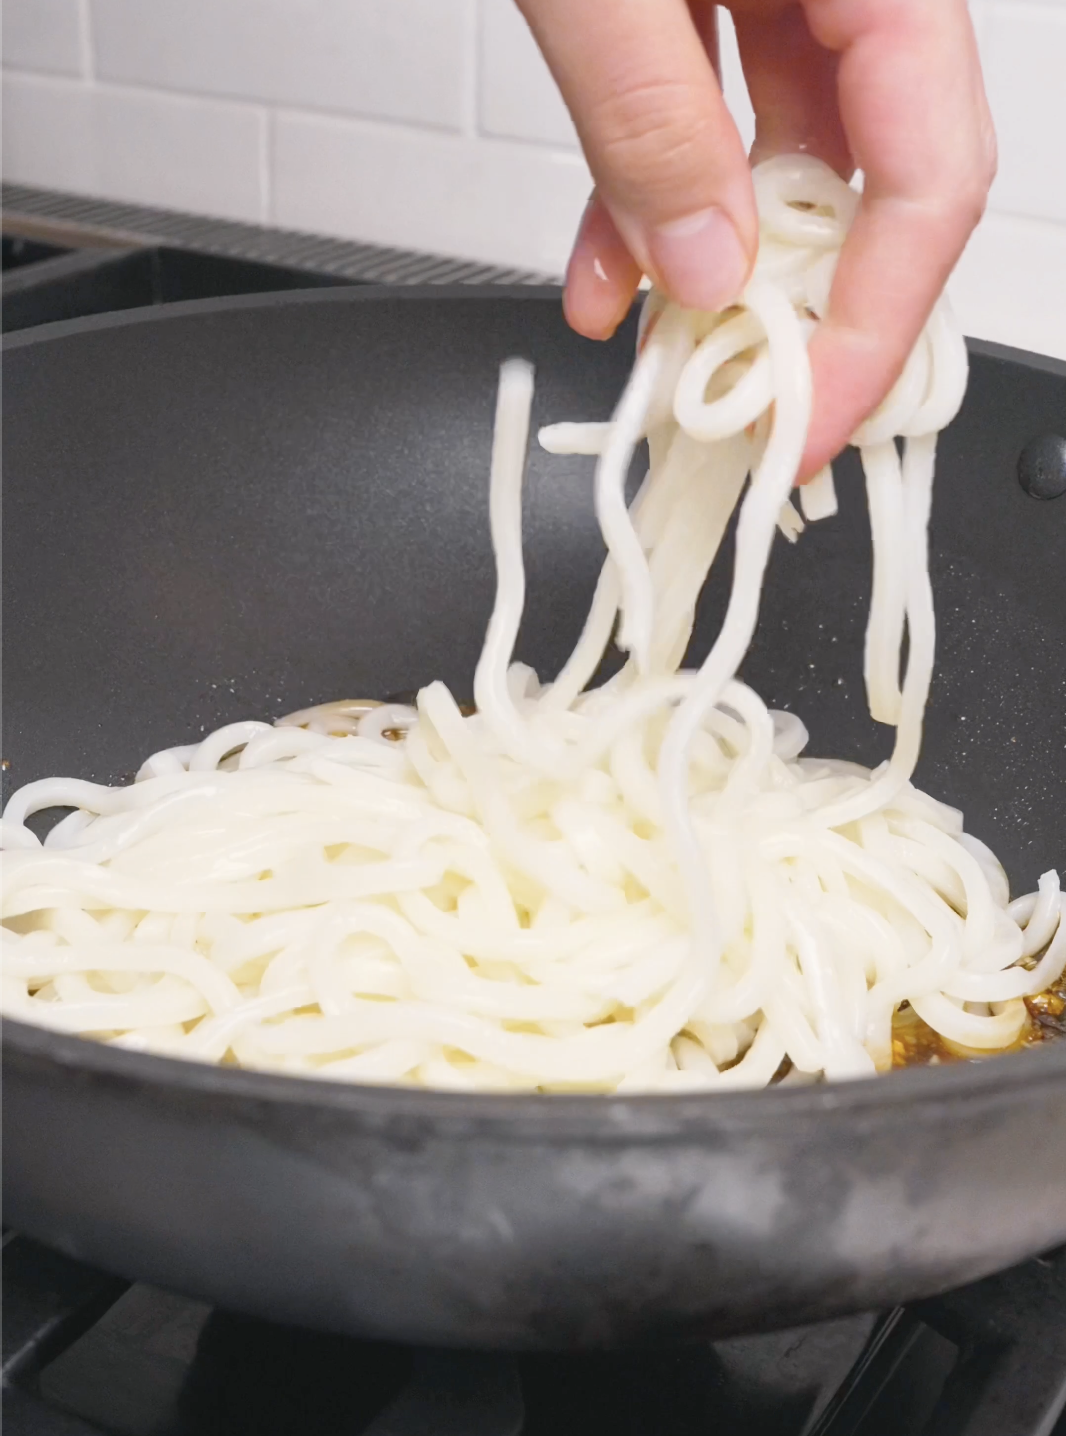
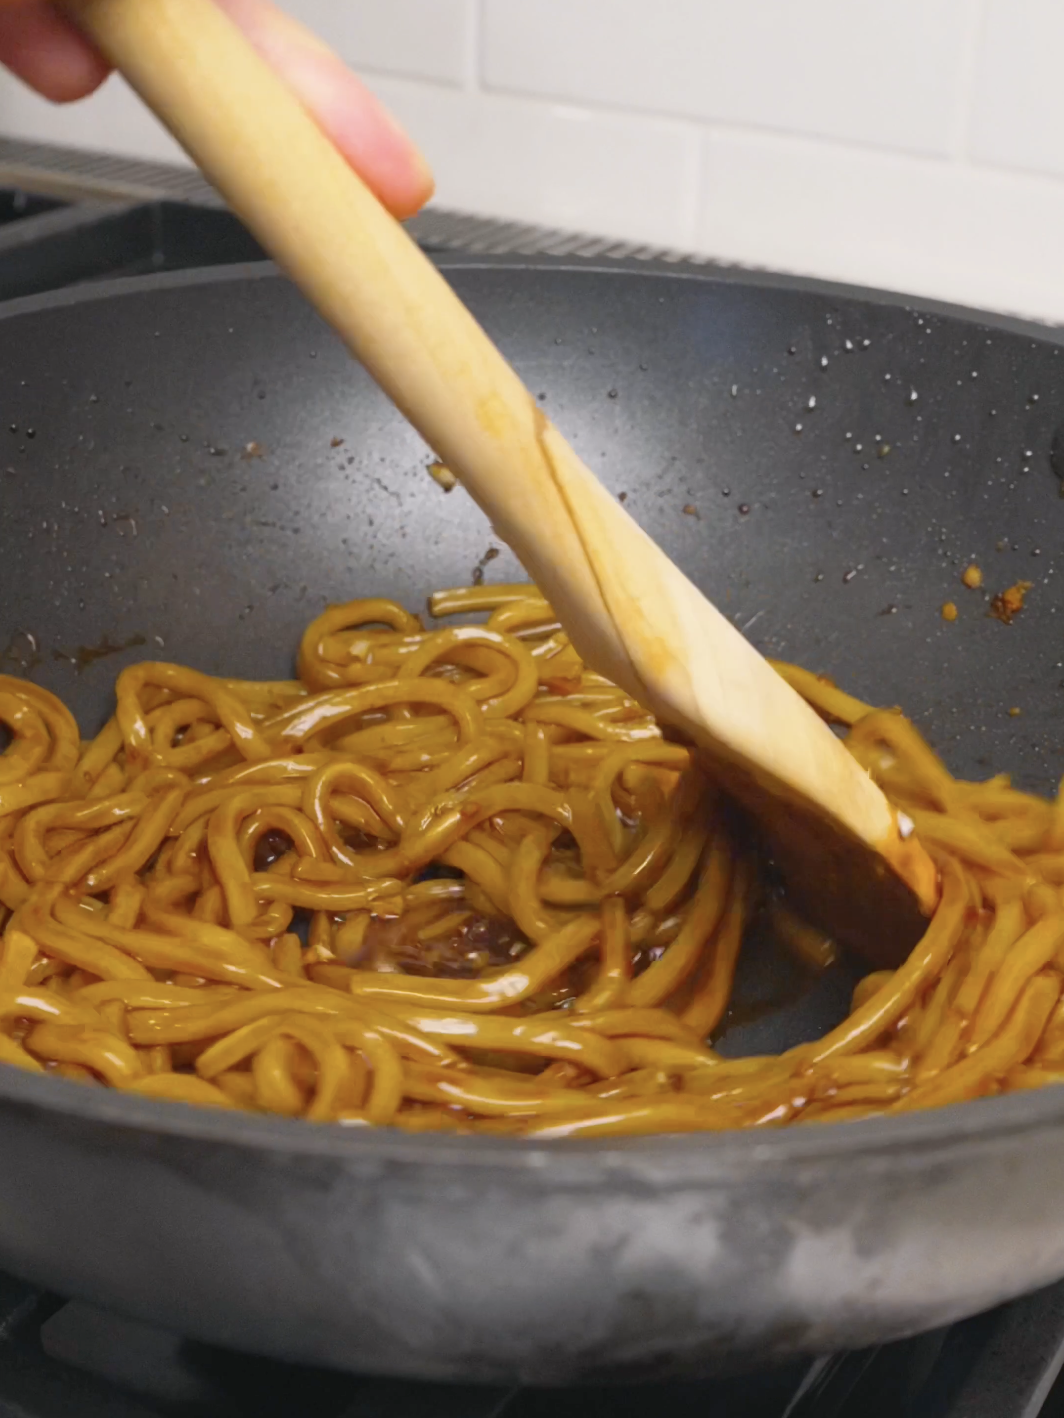
Transfer to a bowl and optionally garnish with sesame seeds and scallions. But it’s your food, you eat it how you like.
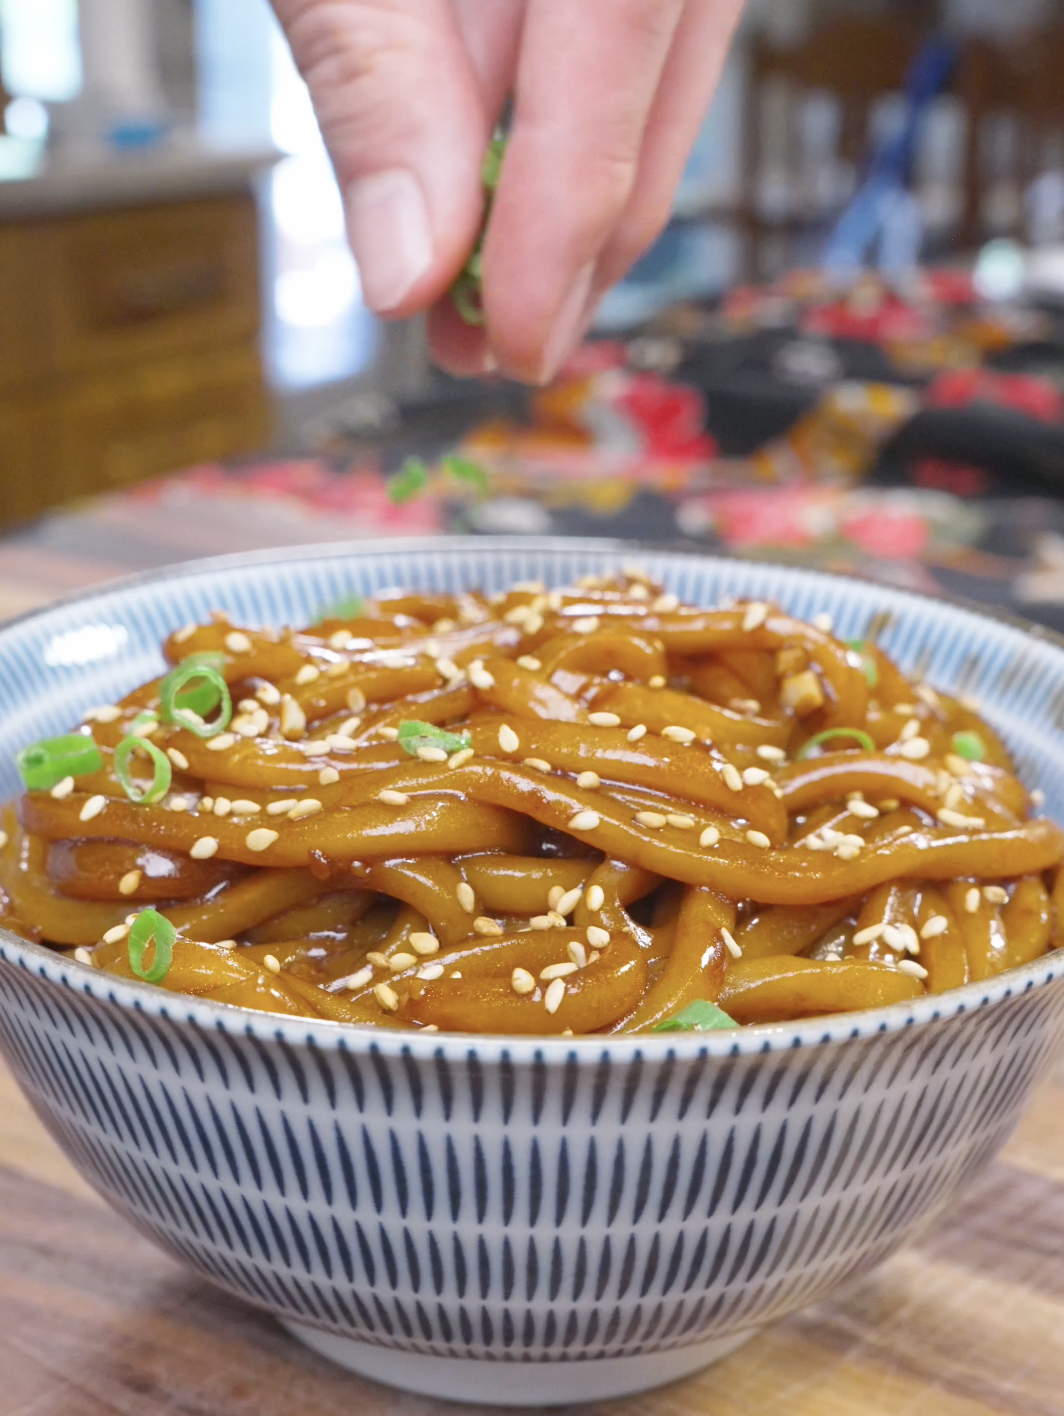
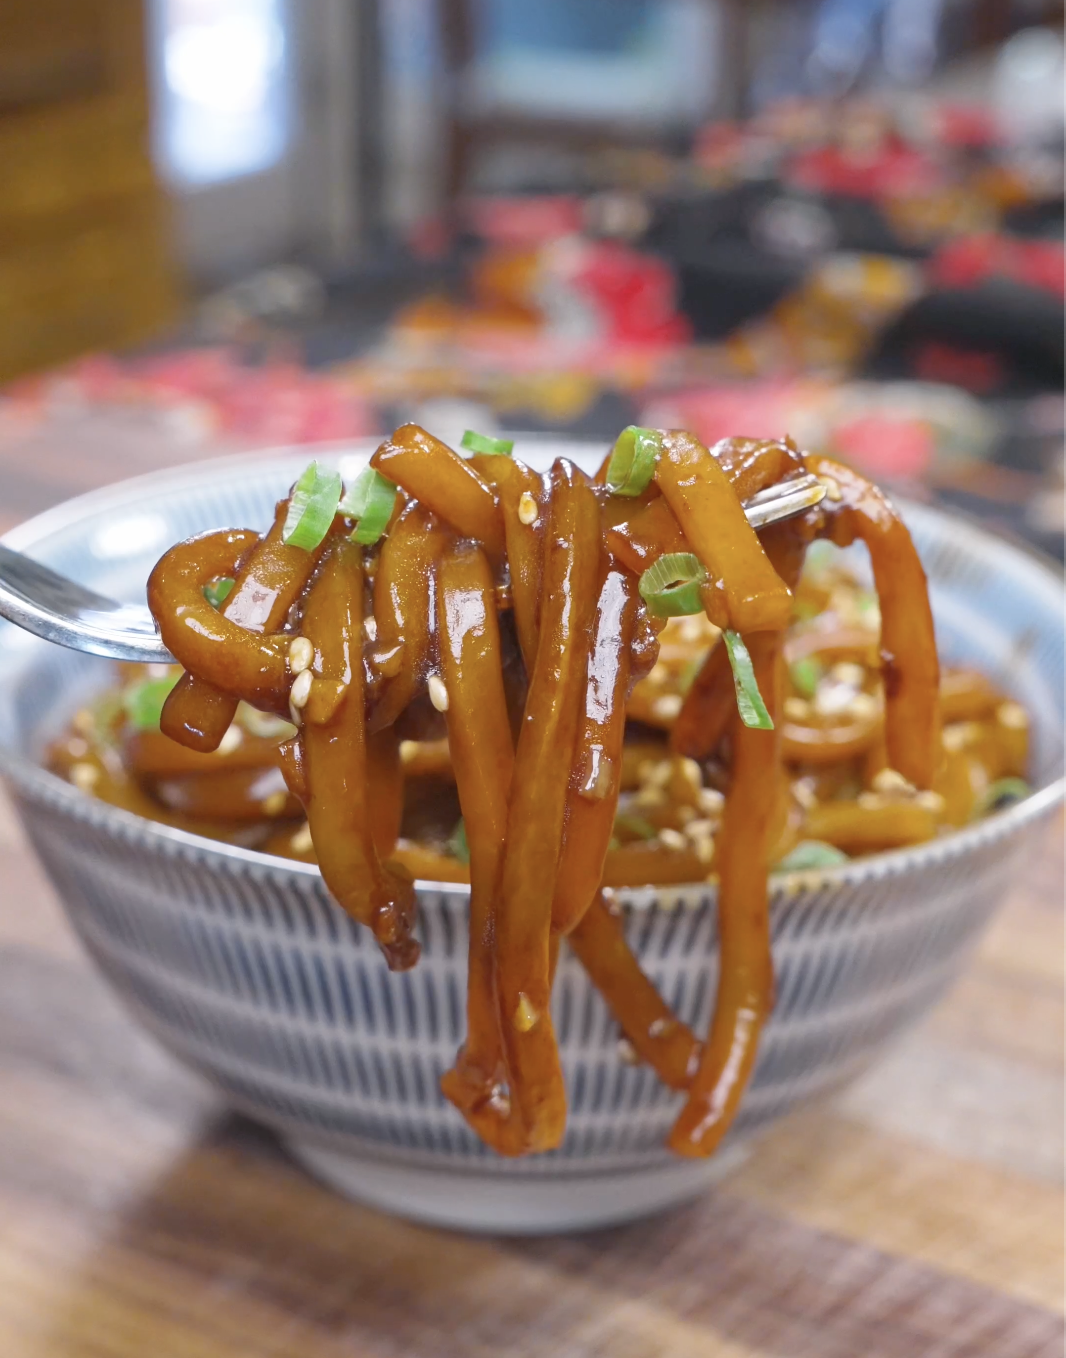
More of a visual learner? Check out my video recipe below. 👇
Optional Variations & Dietary Adaptations
One of the best things about this better-than-takeout udon recipe is how easy it is to customize based on what you have on hand or what you’re craving. Here are a few easy ways to switch things up (feel free to mix and match!):
- Vegan: Simply swap the unsalted butter for a plant-based butter alternative (most vegan butters work beautifully here and still give you that rich, glossy sauce).
- Gluten-Free: Look for udon noodles made from rice flour or a gluten-free blend. They’re becoming easier to find in the frozen or specialty section of most grocery stores. You’ll also want to swap the light soy sauce for tamari or coconut aminos, since regular soy sauce contains wheat.
- Add Protein: Garlic butter udon is delicious as-is, but it’s also a great base for add-ins. A fried or soft-boiled egg on top adds richness, while sliced chicken, shrimp, or tofu can turn it into a heartier, more complete meal.
- Add Veggies: Think sautéed mushrooms, baby bok choy, snap peas, or shredded carrots. When tossed in along with the noodles, they add color, crunch, and nutrition without much extra effort.
- Spicy: If you like a little kick, a drizzle of chili oil, a pinch of red pepper flakes, or a spoonful of chili crisp stirred in at the end adds a nice spicy contrast to the buttery, garlicky sauce.
- Reduced Sodium: If you’re watching your sodium intake, reach for a low-sodium soy sauce—it’ll still give you deep umami flavor without being quite as salty. You can always adjust with a little extra at the table if needed!
- Reduced Sugar: Feel free to cut back on the granulated sugar or swap it for a sugar substitute if you’re looking to lighten things up. Just keep in mind it helps balance the saltiness of the soy sauce, so a small amount (even a scant teaspoon) still goes a long way.
Expert Tips & Tricks
- Don’t skip separating the noodles before cooking. Frozen udon noodles often clump together in a solid block. Give them a gentle rinse under warm water or a quick par-boil (about 30 seconds) before adding them to the pan. This helps them separate easily and ensures every strand gets coated in that garlicky butter sauce instead of sticking together in a clump.
- Keep the heat moderate when cooking the garlic. Garlic can go from fragrant to bitter in a matter of seconds, especially in butter, which browns quickly. Cook it low and slow just until it turns golden and smells toasty. If it starts to turn brown or dark, it’s best to start that step over.
- Add the sauce off the heat, or on low. Soy sauce and sugar can burn quickly in a hot buttery pan, which leads to a bitter, overly dark sauce. Lowering the heat (or pulling the pan off the burner briefly) when you add the sauce helps it blend smoothly without scorching.
- Reserve a splash of starchy noodle water if you cooked the noodles separately. A tablespoon or two whisked into the sauce helps it cling to the noodles better and gives the dish a silkier, more restaurant-style finish.
- Toss, don’t stir. Once the noodles hit the sauce, use tongs or chopsticks to toss and lift the noodles rather than stirring them around. This coats them more evenly and keeps the delicate noodles from breaking.
- Taste before you garnish. Every brand of soy sauce varies in saltiness, so give the dish a taste before plating and adjust with a touch more soy sauce, sugar, or even a pat of butter if it needs rounding out.
- Toast your sesame seeds for extra flavor. If you have a couple of extra minutes, toasting the sesame seeds in a dry pan until golden deepens their nutty flavor significantly compared to using them straight from the jar.
- Serve immediately. Udon noodles are at their chewy, glossy best right after tossing with the sauce. Like most noodle dishes, they can turn a bit gummy or absorb too much sauce if left to sit too long before serving.
Serving Suggestions
This garlic butter udon is hearty enough to enjoy on its own, but it also plays wonderfully with other dishes. For a light and refreshing contrast to the rich, buttery noodles, try pairing it with a crisp cucumber salad or a tangy Asian slaw (like the one on my Korean fried chicken sandwich). The acidity and crunch help balance out the savory richness of the sauce.
If you’re in the mood for something a little more substantial, this dish makes a fantastic base for protein additions like teriyaki chicken, salt and pepper shrimp, or even a simple soft-boiled egg on top for extra richness. For a complete Japanese-inspired meal, consider rounding things out with a side of miso soup or some crispy gyoza.
And if you’re hosting or meal-prepping for the week, this udon also holds up well alongside other noodle and rice dishes, so feel free to serve it as part of a bigger spread with something like a spicy salmon bowl, beef and broccoli, or a sushi bake.
Storage & Reheating
- Storing: Let the buttery garlic udon cool to room temperature, then transfer to an airtight container and refrigerate for up to 3 days. Freezing isn’t recommended, as the noodles can turn mushy and the sauce may separate once thawed.
- Reheating on the Stovetop (Best Method): Add the noodles to a skillet over medium-low heat with a splash of water to help loosen the sauce, then toss gently for 2-3 minutes until warmed through and glossy again.
- Reheating in the Microwave (Quick Option): Cover loosely and heat in 30-second bursts, stirring in between, to warm evenly without drying out or turning rubbery.
- Freshen it Up: A small drizzle of extra soy sauce or a pat of butter stirred in while reheating helps revive the flavor, and it’s best to add fresh sesame seeds or scallions after reheating rather than storing them mixed in.
FAQs
Is udon healthy or unhealthy?
Udon isn’t inherently unhealthy—it’s essentially just wheat flour, water, and salt, making it a straightforward carbohydrate source similar to other noodles or pasta. Like most carb-based foods, whether it fits into a healthy diet depends on portion size, what it’s paired with, and how it’s prepared.
Is udon healthier than ramen?
Not necessarily. Udon noodles are typically made from just flour, water, and salt, while ramen noodles often include egg and oil, giving them a bit more protein and fat. Instant ramen takes this a step further, since the noodles are usually fried before packaging, making them noticeably richer than fresh ramen or any variety of udon. At the end of the day, though, both are simple carbs—what you pair them with (sauce or broth, protein, and toppings) has a much bigger dietary impact than the noodles themselves.
What is the best topping for udon noodles?
This really comes down to personal taste, but some classic favorites include a soft-boiled or poached egg (for richness), thinly sliced scallions, tempura bits (tenkasu) for crunch, and aburaage (sweet fried tofu) for a savory-sweet contrast. If you want something heartier, sliced chicken, pork, or shrimp are popular additions, while a sprinkle of sesame seeds or a dash of shichimi togarashi (Japanese seven-spice) adds a nice finishing touch without overpowering the dish.
More Udon Noodle Recipes
Craving more udon? Try my Beef Udon, Black Pepper Chicken Udon, or Japanese Carbonara Udon!